A friend of mine spilled coffee over his laptop computer, after which it refused to turn on any more. Best thing to do is remove all power, but this laptop is a modern type with a built-in “non-removable” battery. So by the time the laptop got to me I expected corrosion. Still, I thought it would be a “disassemble, clean, reassemble”-type of repair and it mostly was. But after cleaning, the laptop still did not turn on. In fact, not even the power-on LED lit up.
Schematics for laptop boards can sometimes be found online. That is an enormous help for repair. In this case it helped me locate a track on the circuit board that was corroded through. After repairing this track, the laptop powered on fine and booted. After this repair it passed memory and stability tests.
Above it the tldr, but here is the story, with pictures:
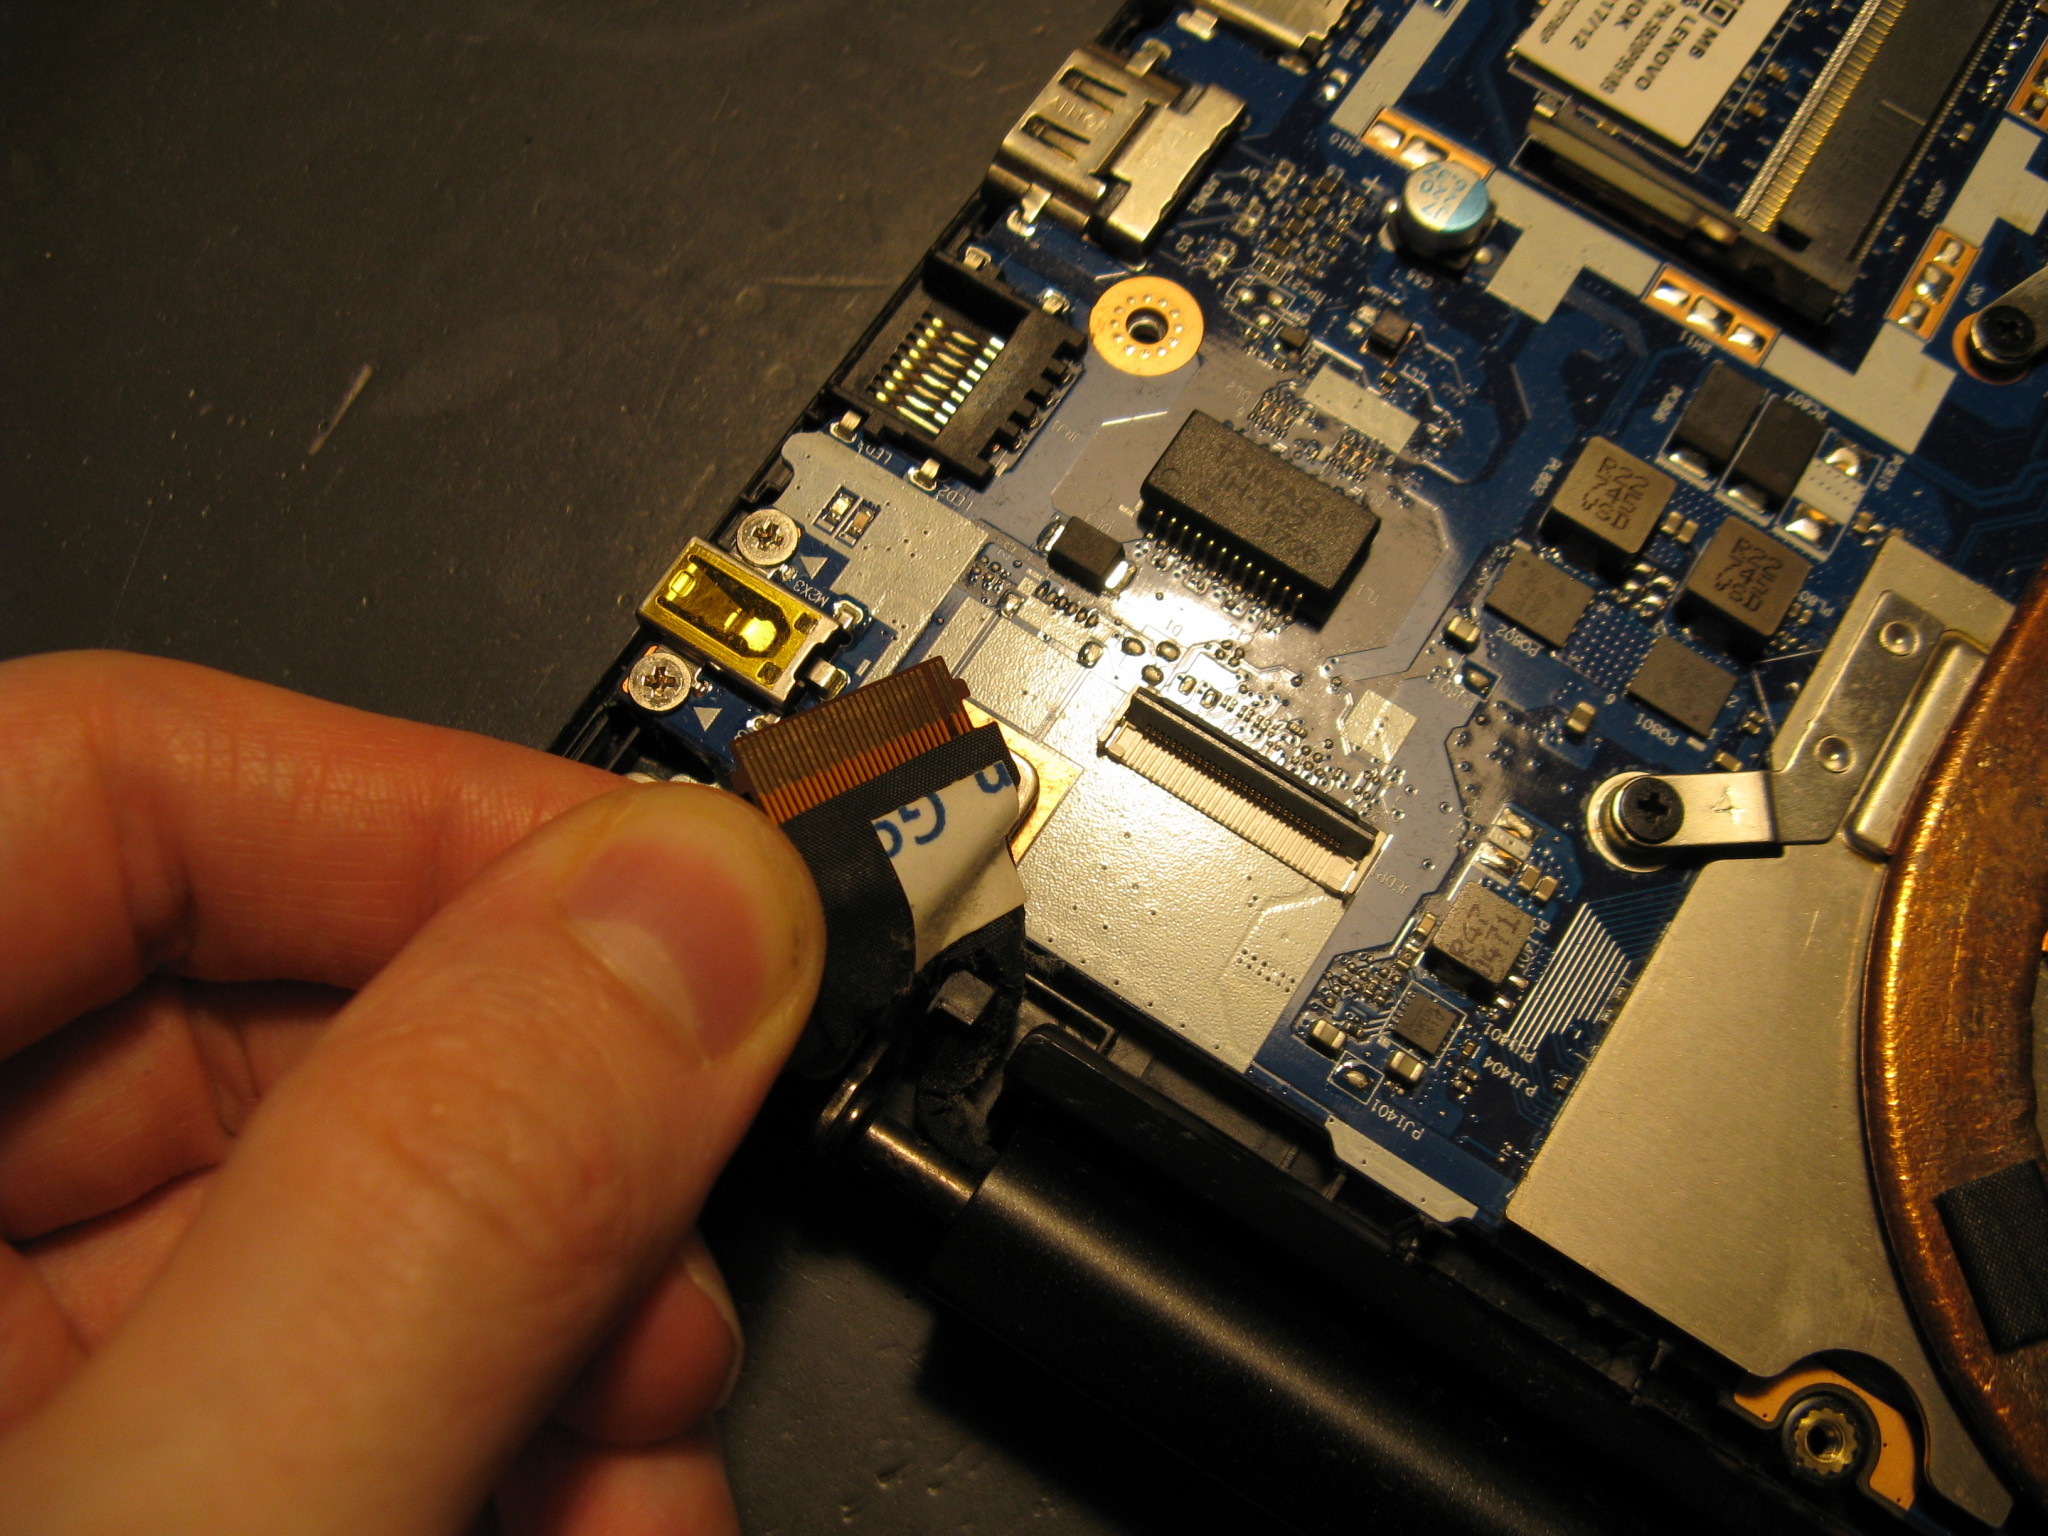
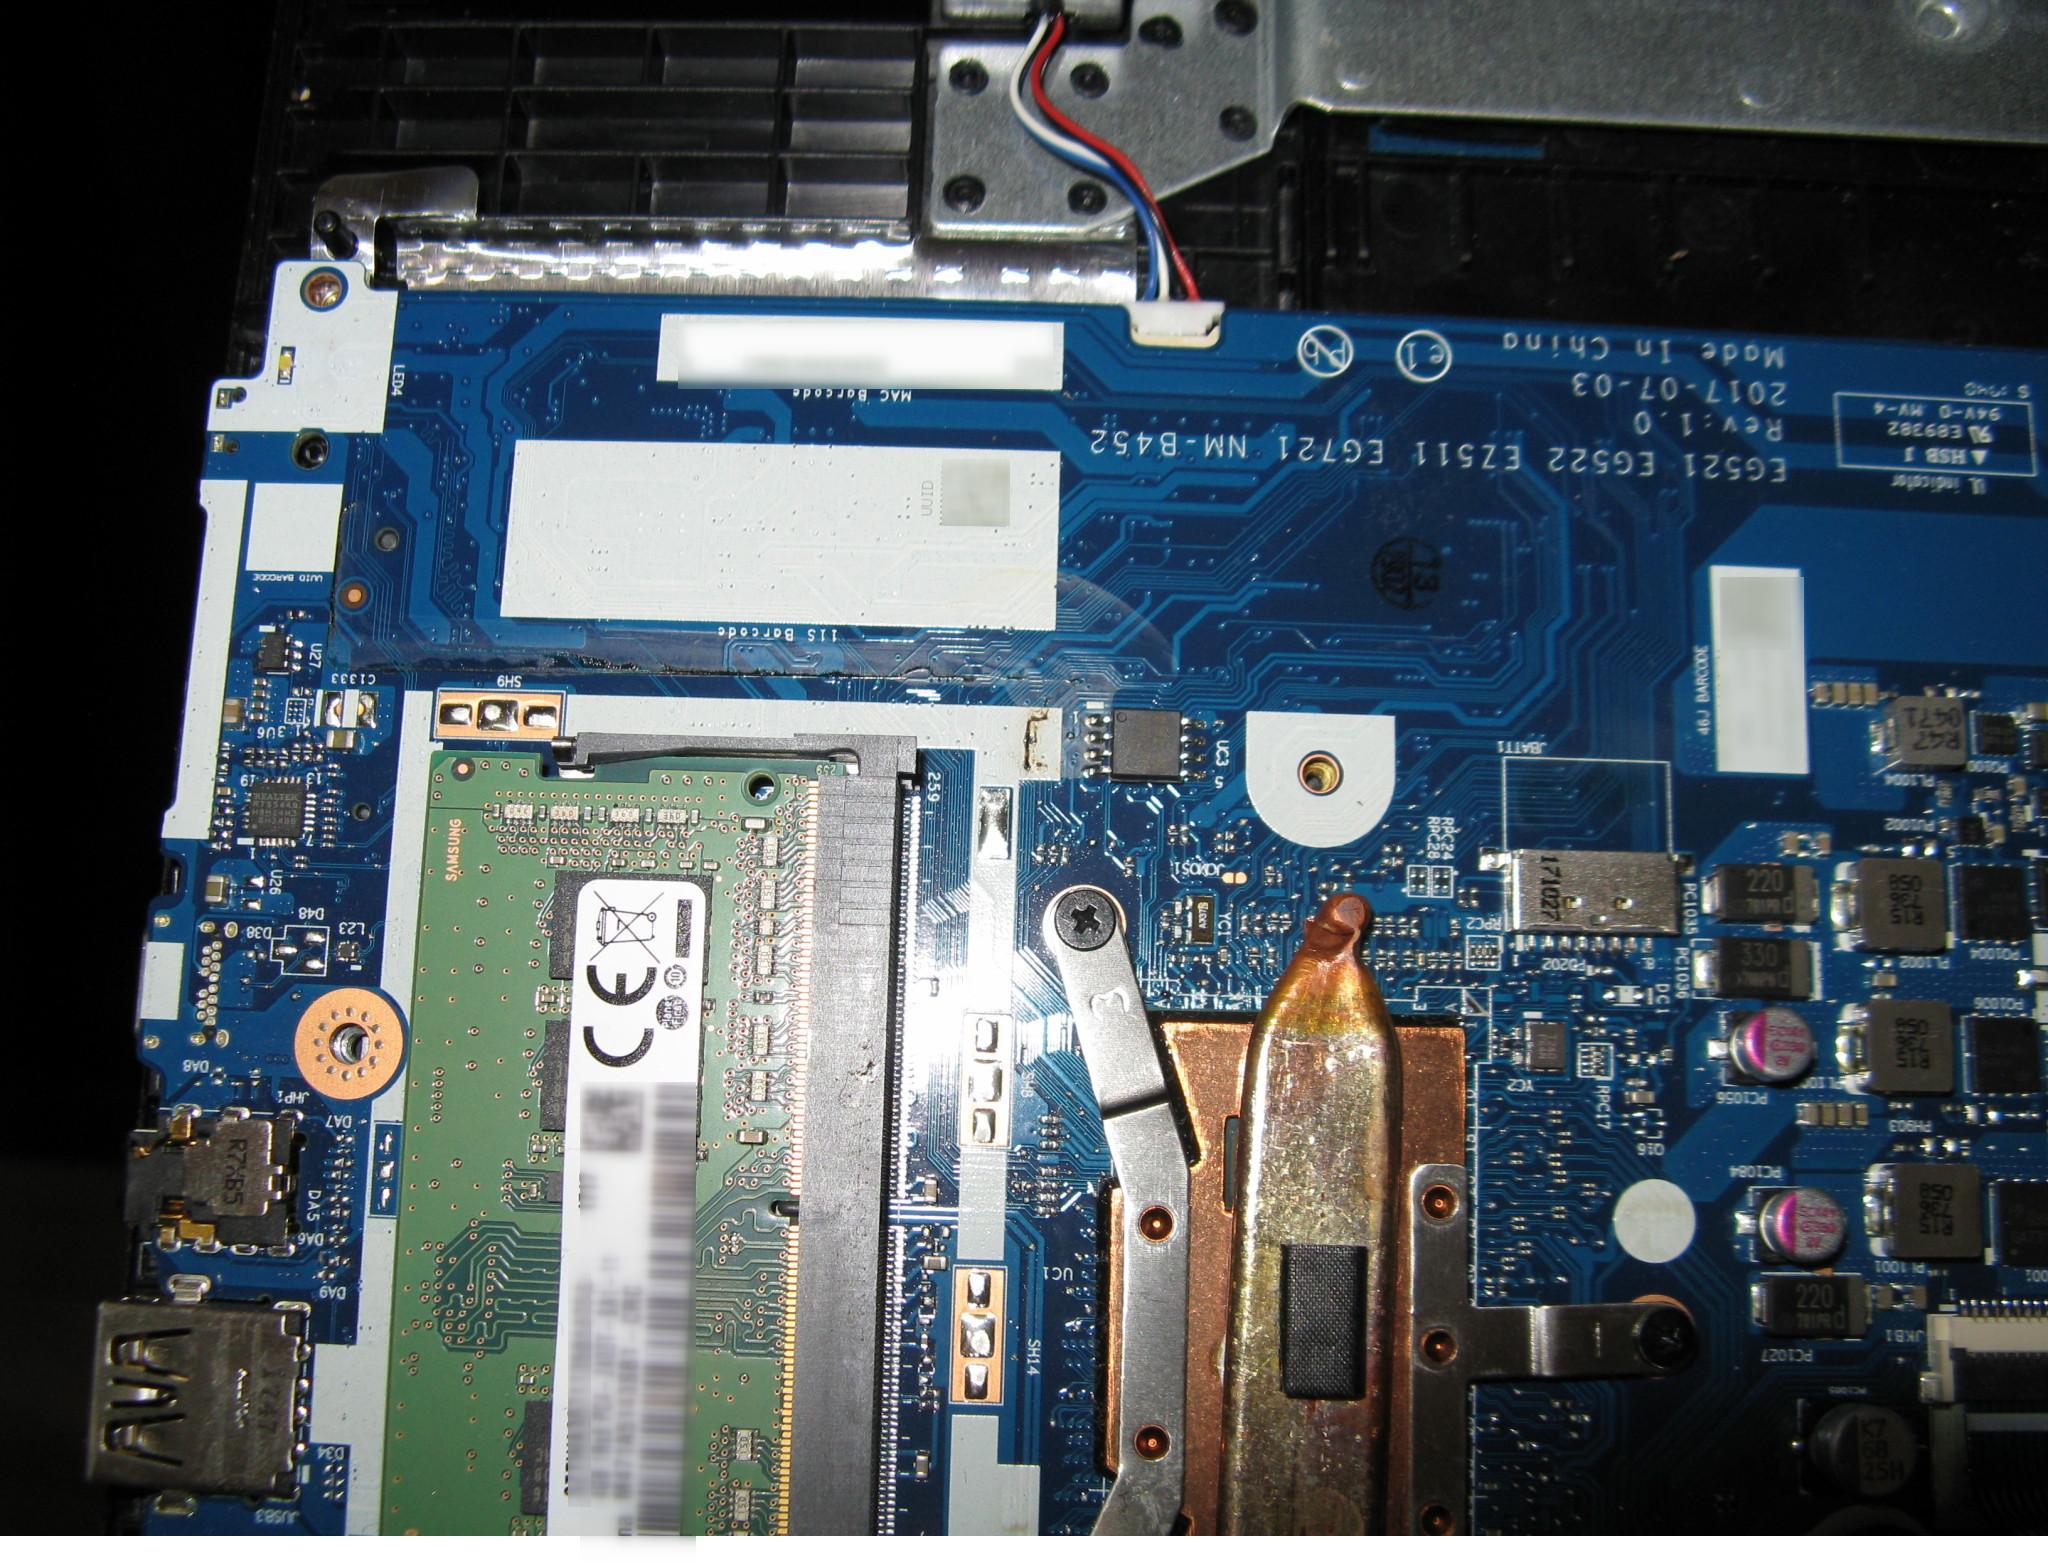
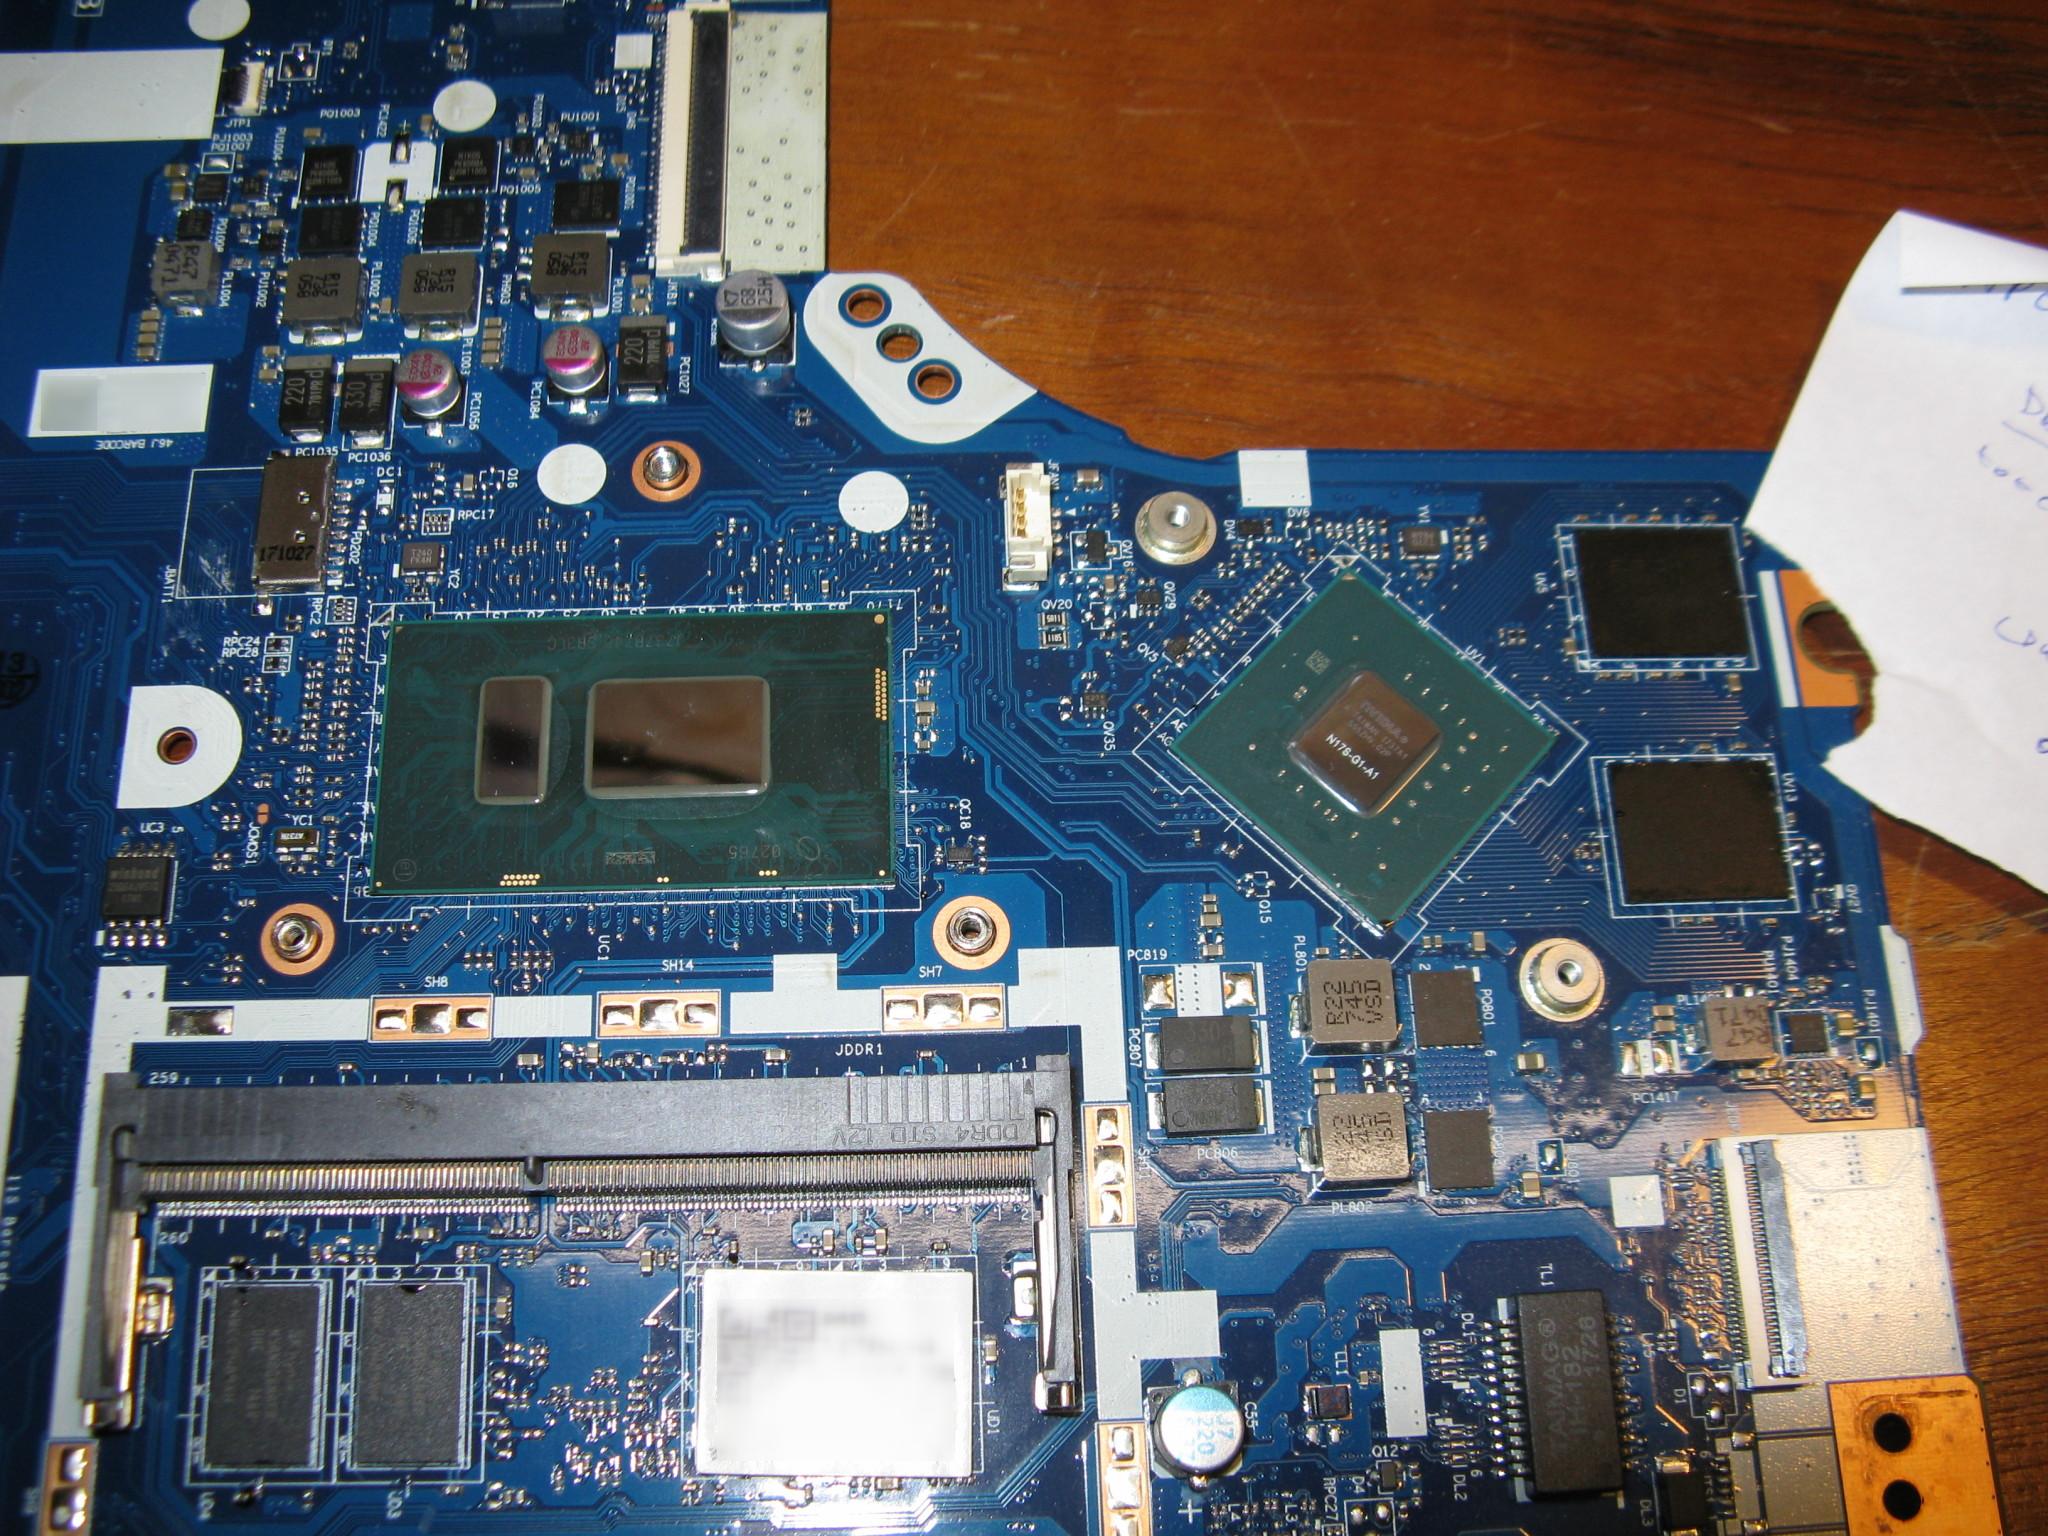
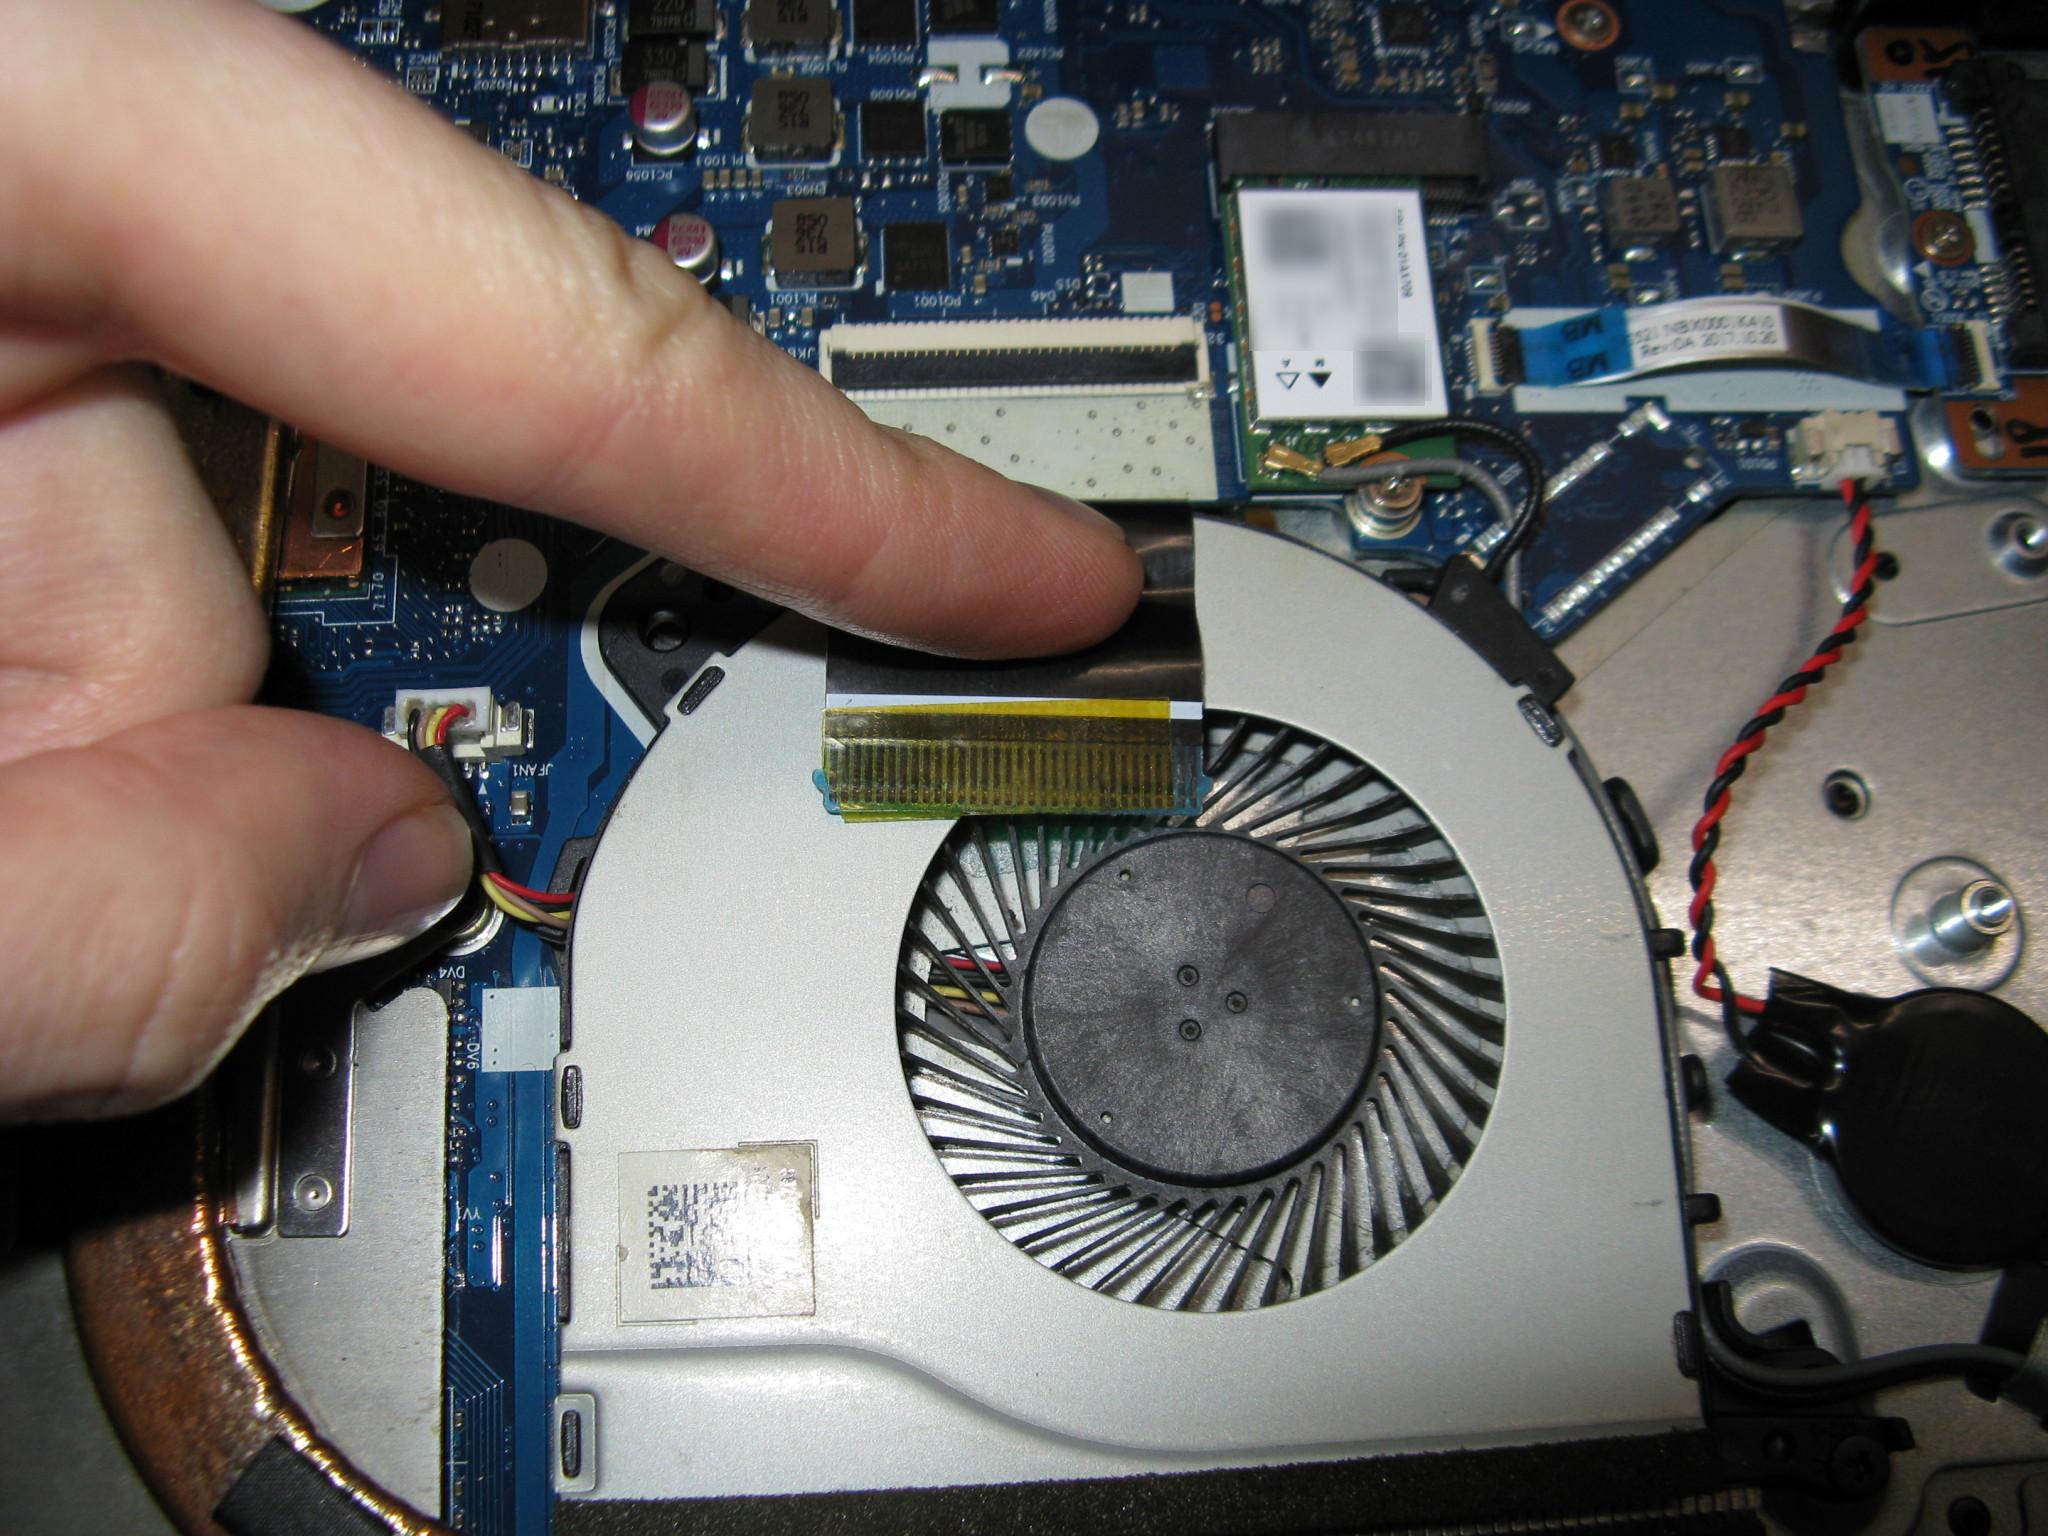
On disassembly, the system board seemed mostly clean:
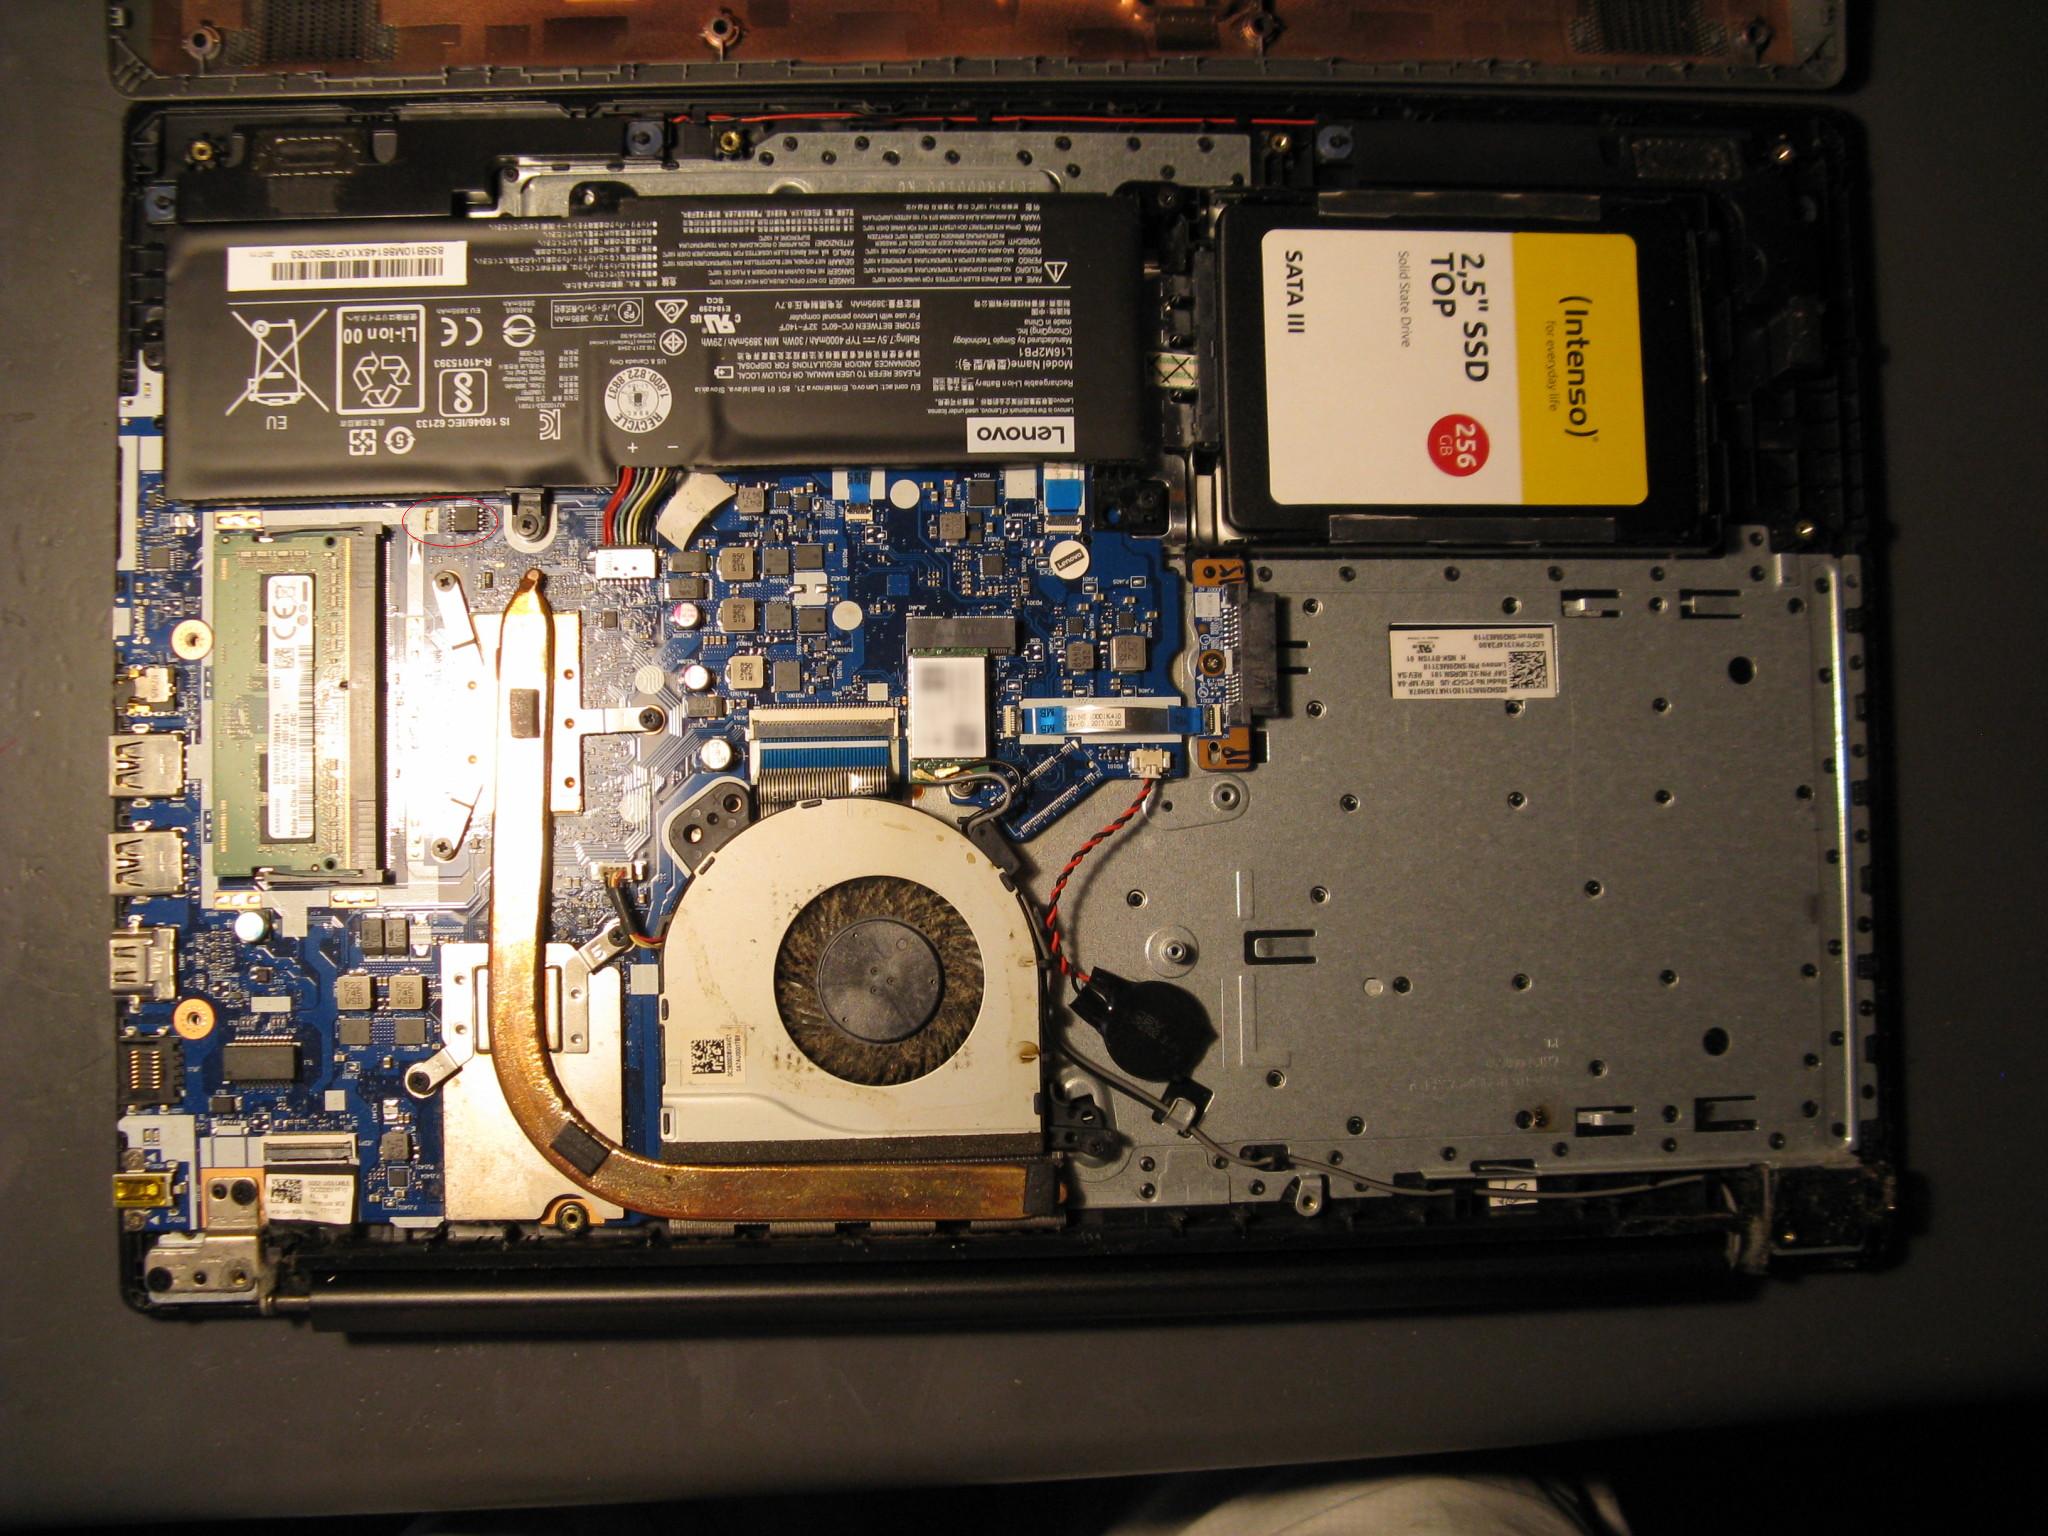
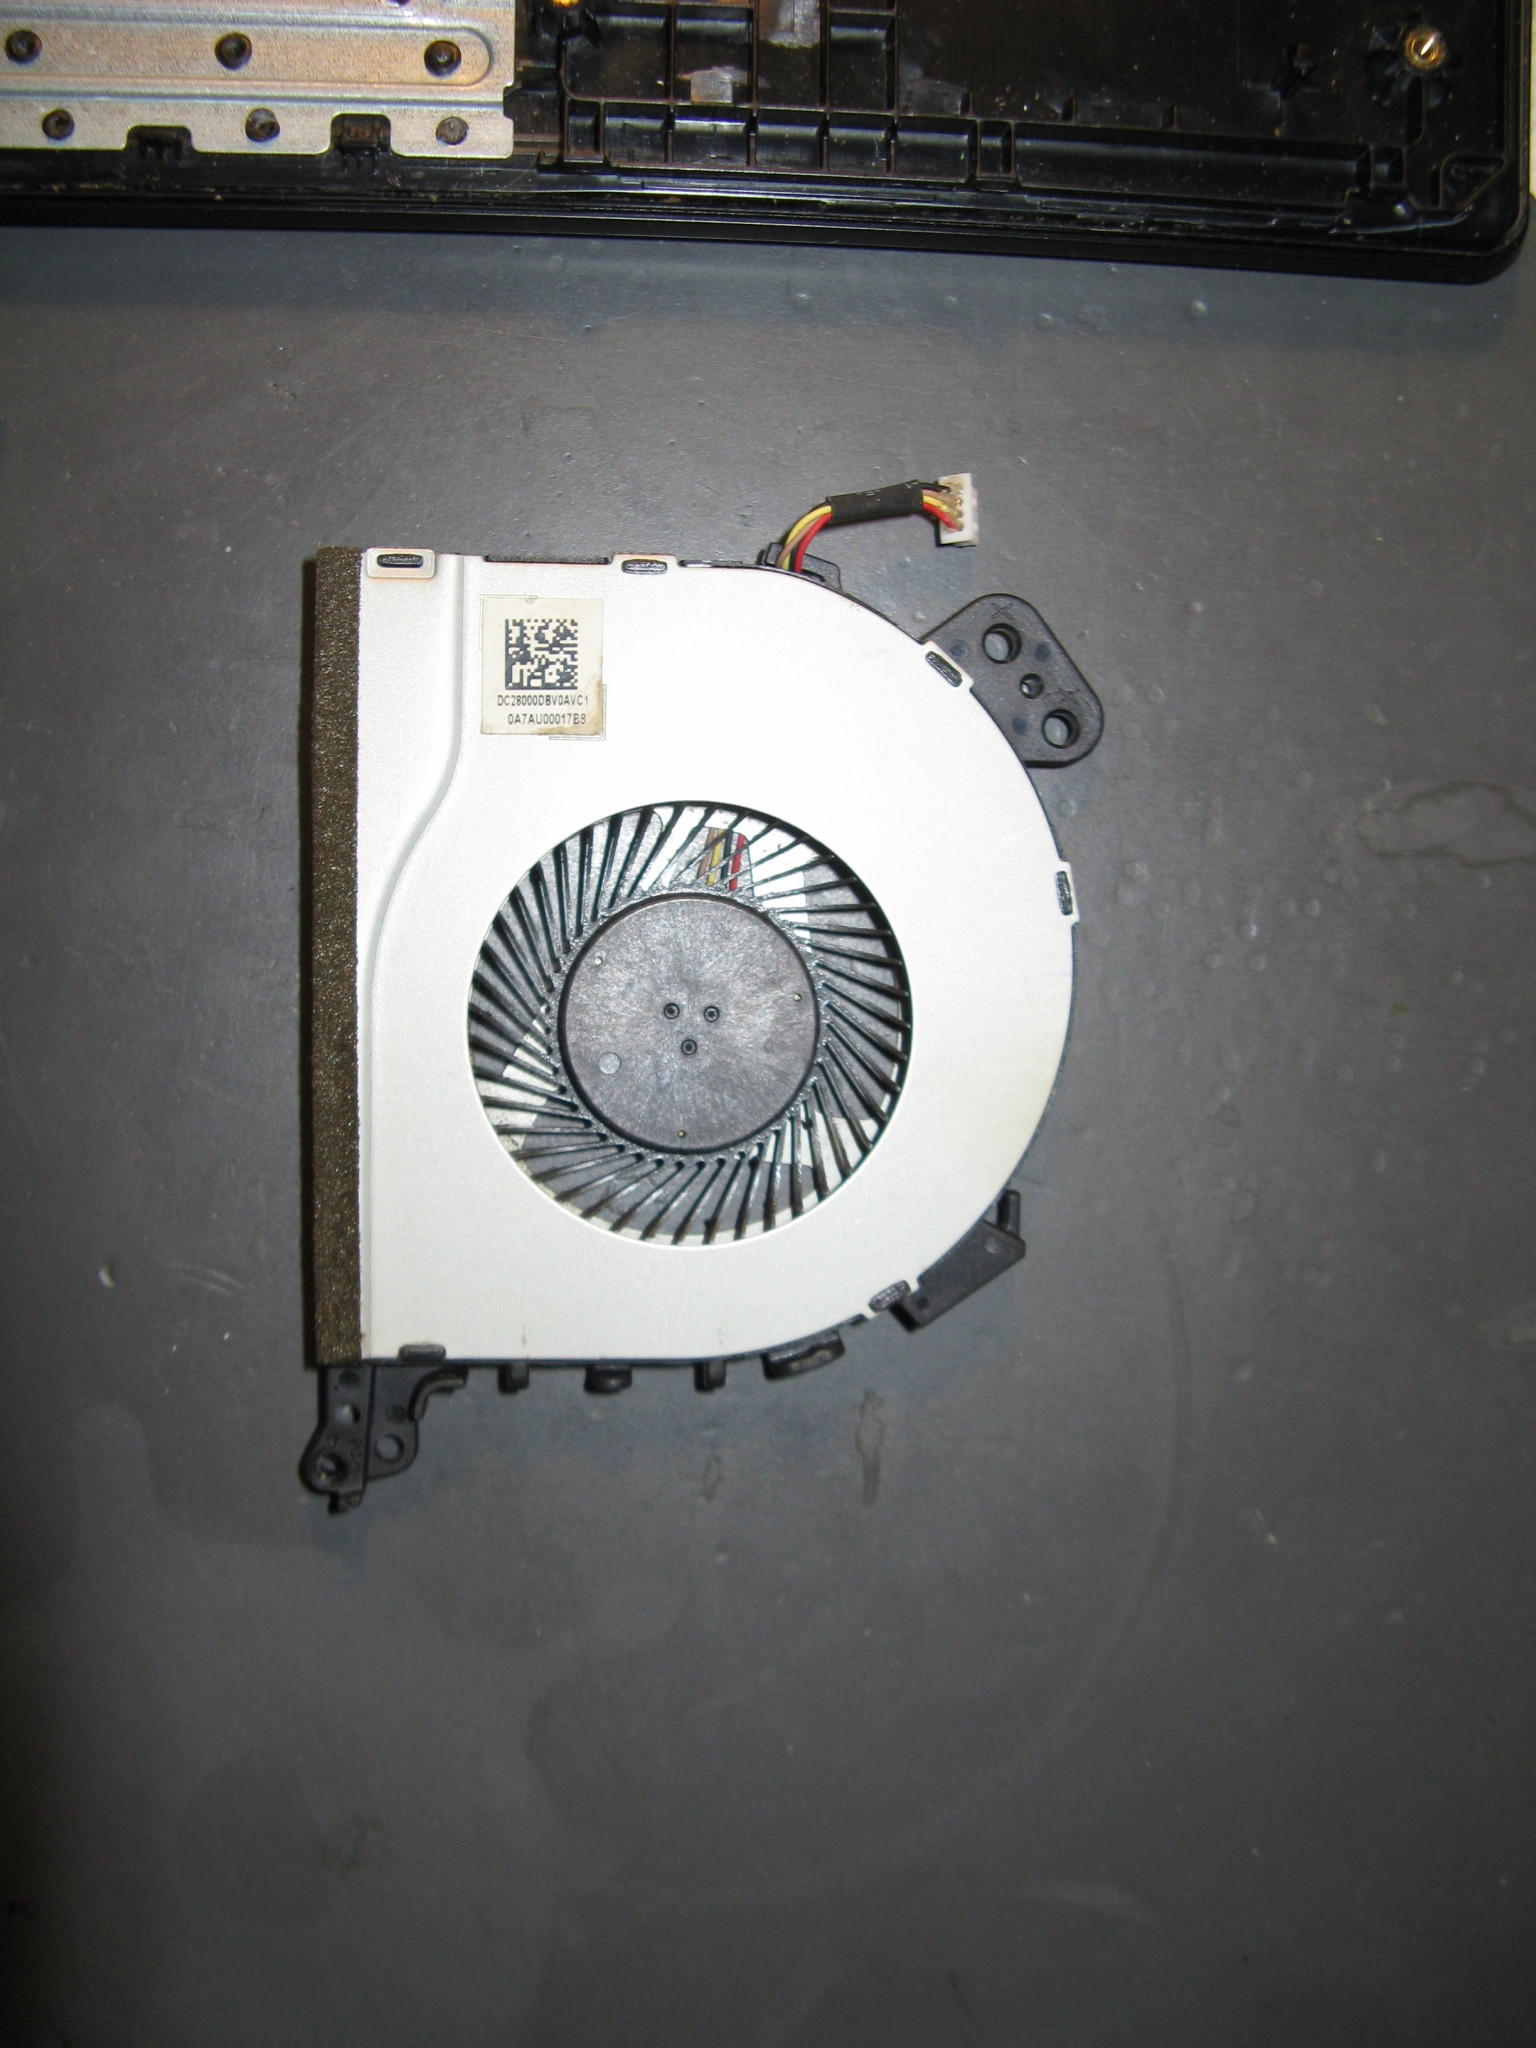
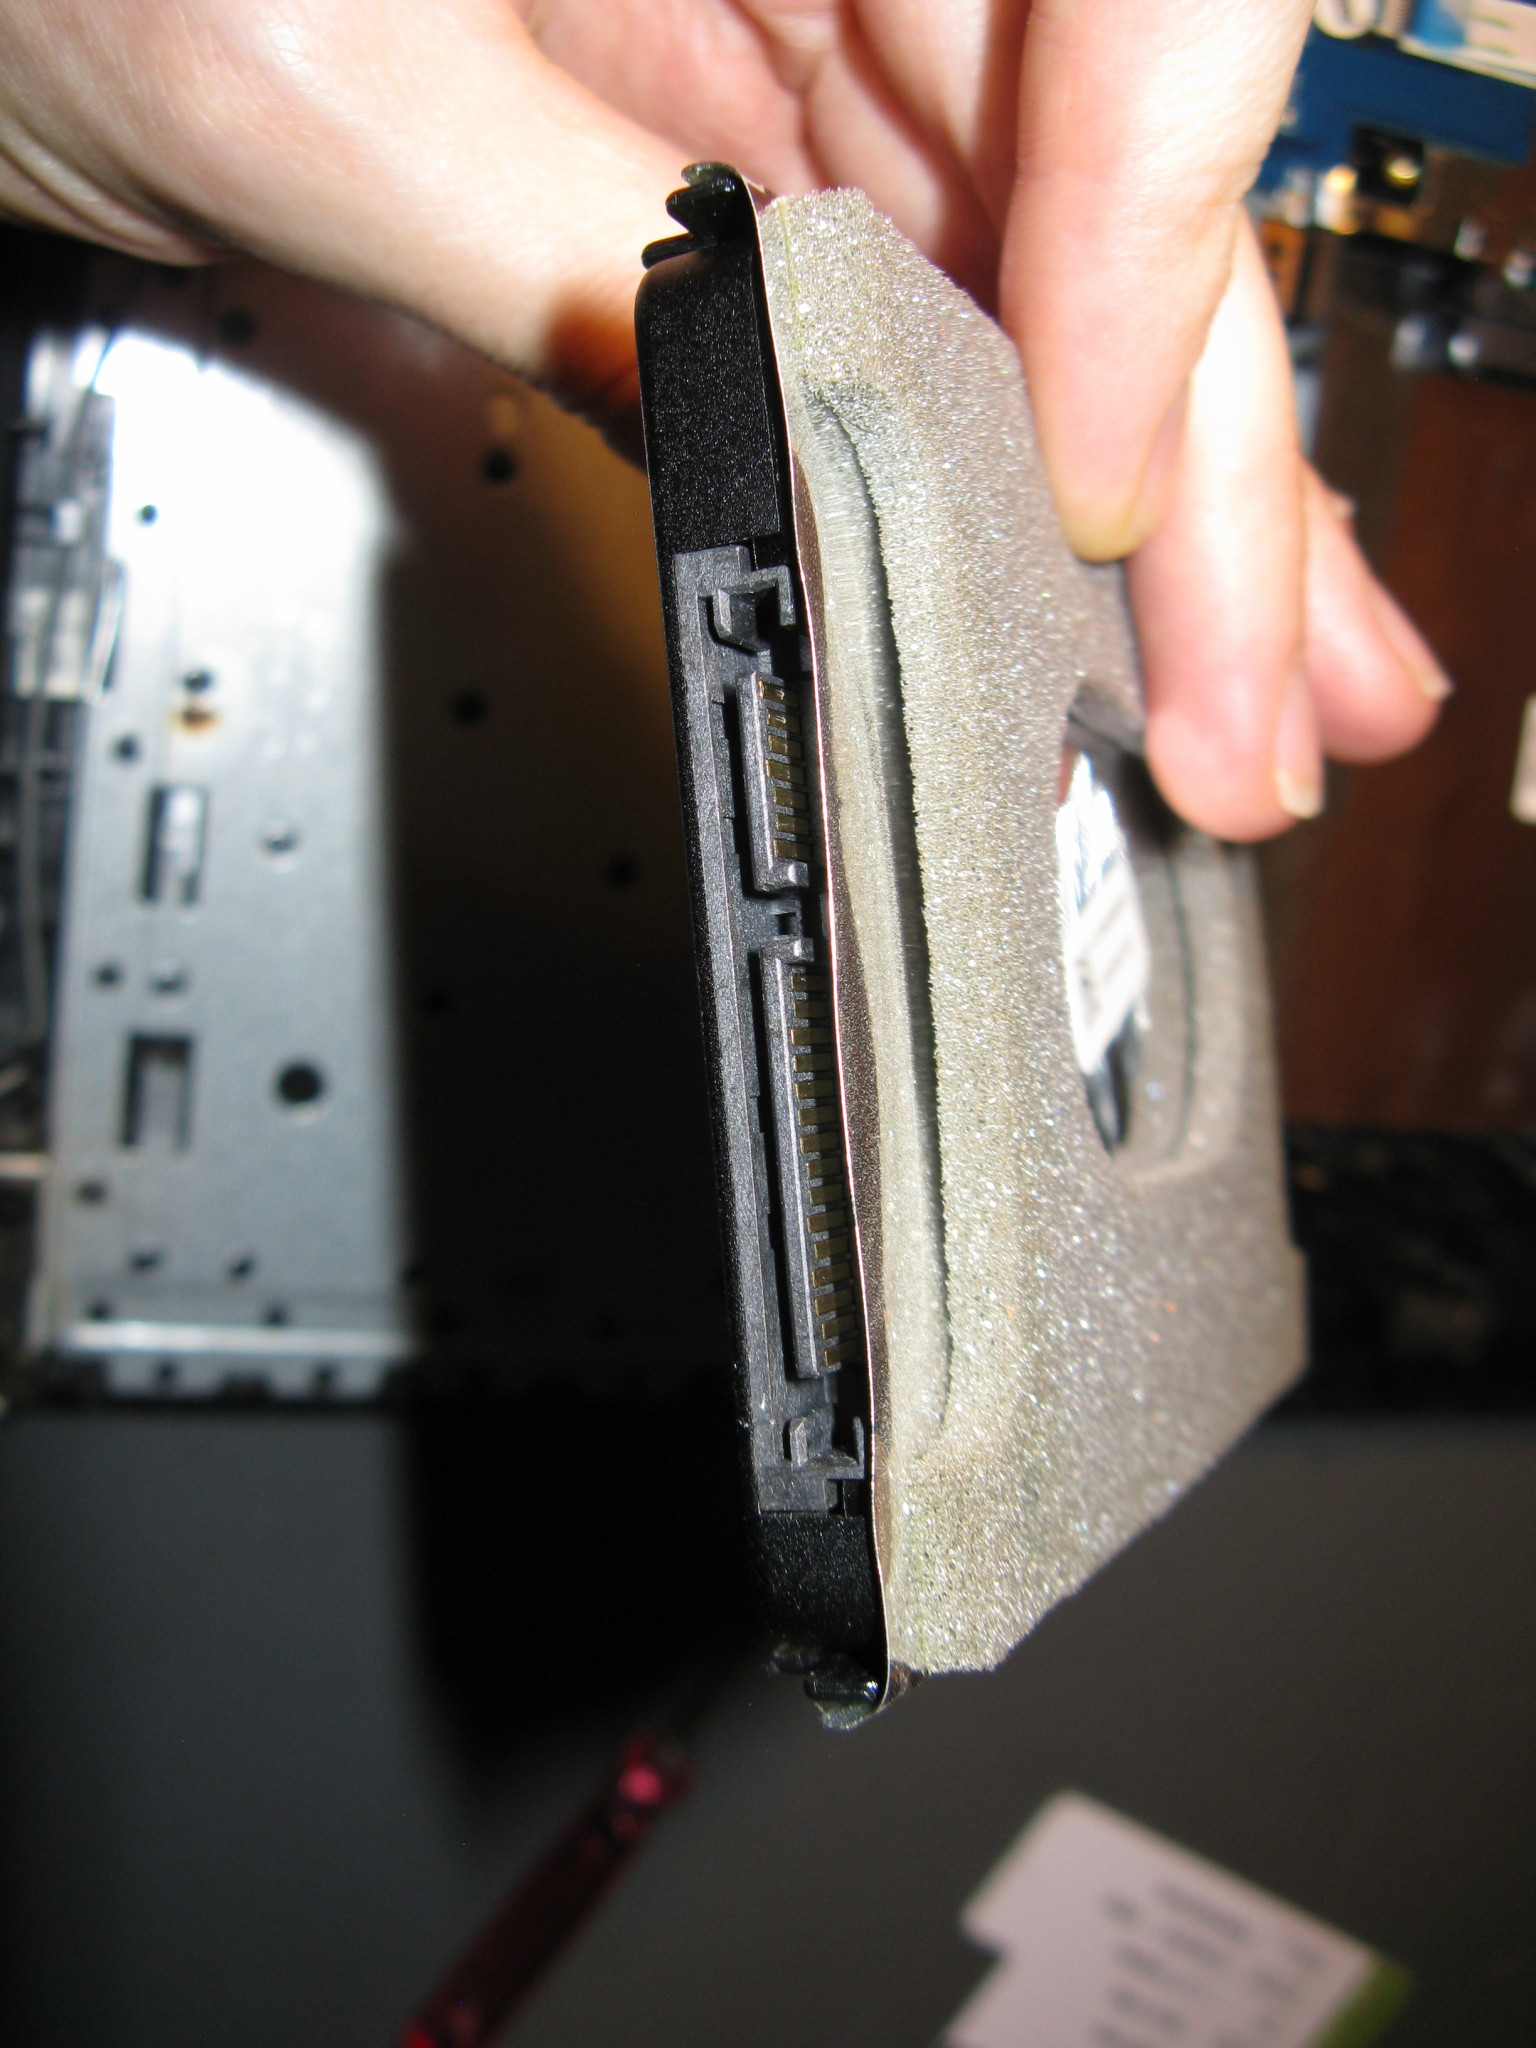
There is dust in the fan, with a bit of coffee, and of course I removed that. But there is no coffee on the SSD, so at the very least data can be recovered. Also, connectors are all clean. There is very little coffee on this side of the board.
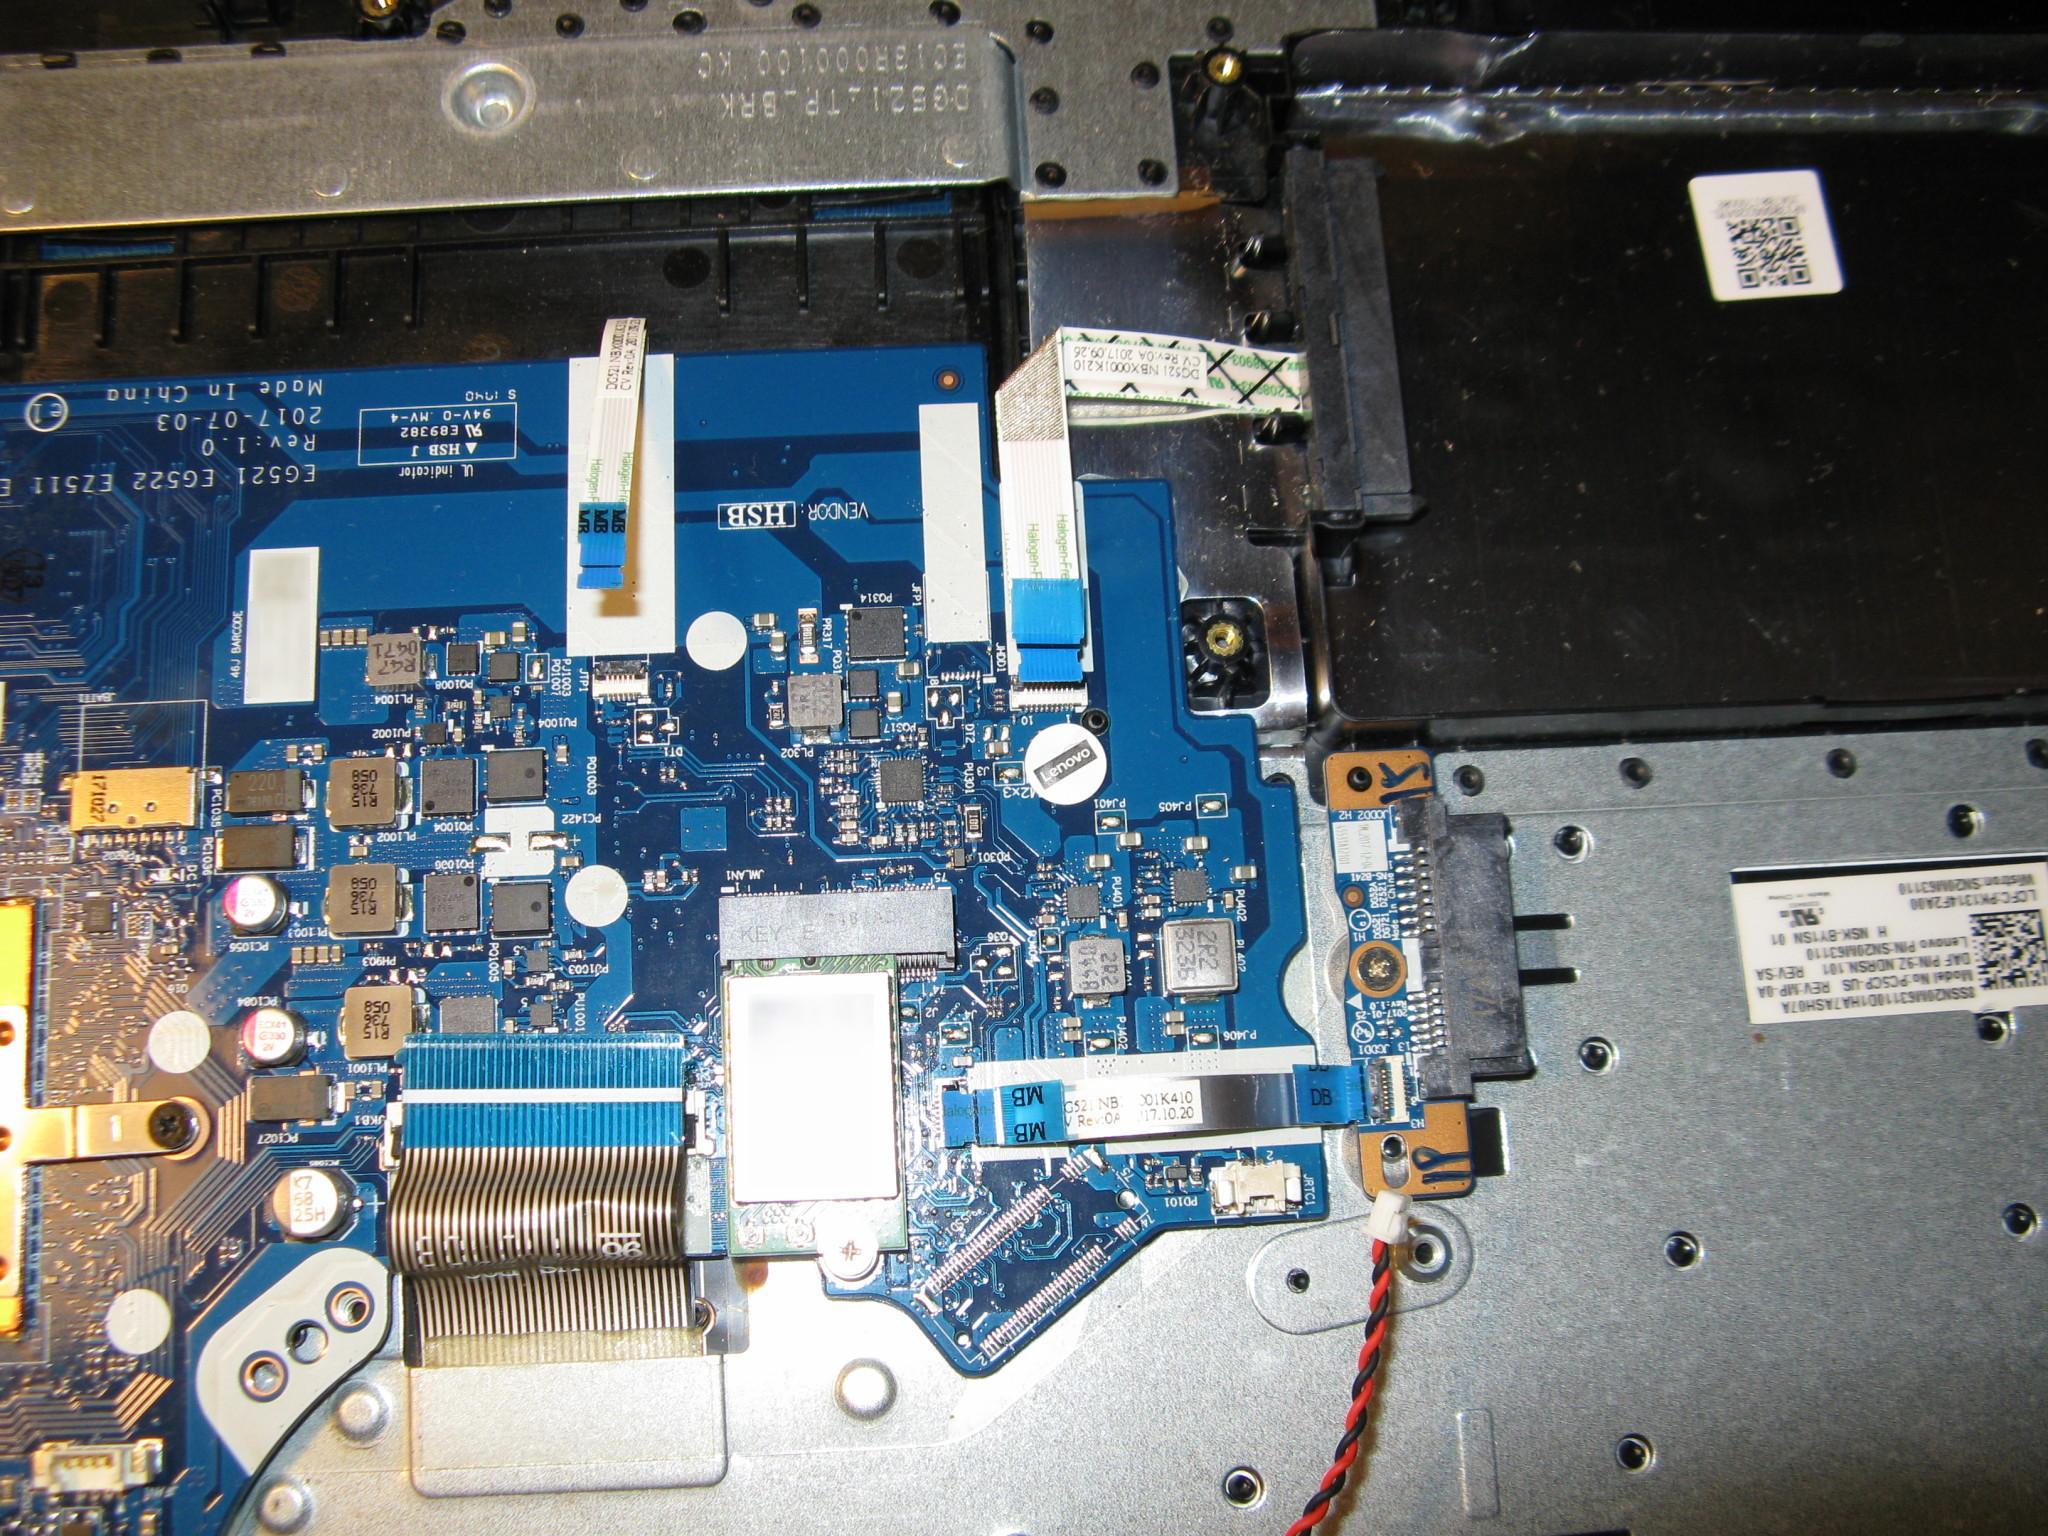
After removing the screws including the ones hiding under the Lenovo-sticker and in the screen hinges, the system board could be removed and flipped over.
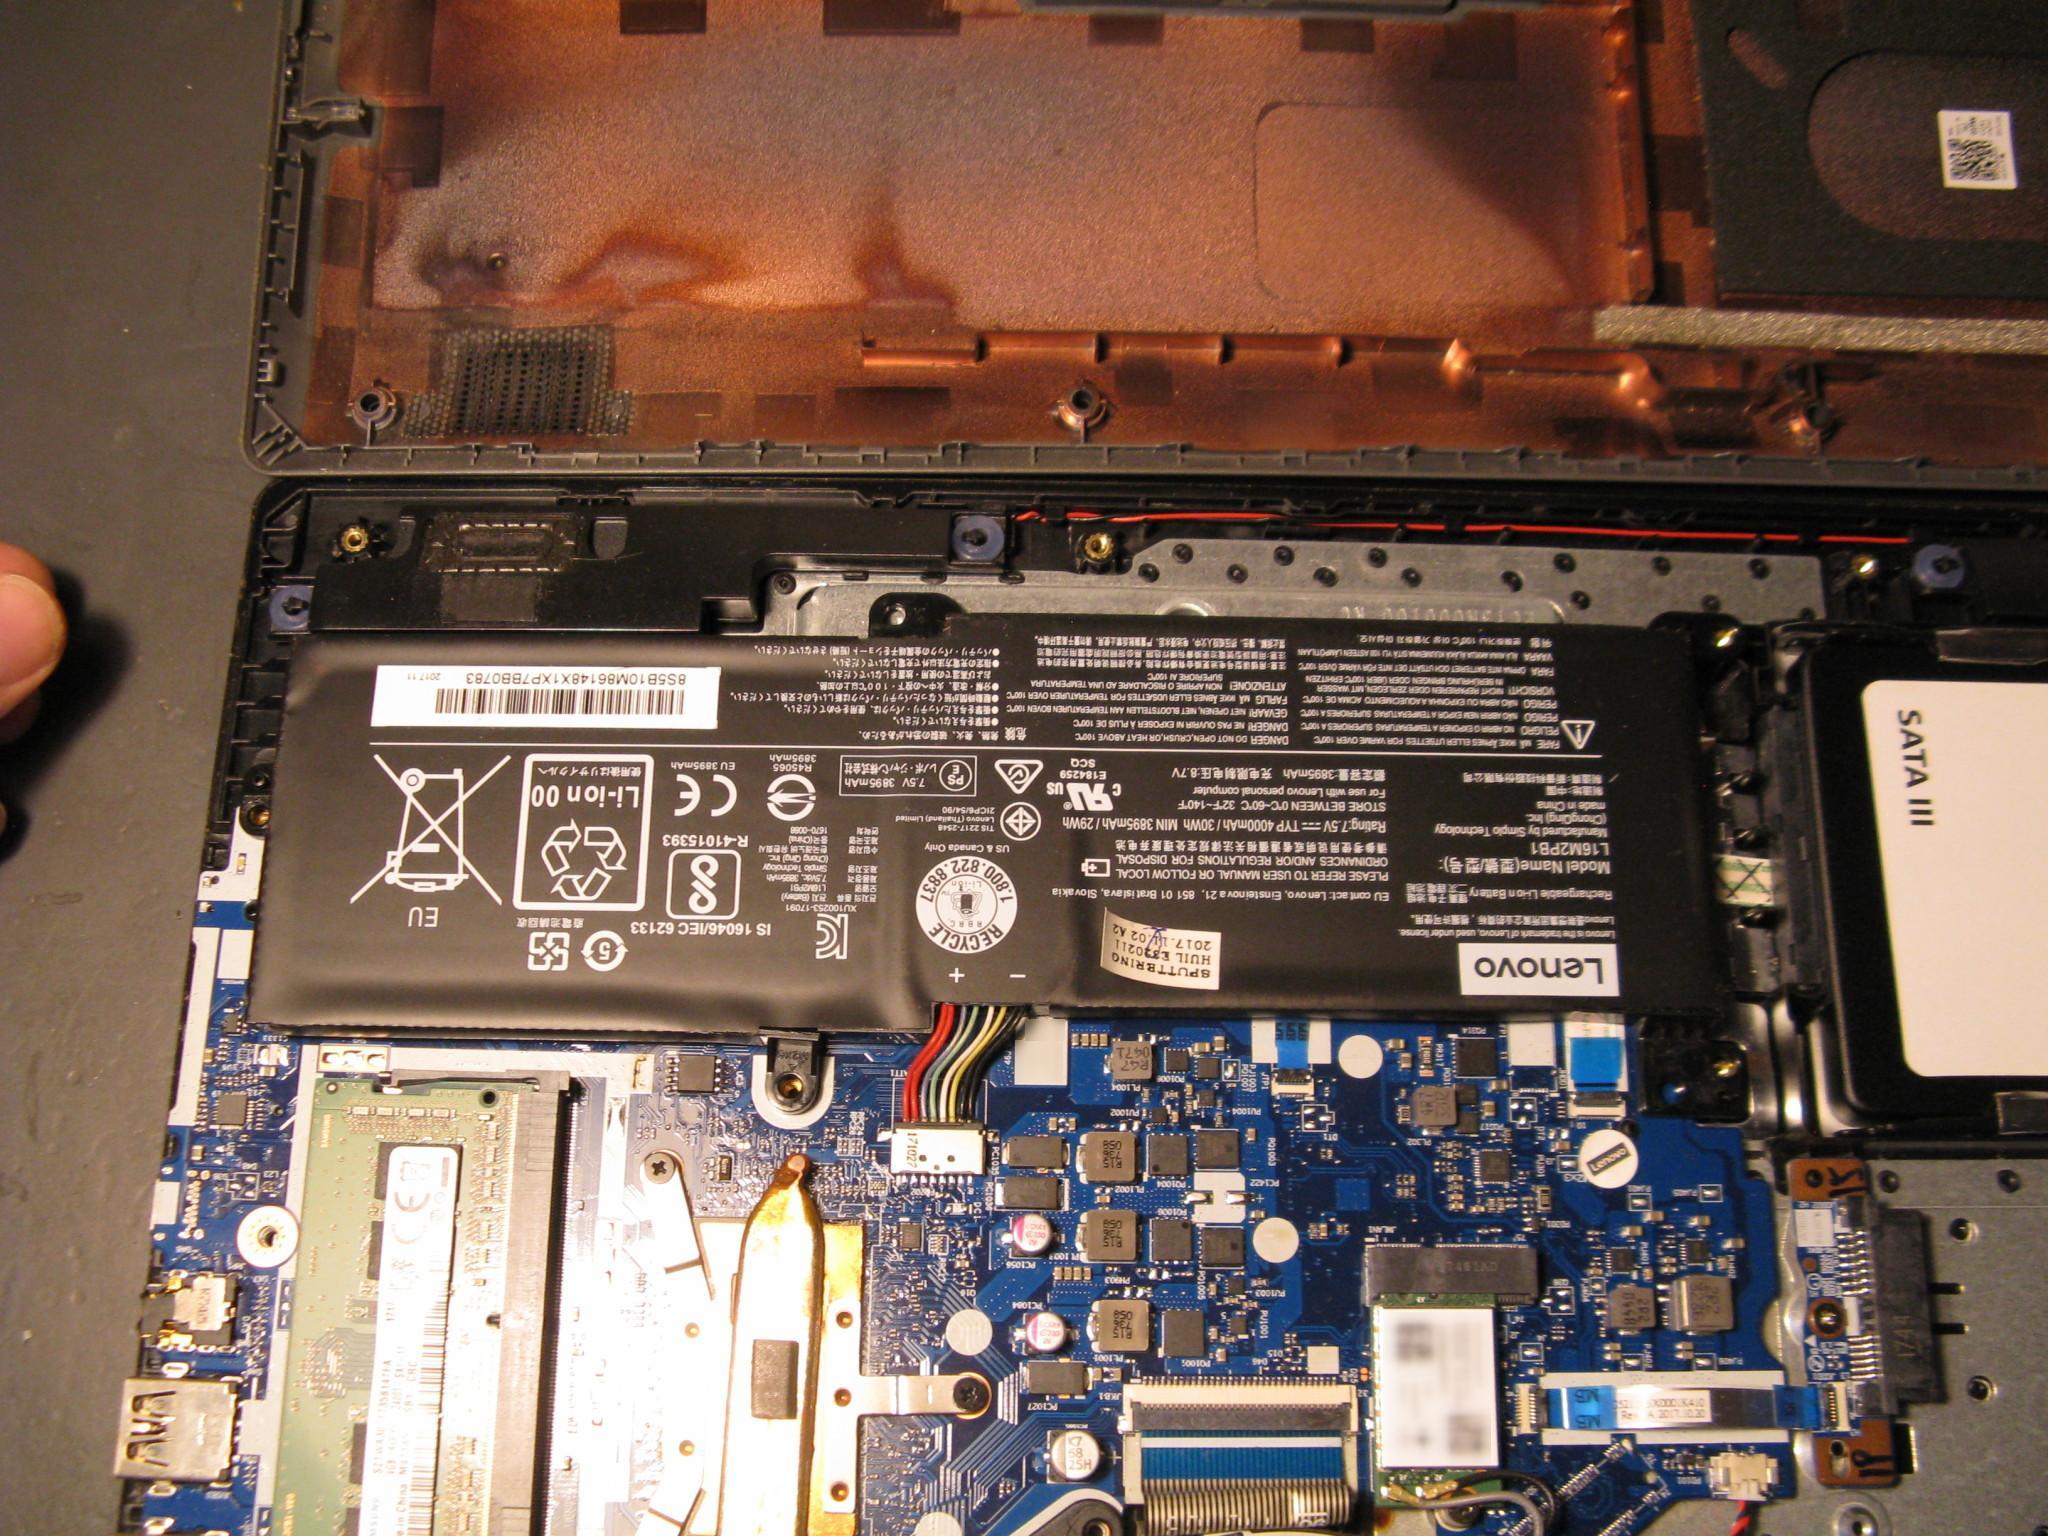
On the back of the system board, there was more coffee and a bit of corrosion.
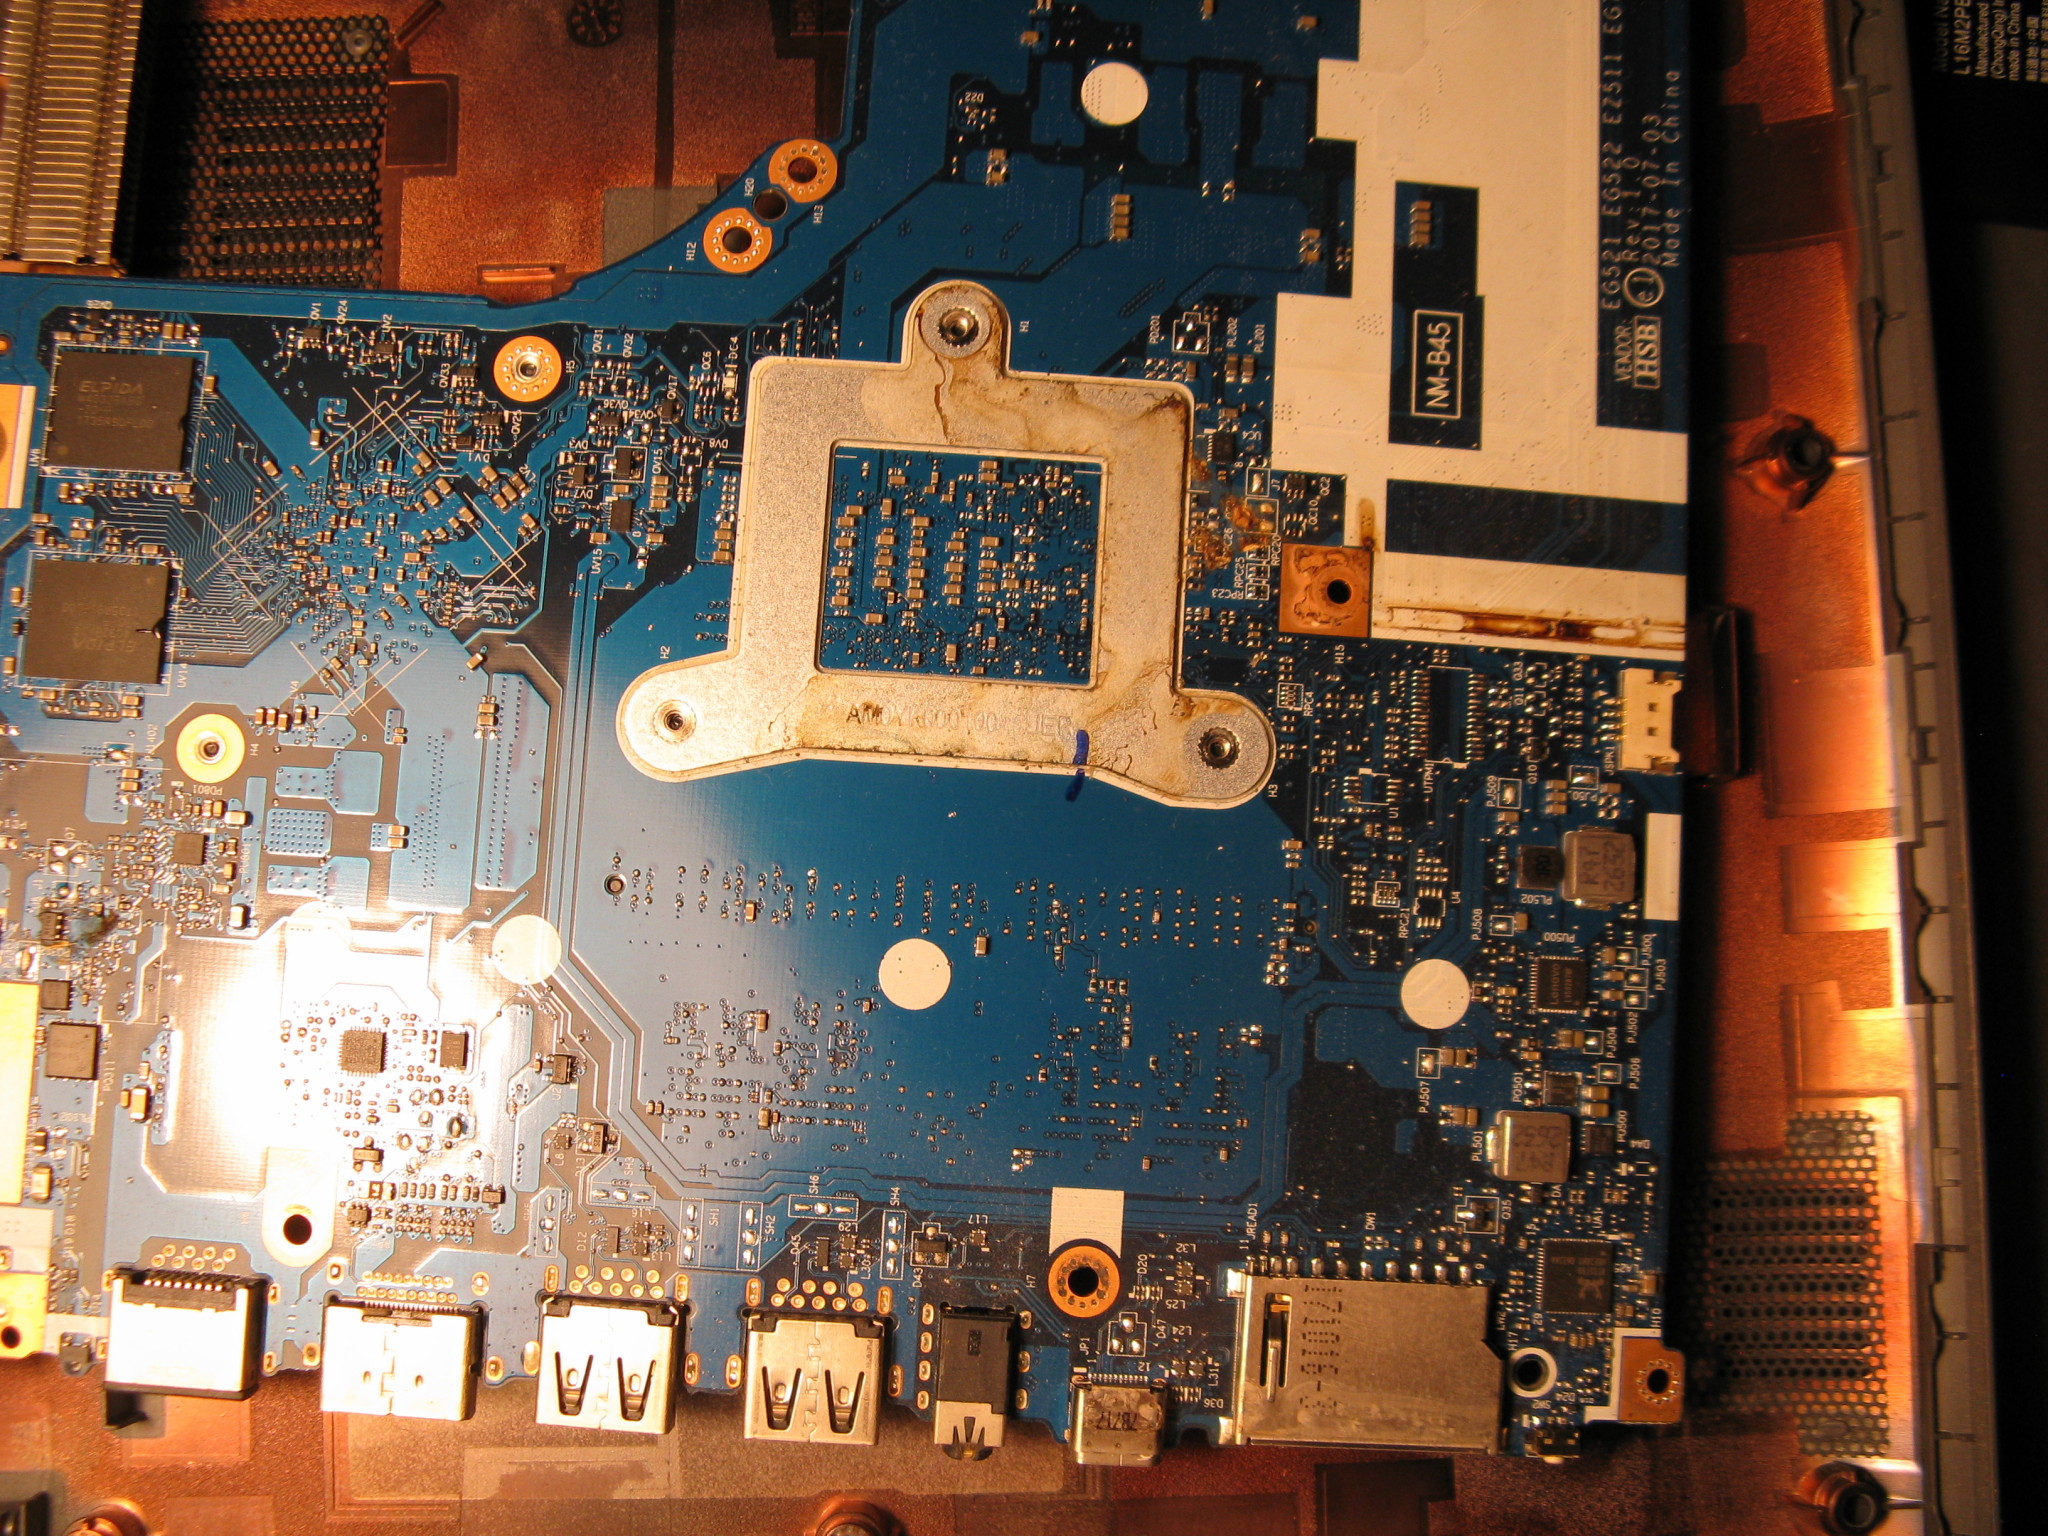


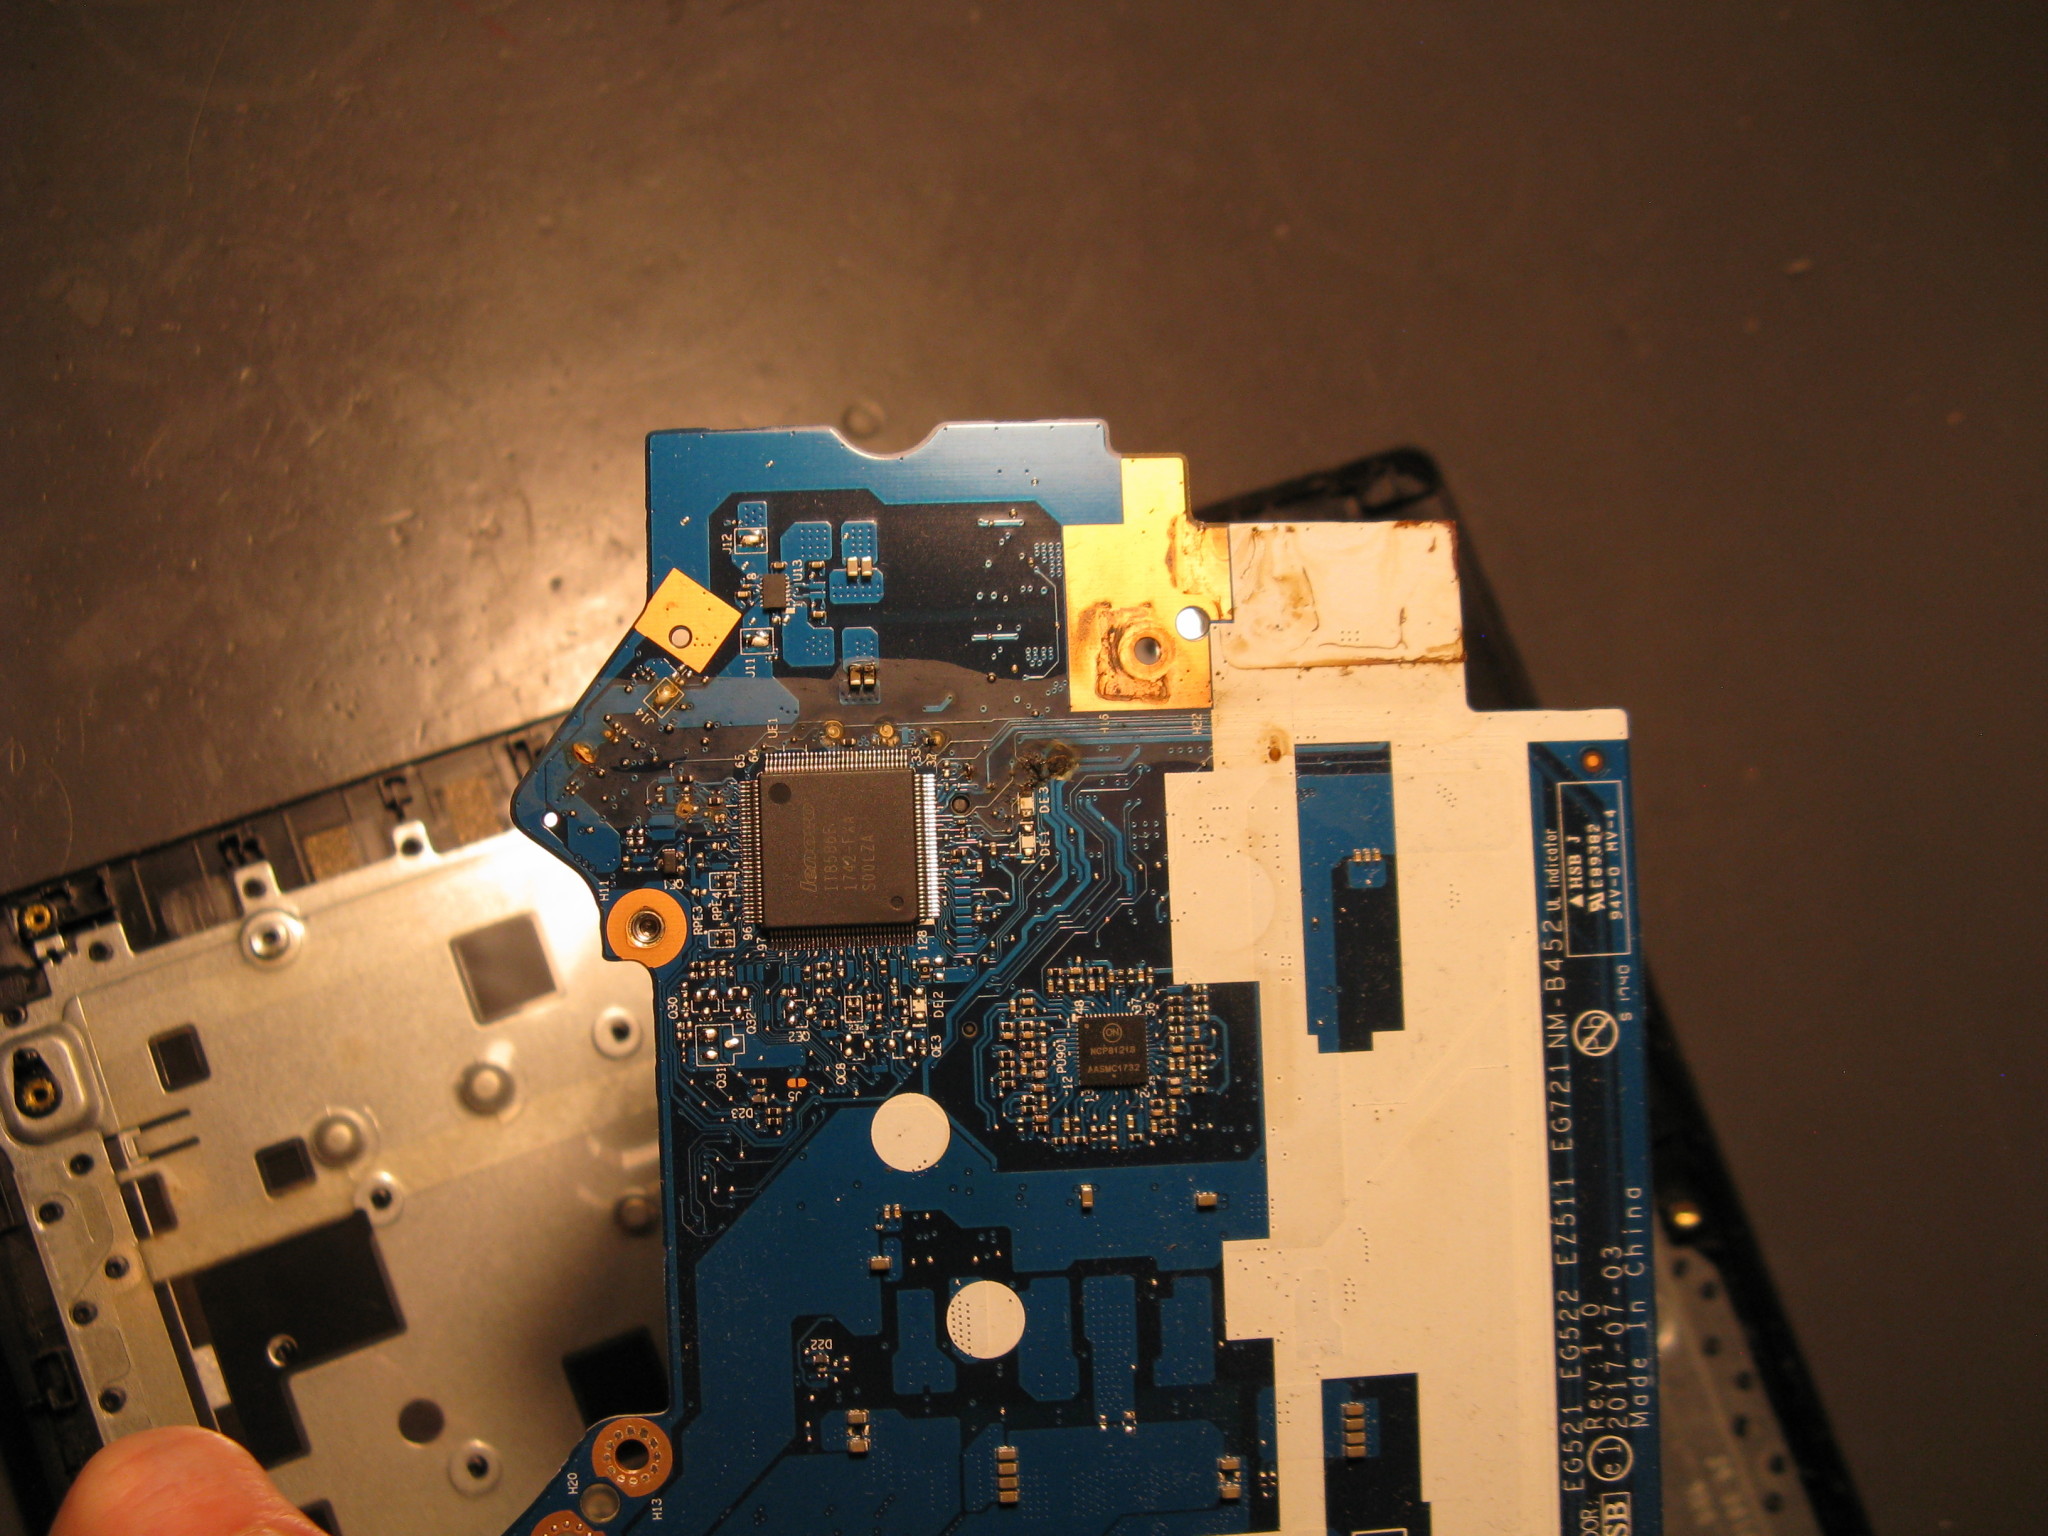
Above pictures show where there was coffee on the system board. Below pictures are from the same area’s of the system board after cleaning.


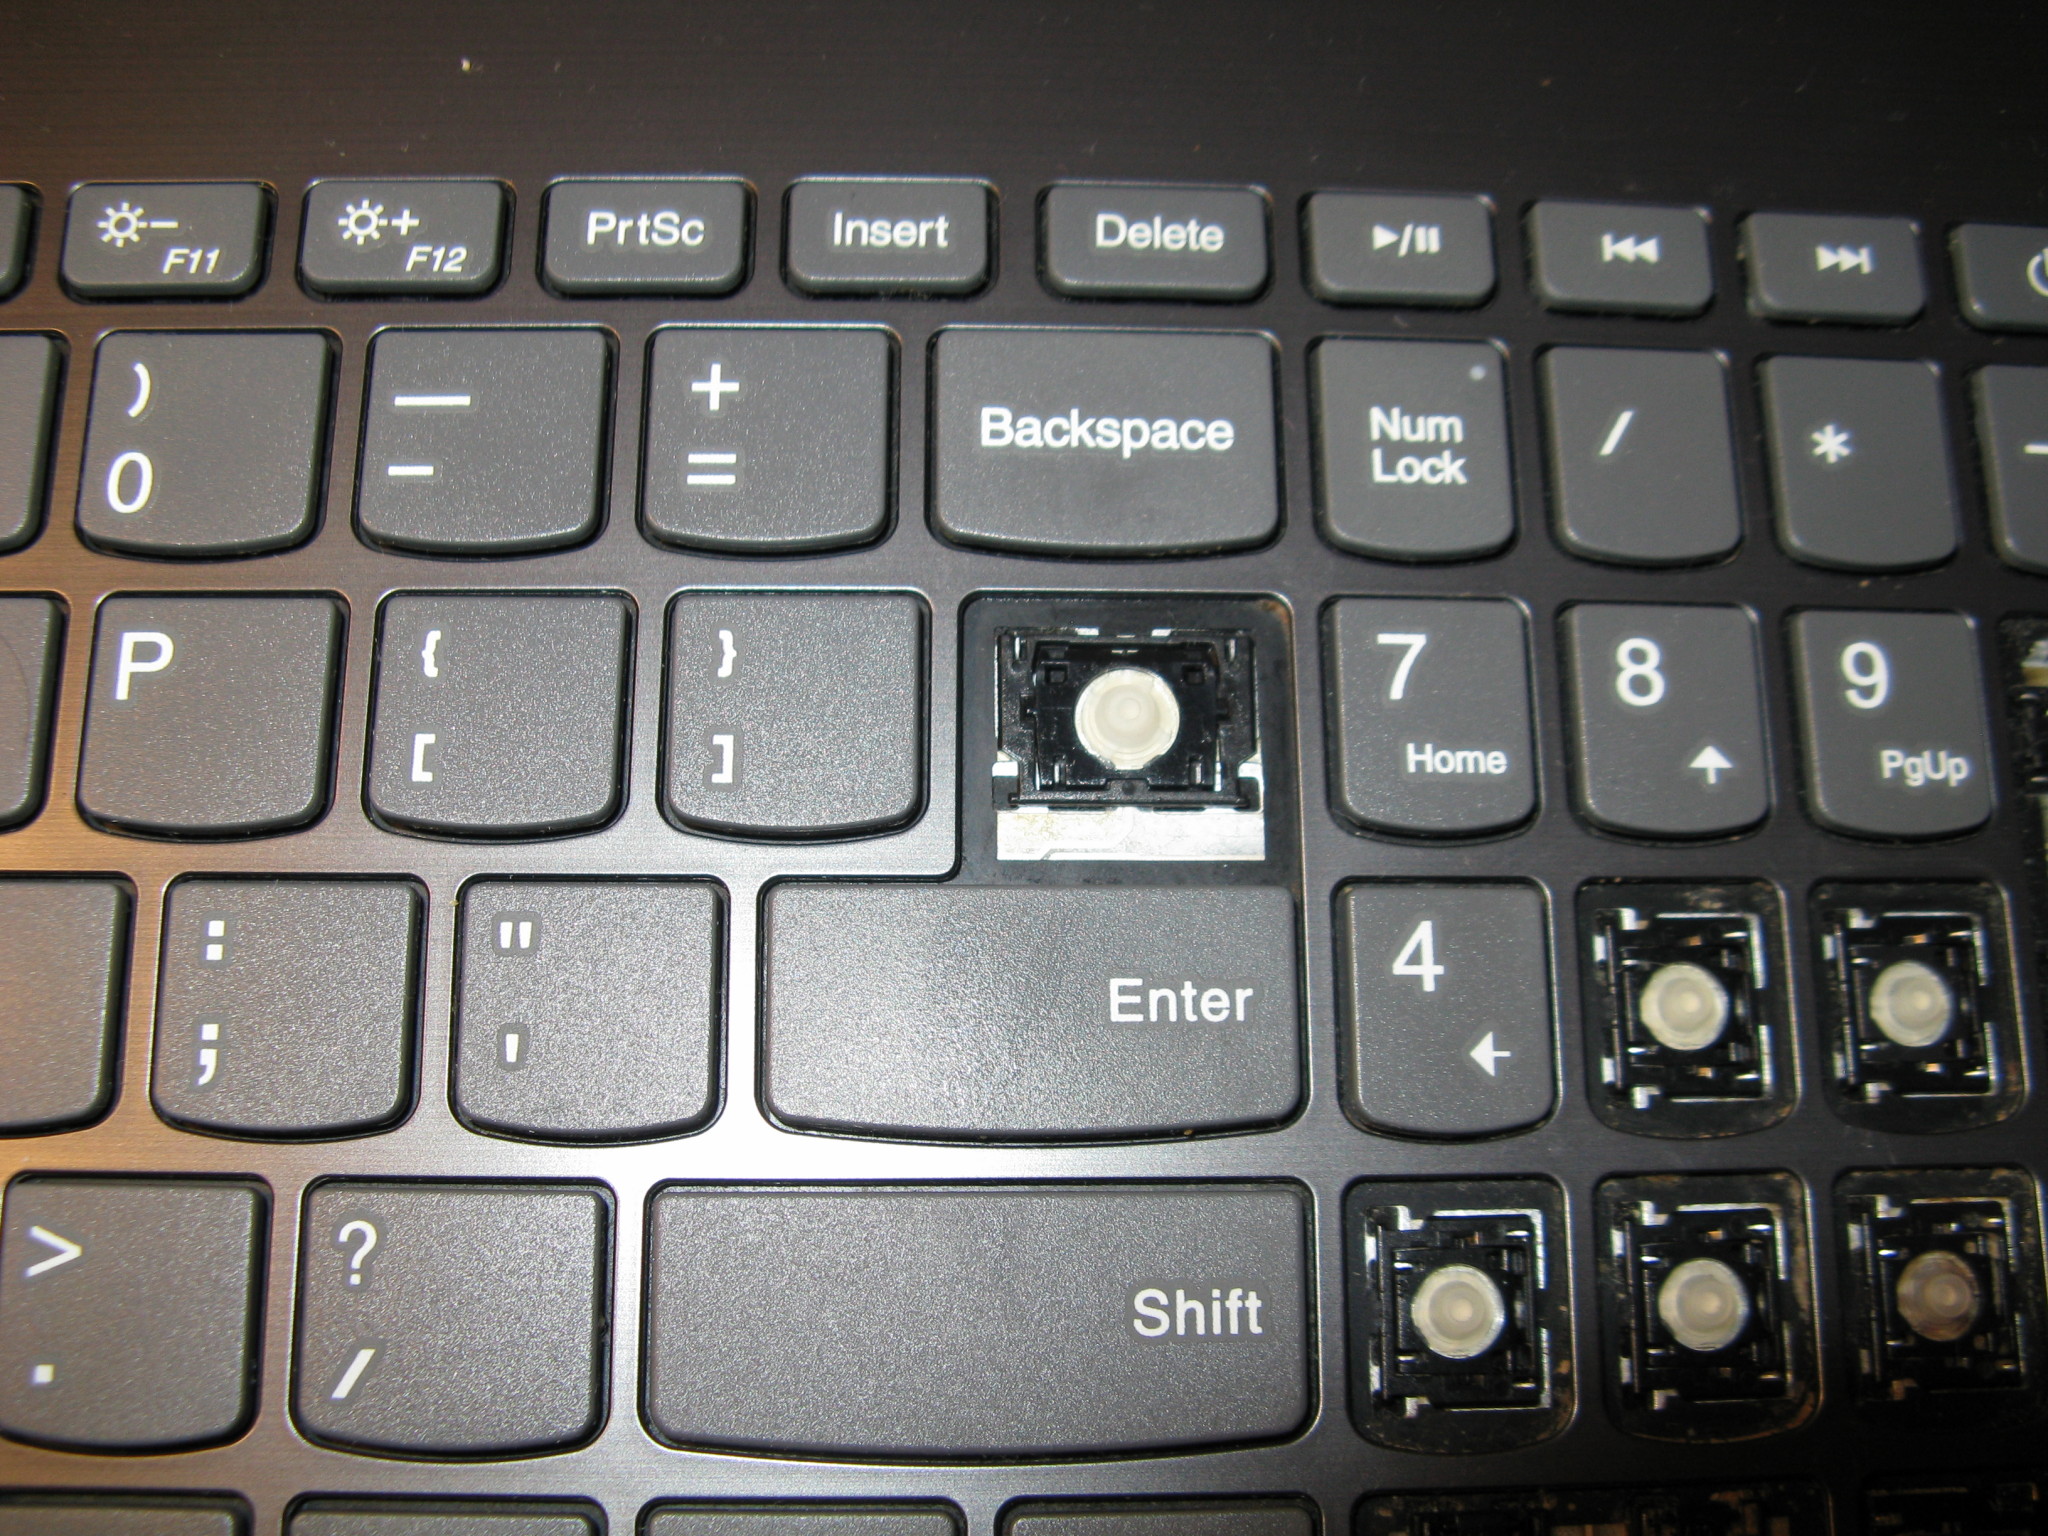
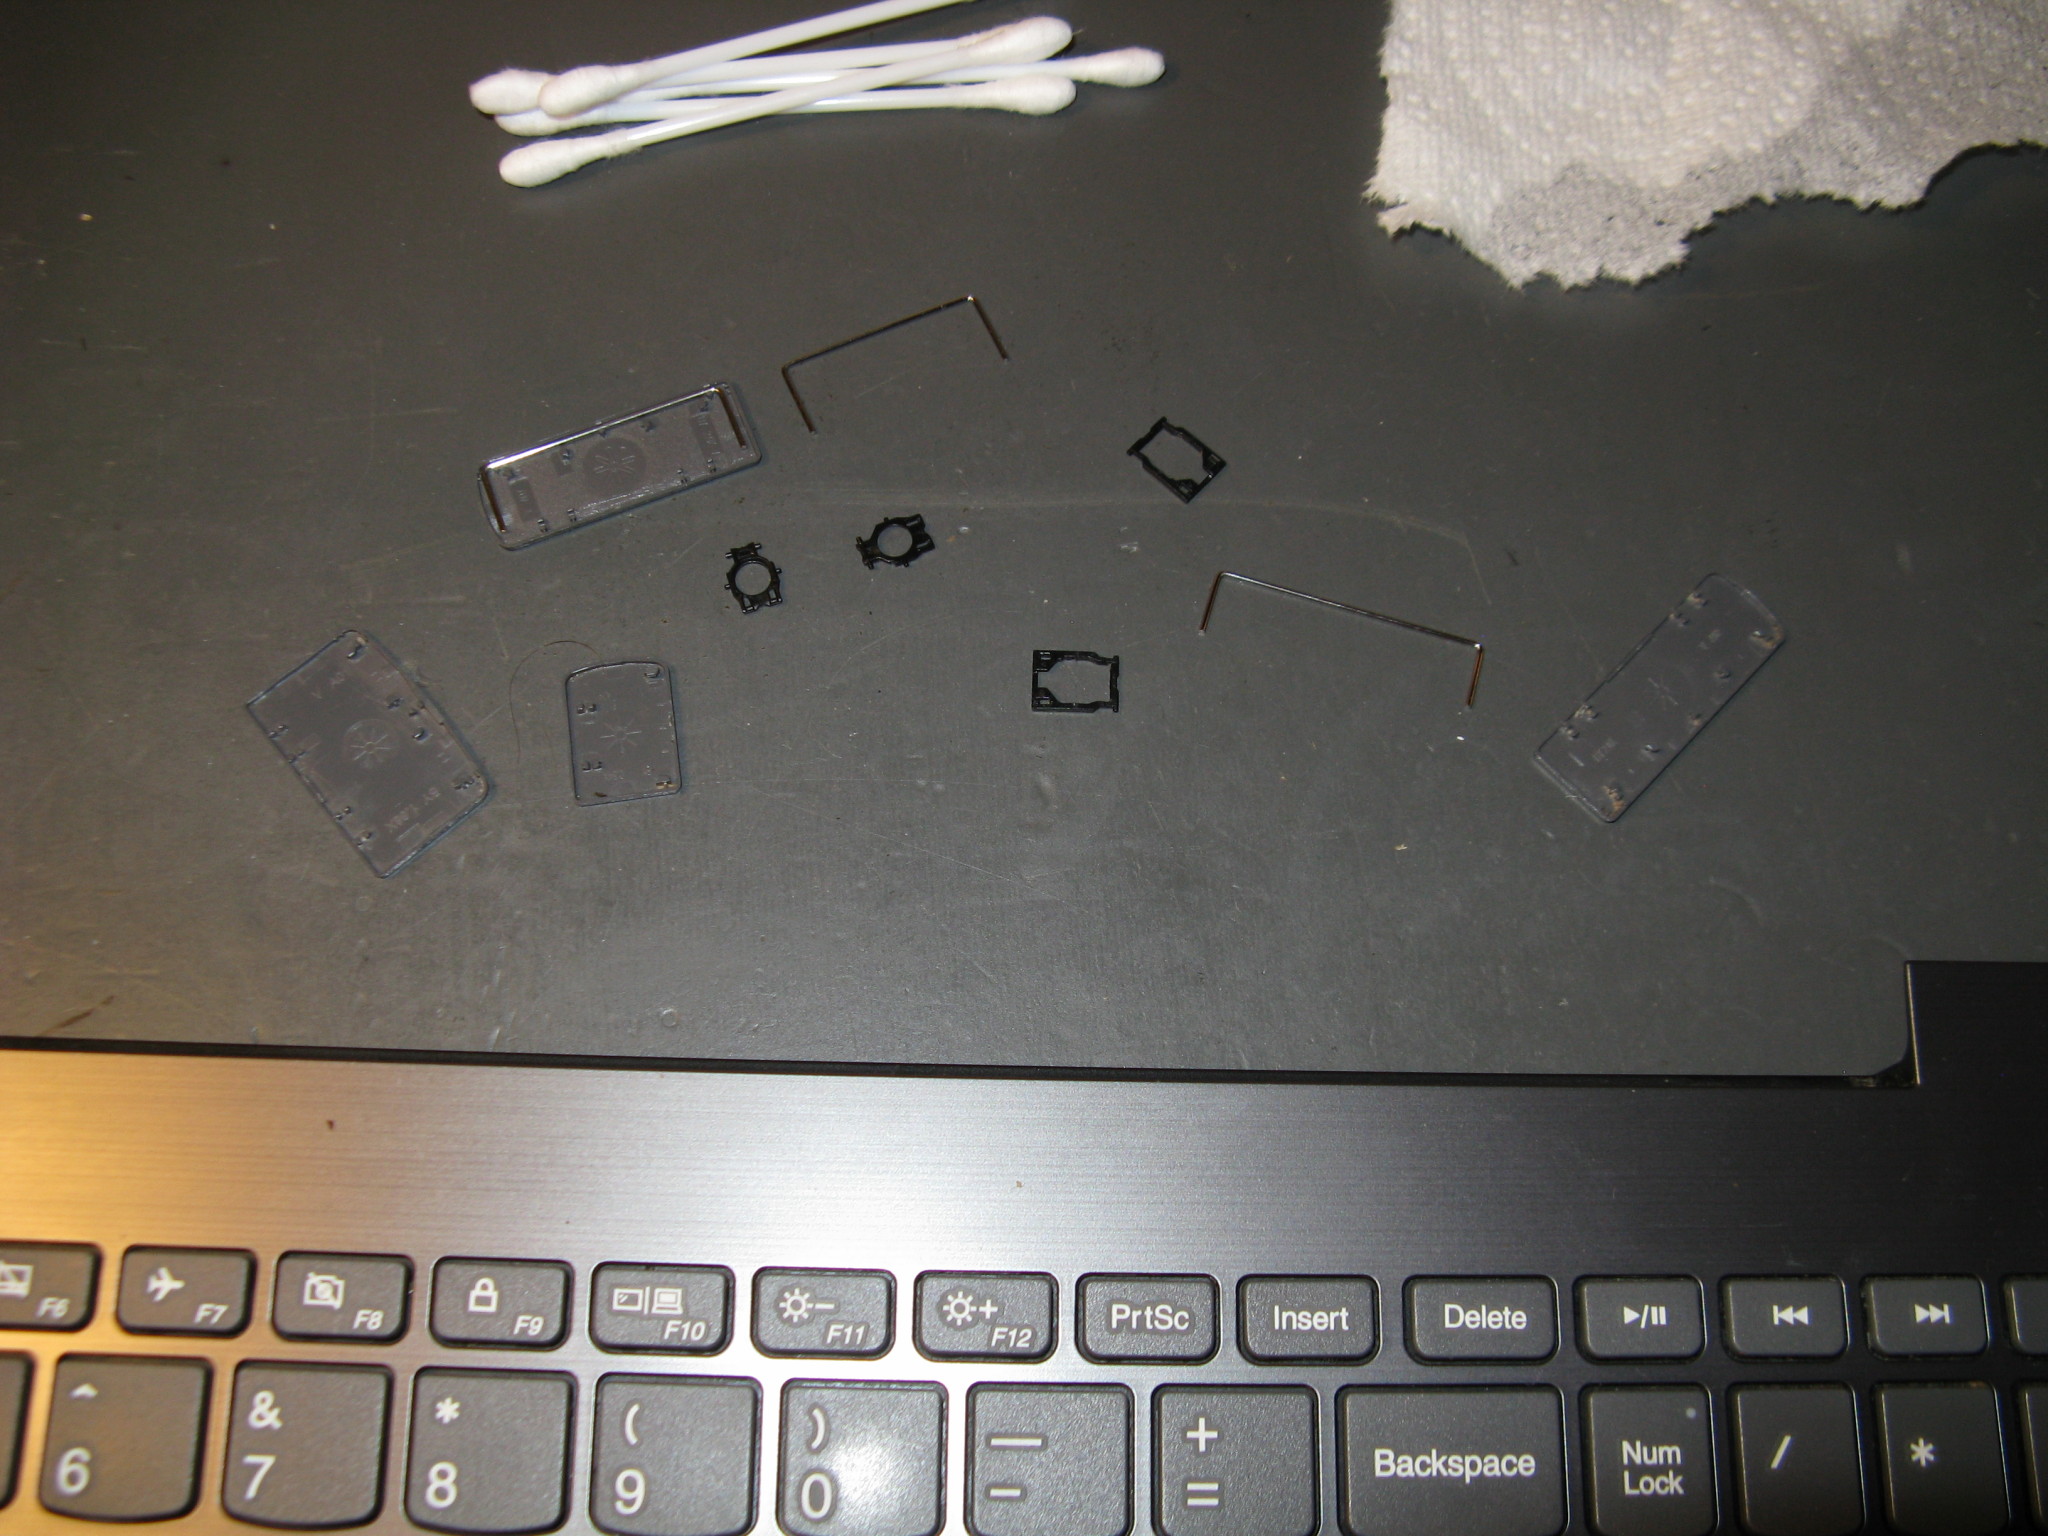
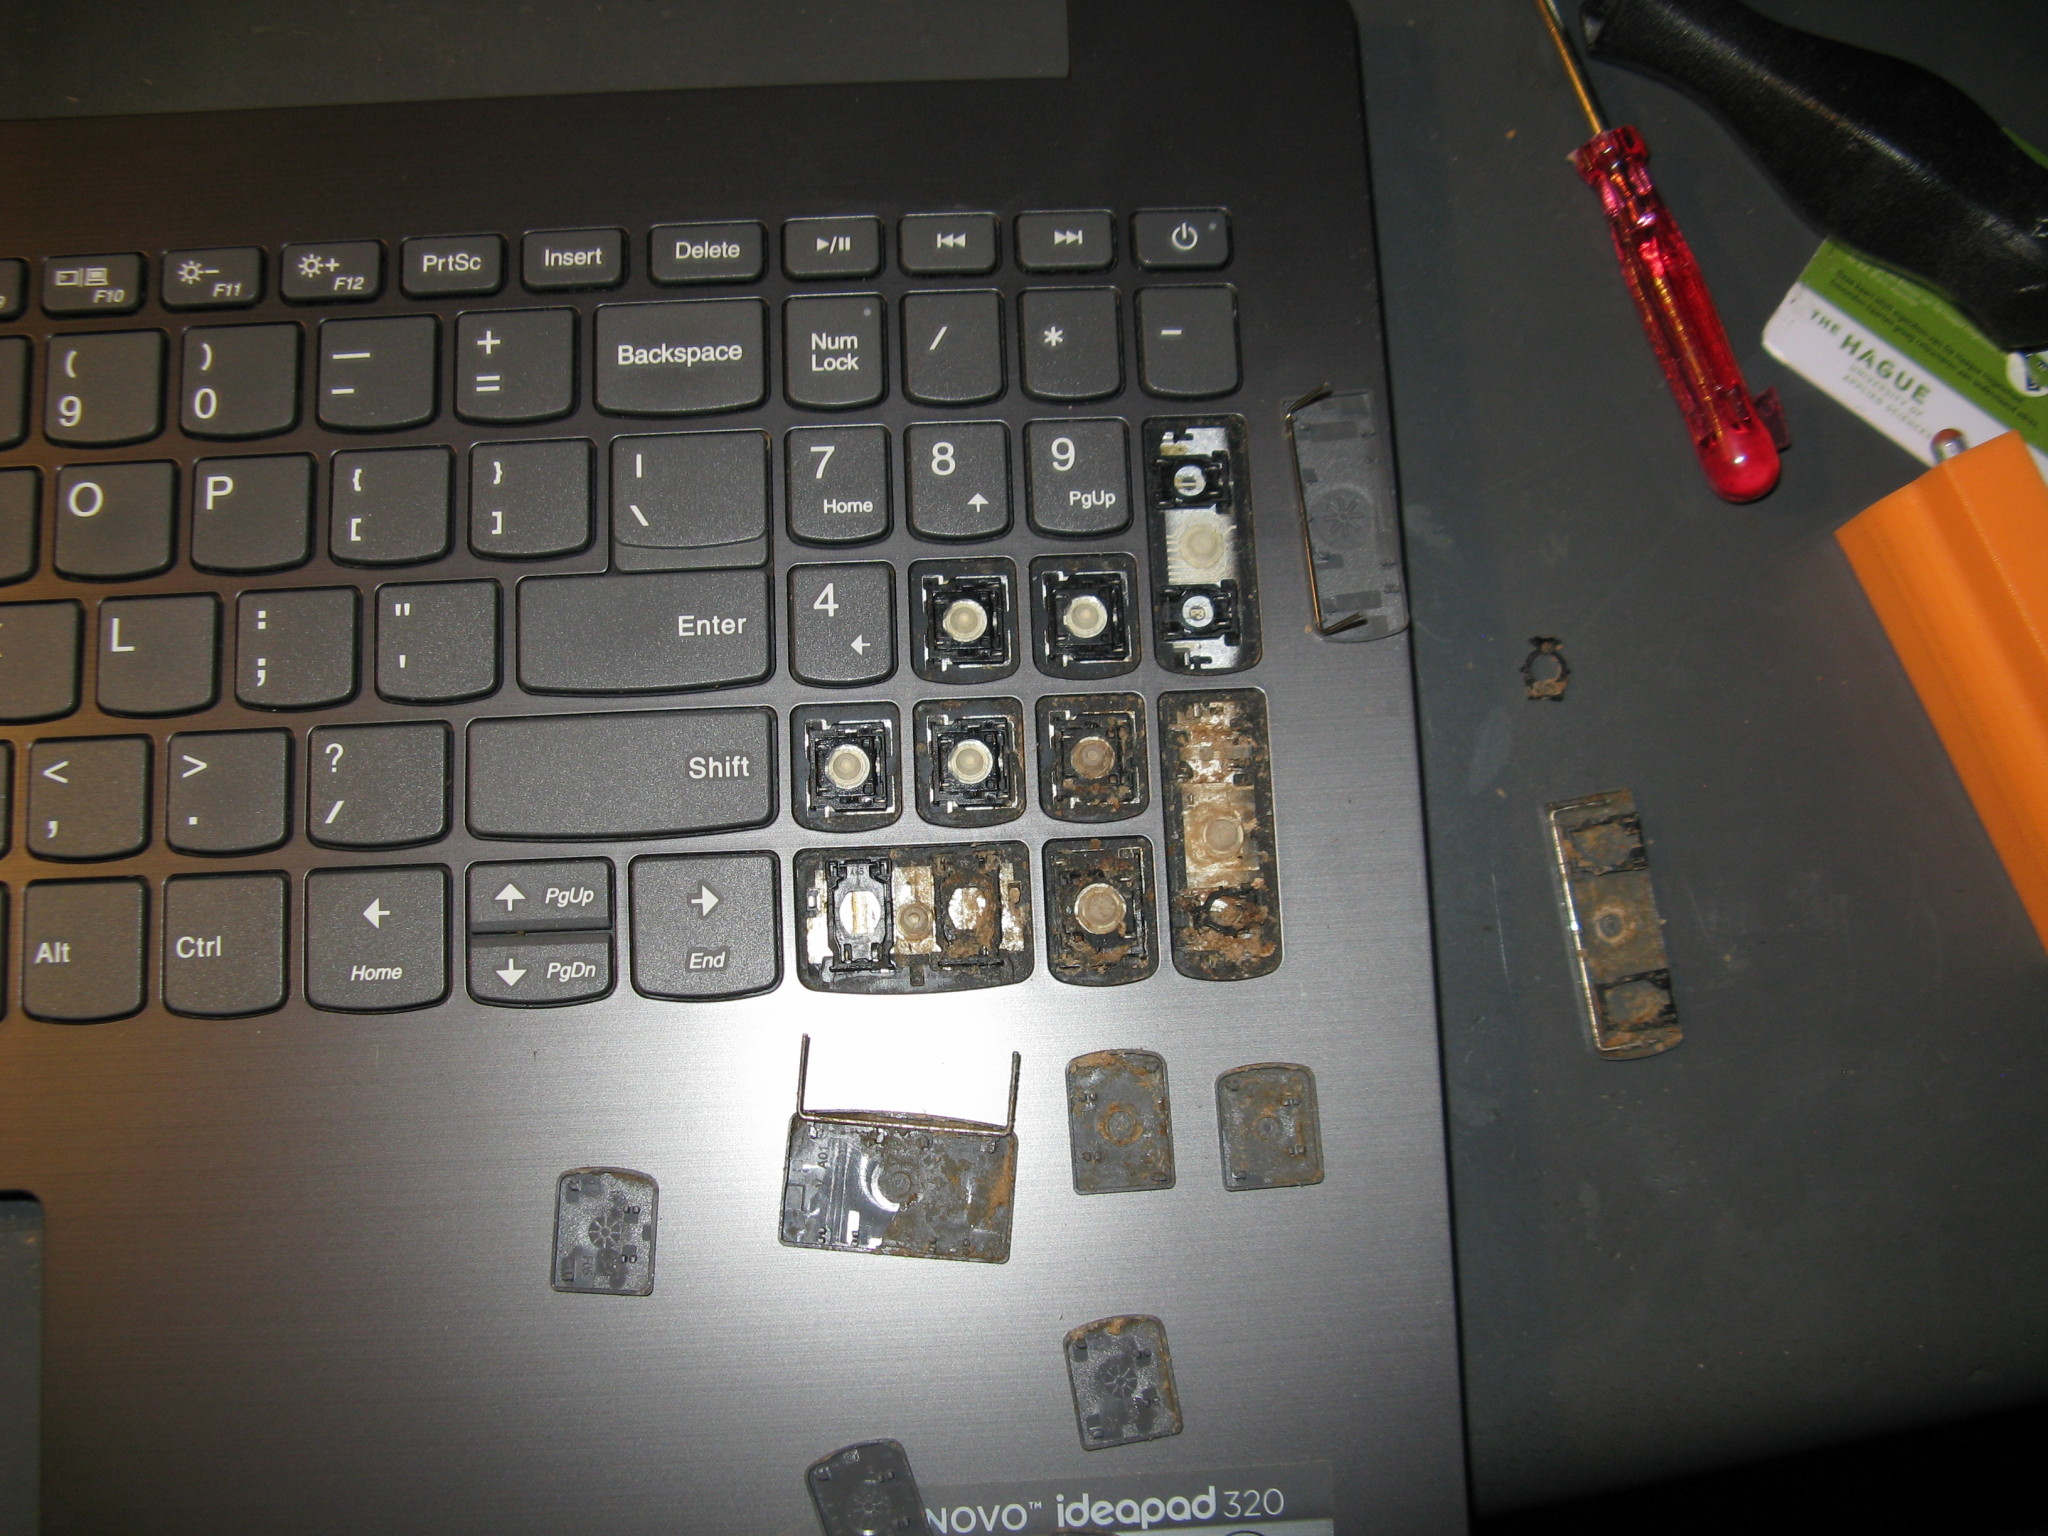
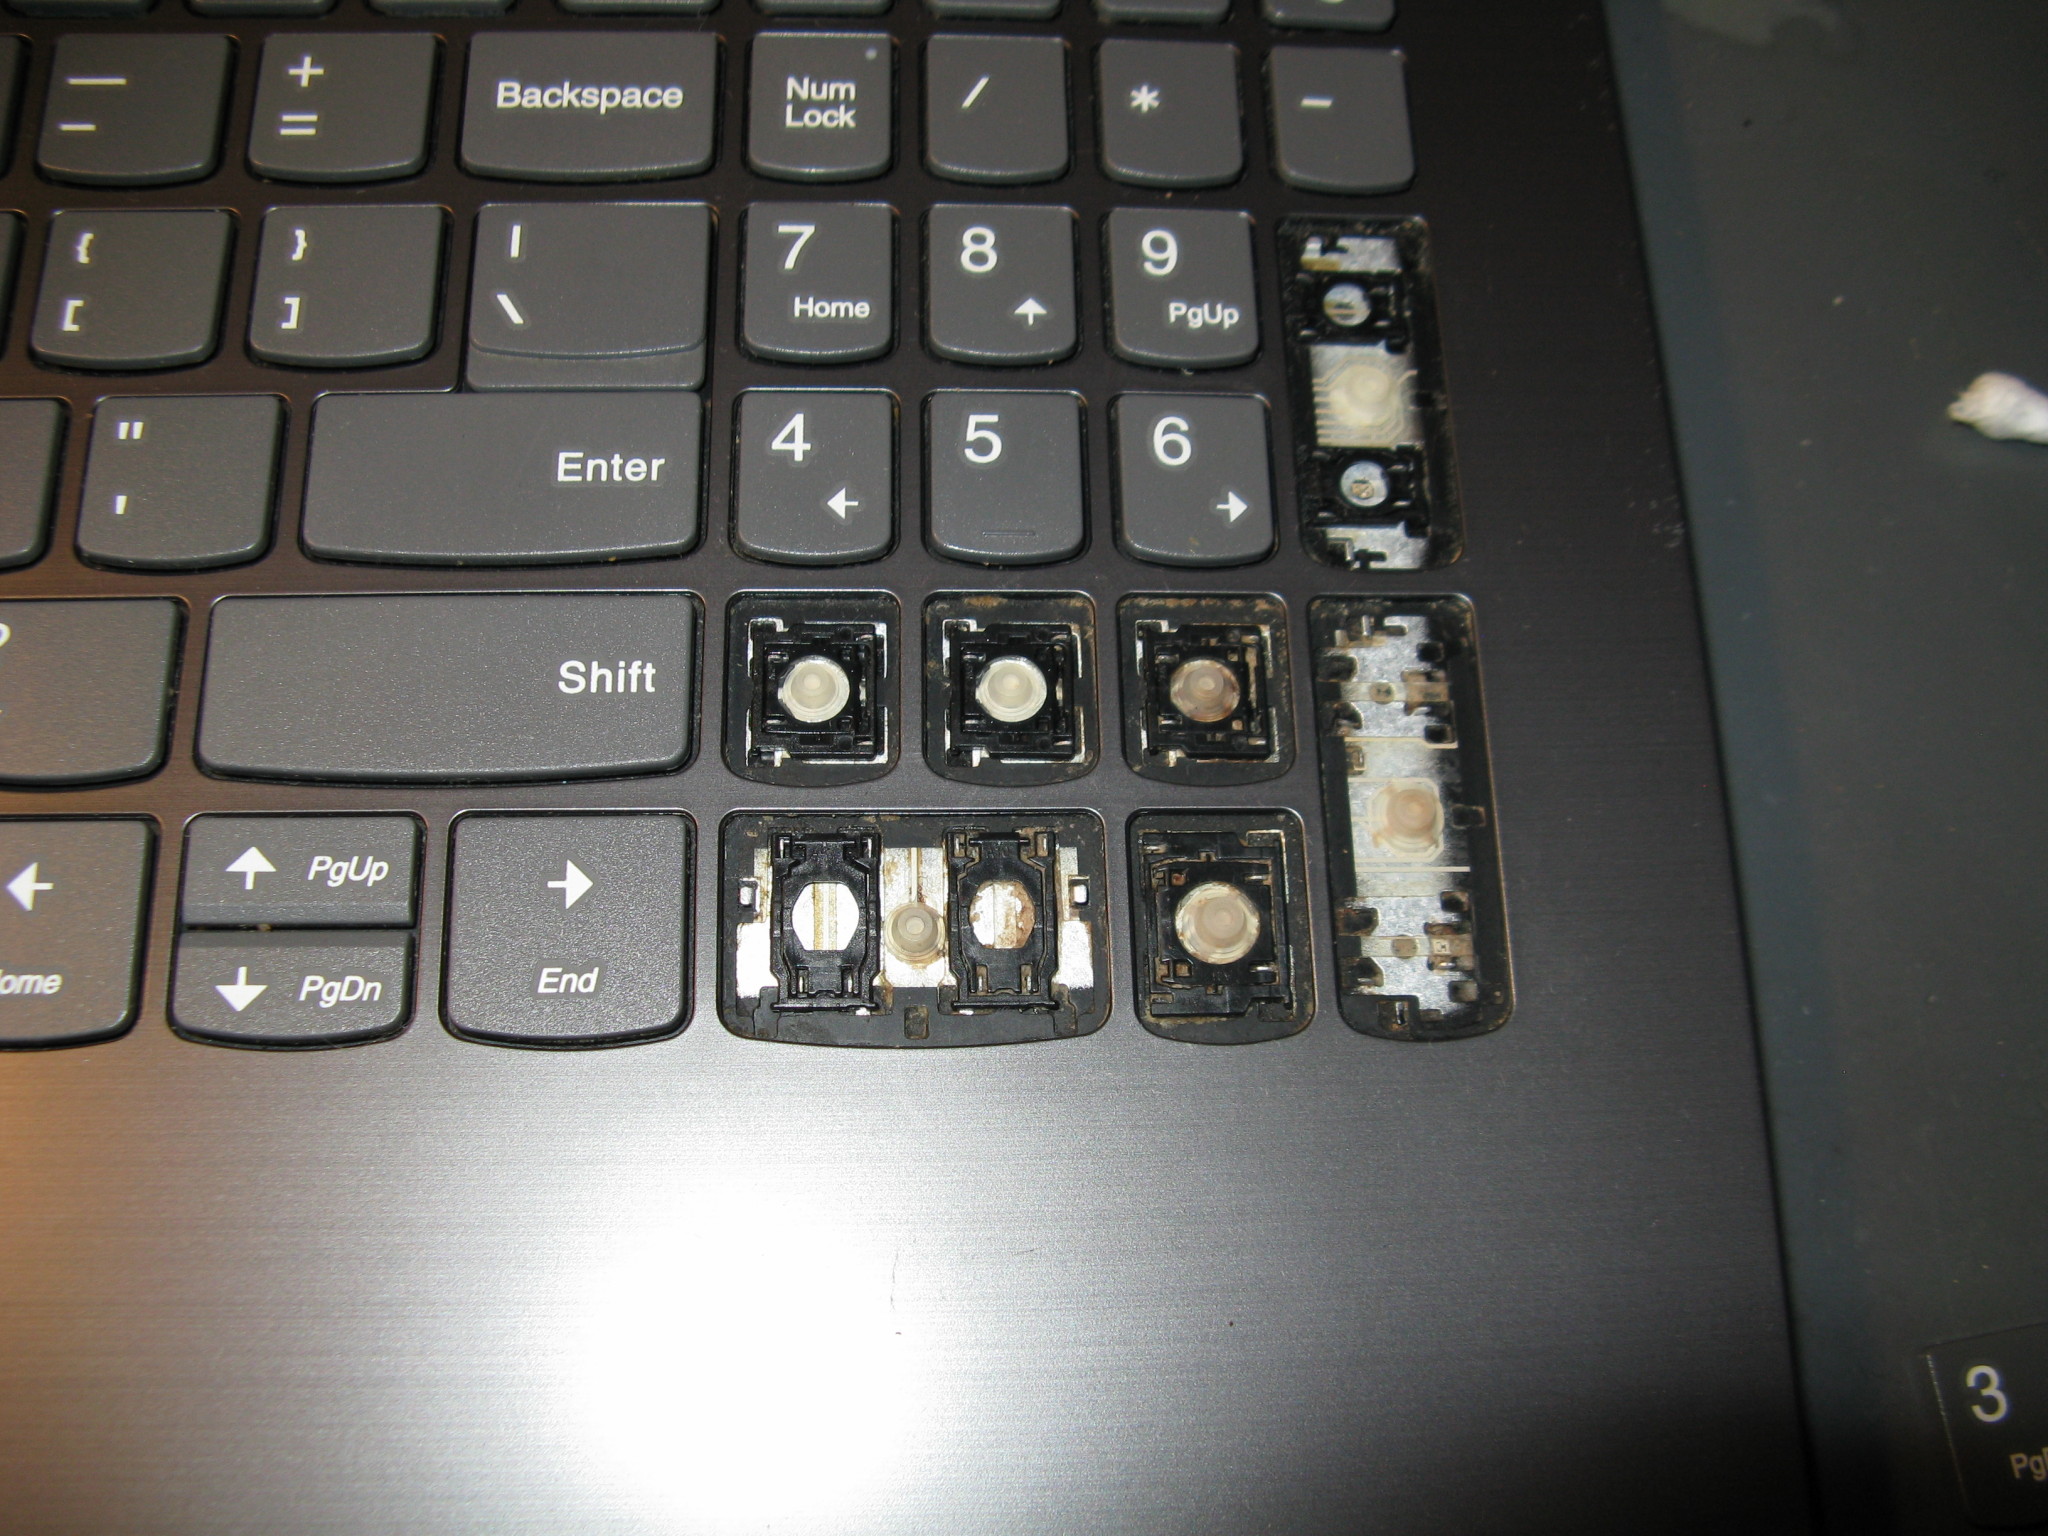
The keyboard caught most of the coffee (with sugar and cream apparently). I cleaned it, but did not have much hope for it. Multiple keys are irresponsive / non-functional and one “spontaneously1 functional”.
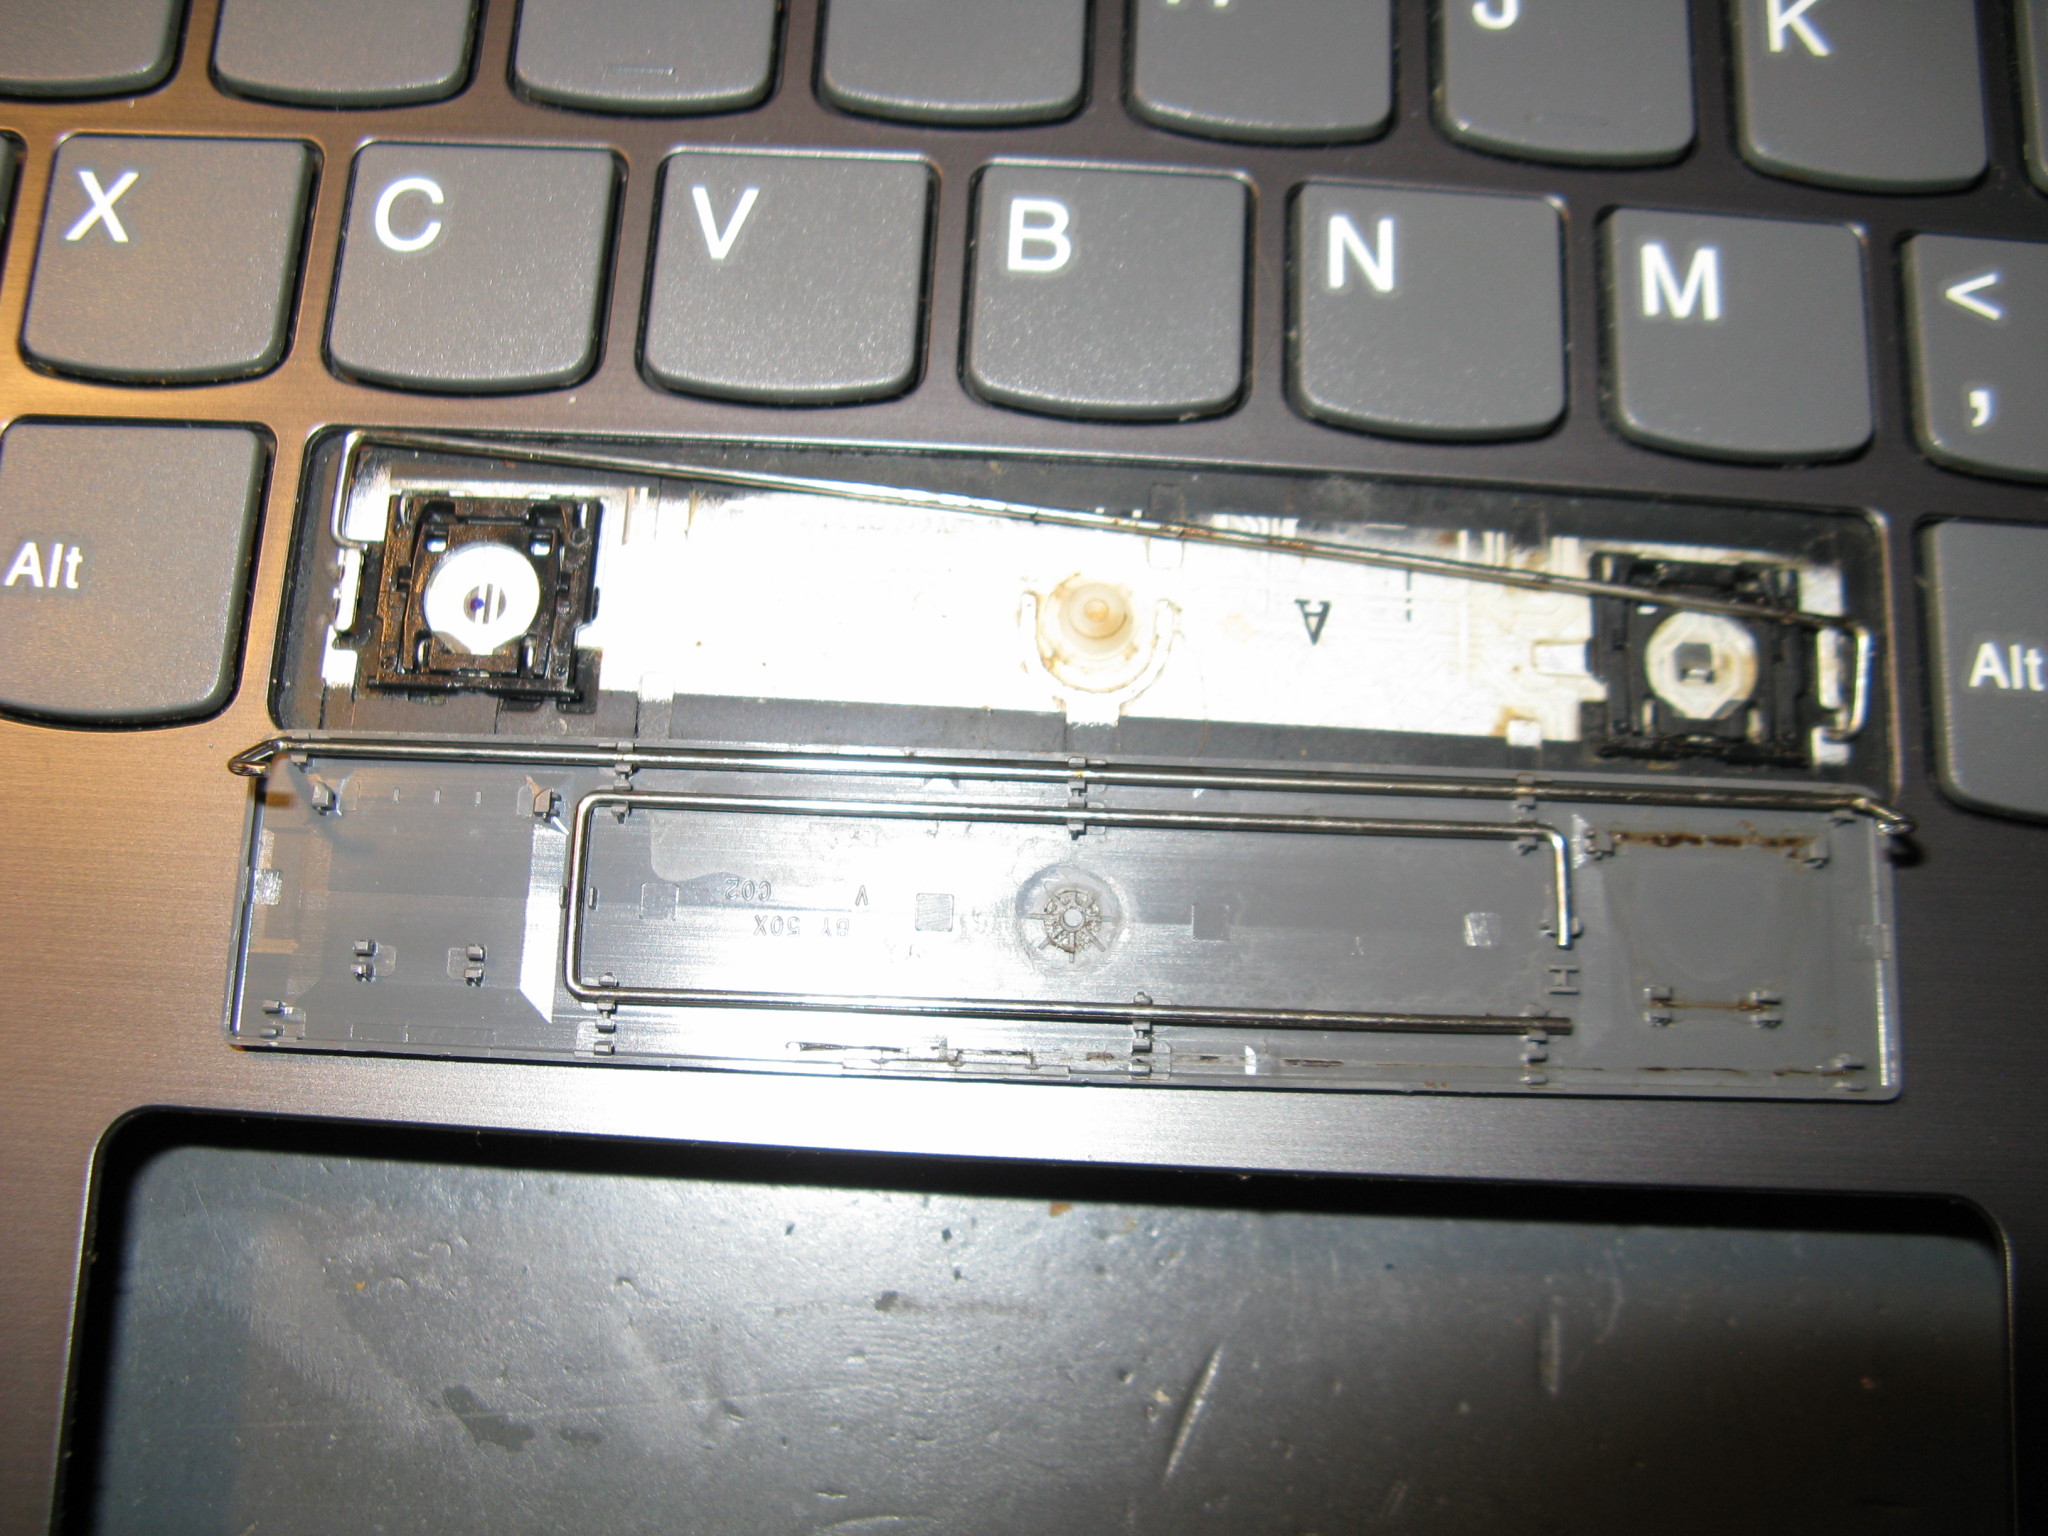
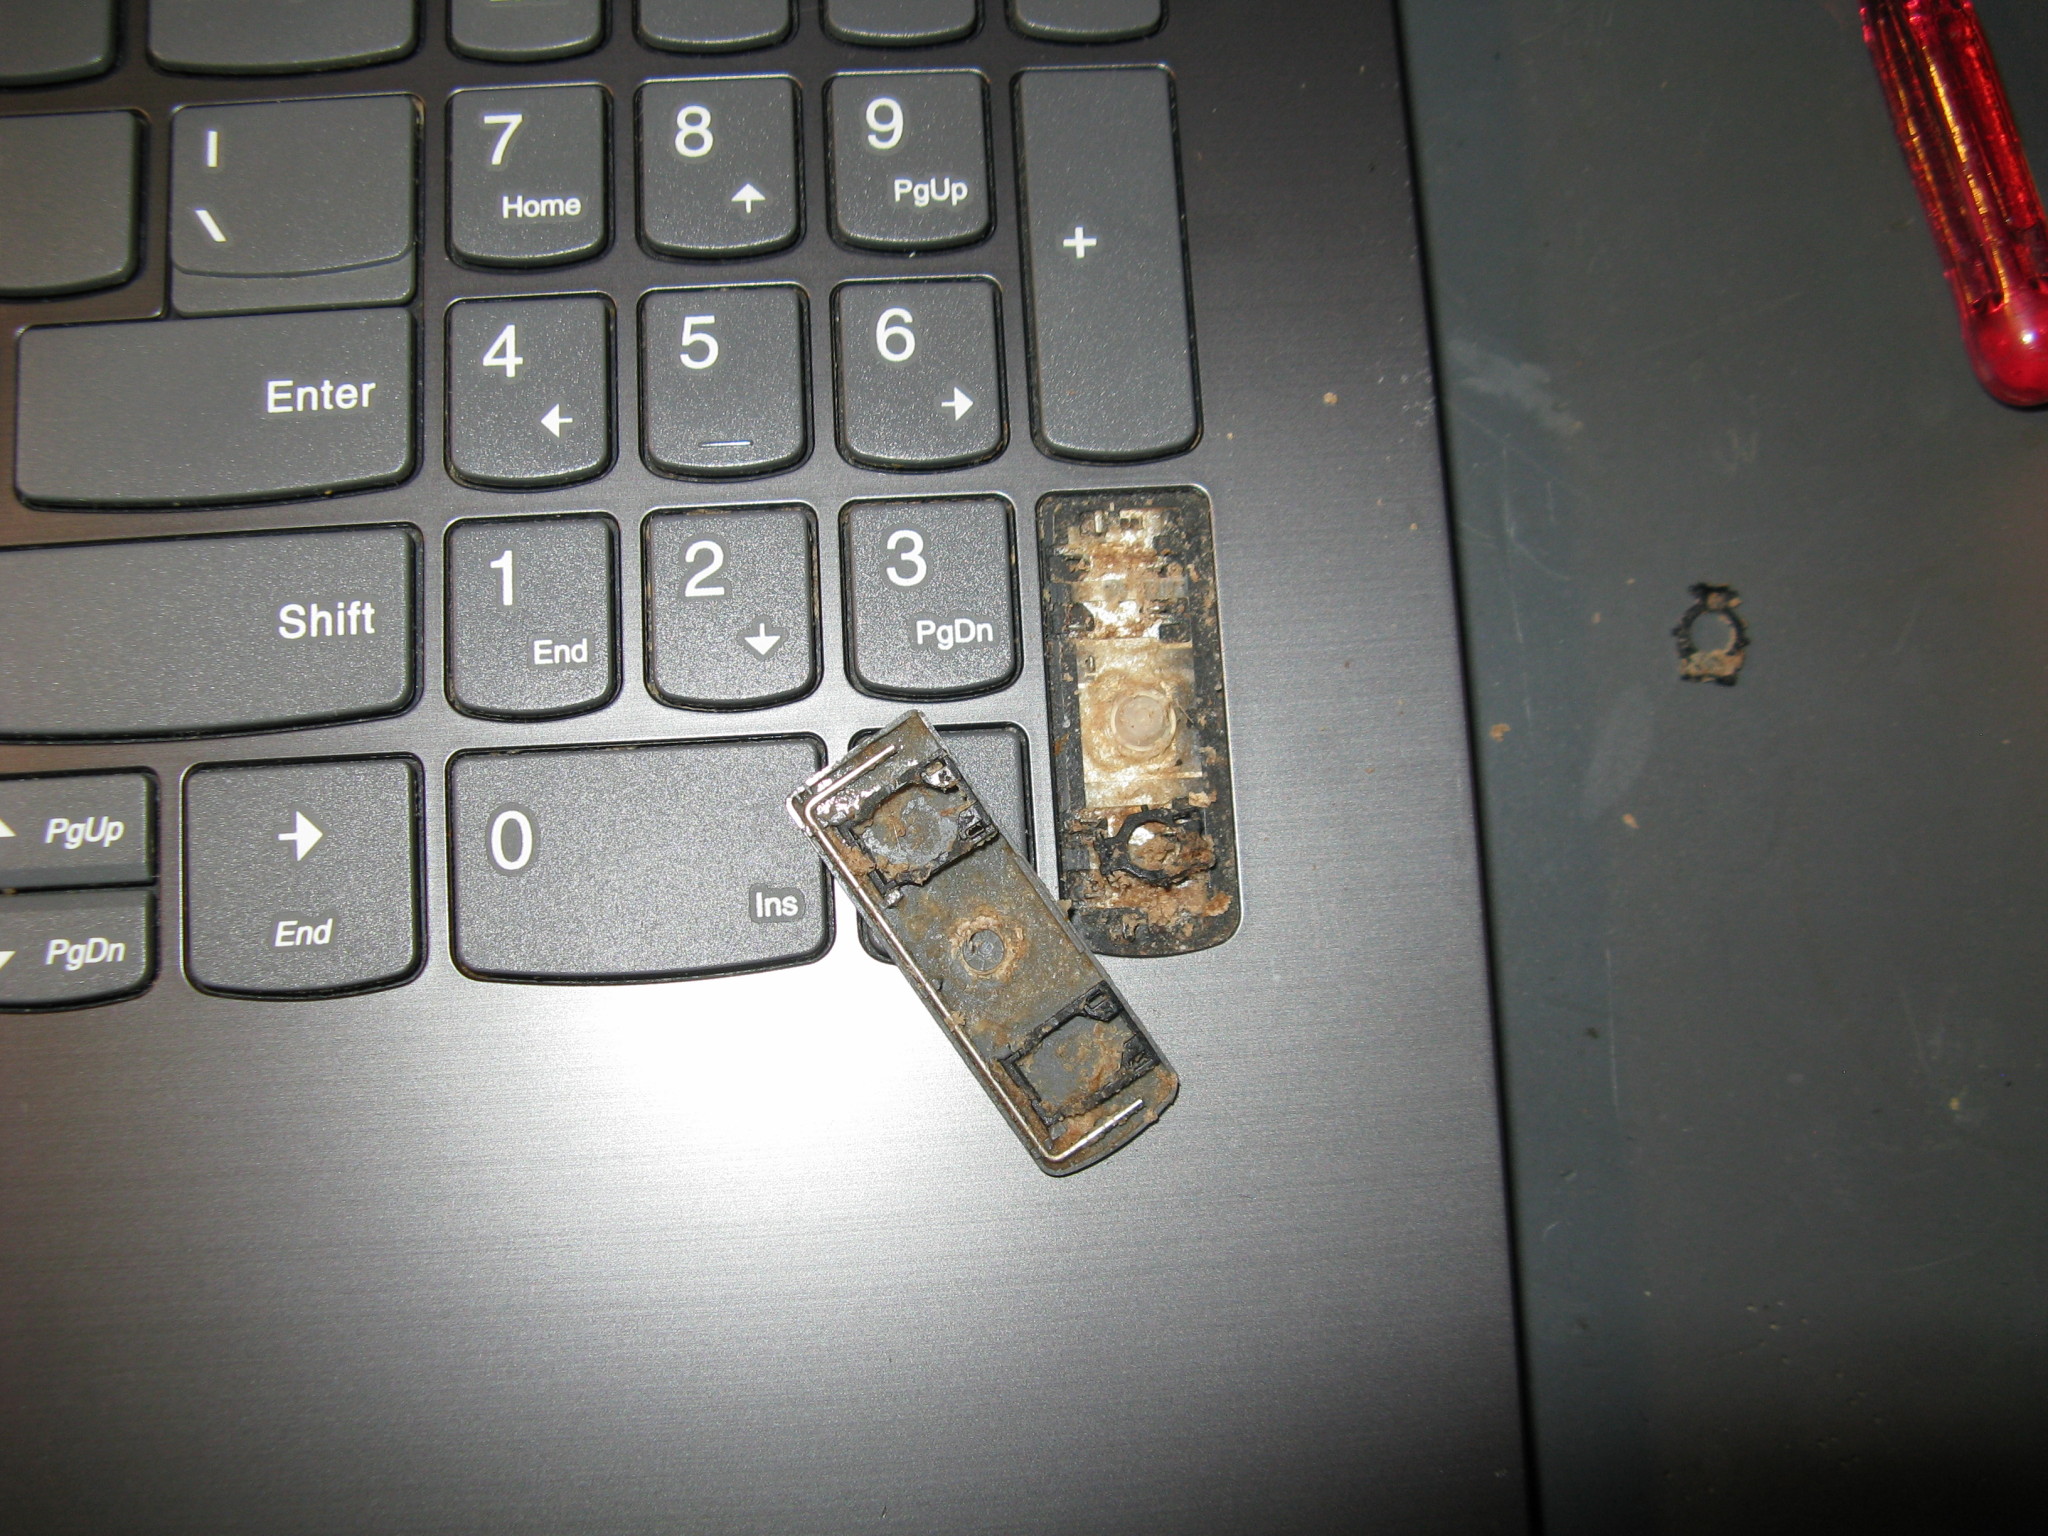
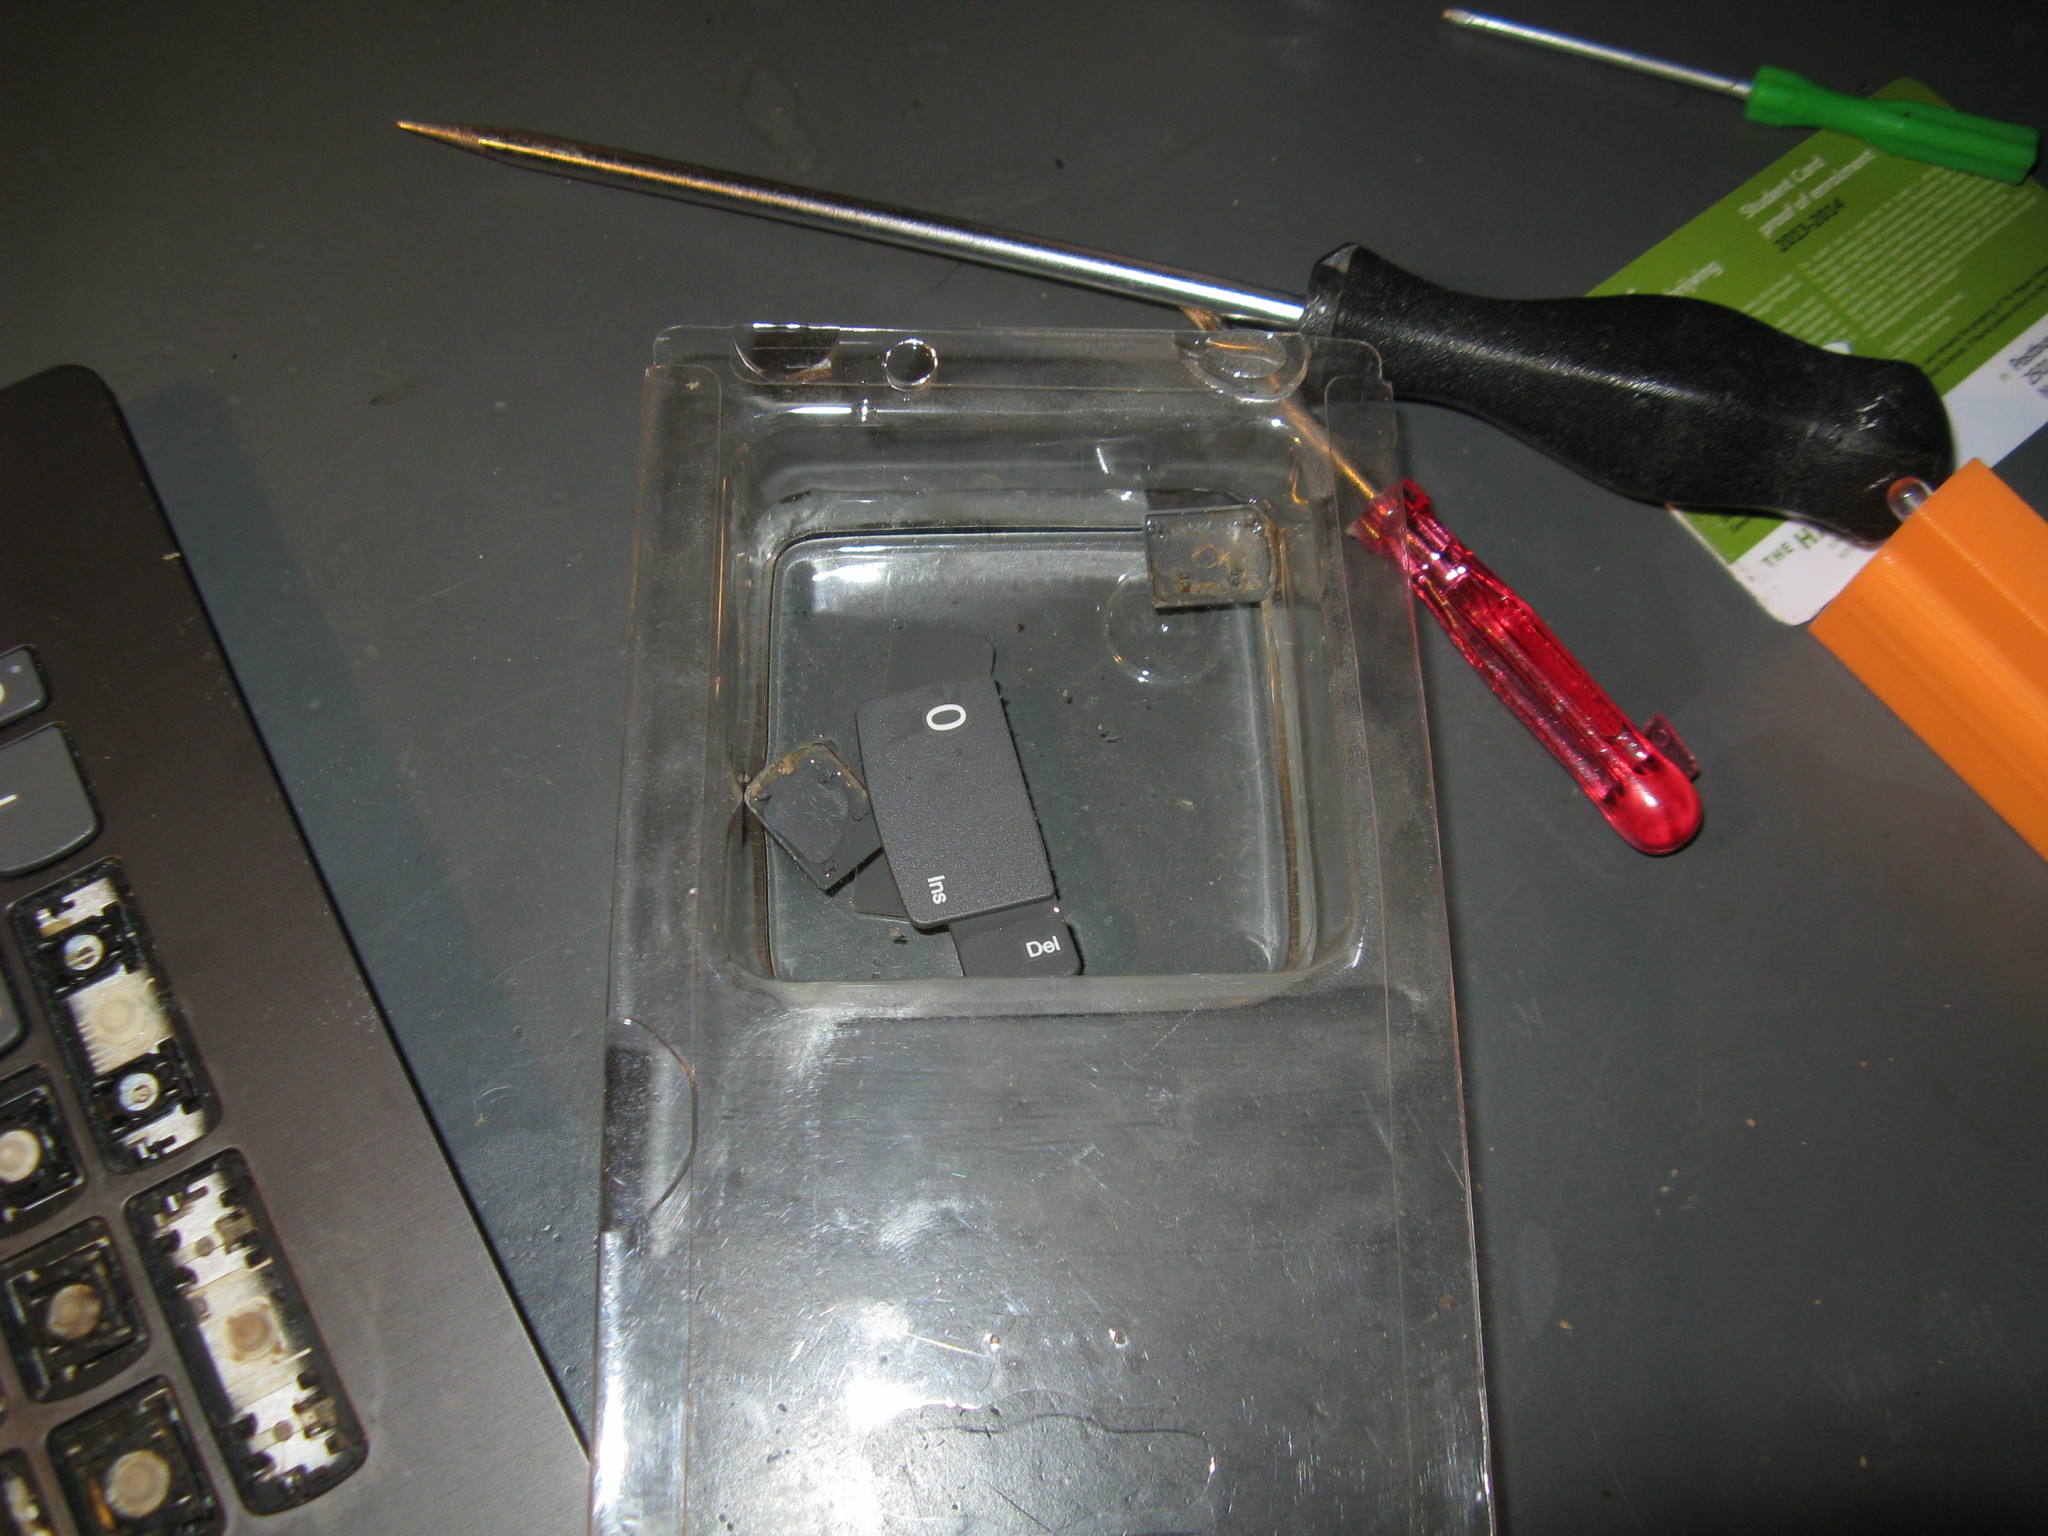

For cleaning the plastic (and metal) bits I used ‘Glass cleaner’2. The outside of the laptop and its screen with a microfiber cloth. The keyboard keys with this cloth and cotton swabs (for the non-removable bits). For the fan and mesh I used a brush.
For the system board, I cannot use a cleaner that leaves (conductive and/or corrosive) residues, so I used water3 first, then denatured alcohol. I used cotton swabs4 to spot clean the area’s with coffee, first removing the coffee with water (multiple passes), then wiping the board dry with a clean, dry swab. Then another clean swab with alcohol to flush the remaining water from under parts, and then yet another to dry the board. That uses a lot of cotton swabs but it gets the circuit board clean. Swabs where then re-used in the first passes at cleaning the keyboard.
After all that cleaning, the laptop was left to dry for 48 hours (or even more, but at least 2 days).
After waiting those 2 or 3 days, I re-assembled it, powered it, pressed the power button, and….
….It did nothing. Nothing at all. Not even a power indicator LED.
So I disassembled it again and started following the power traces.
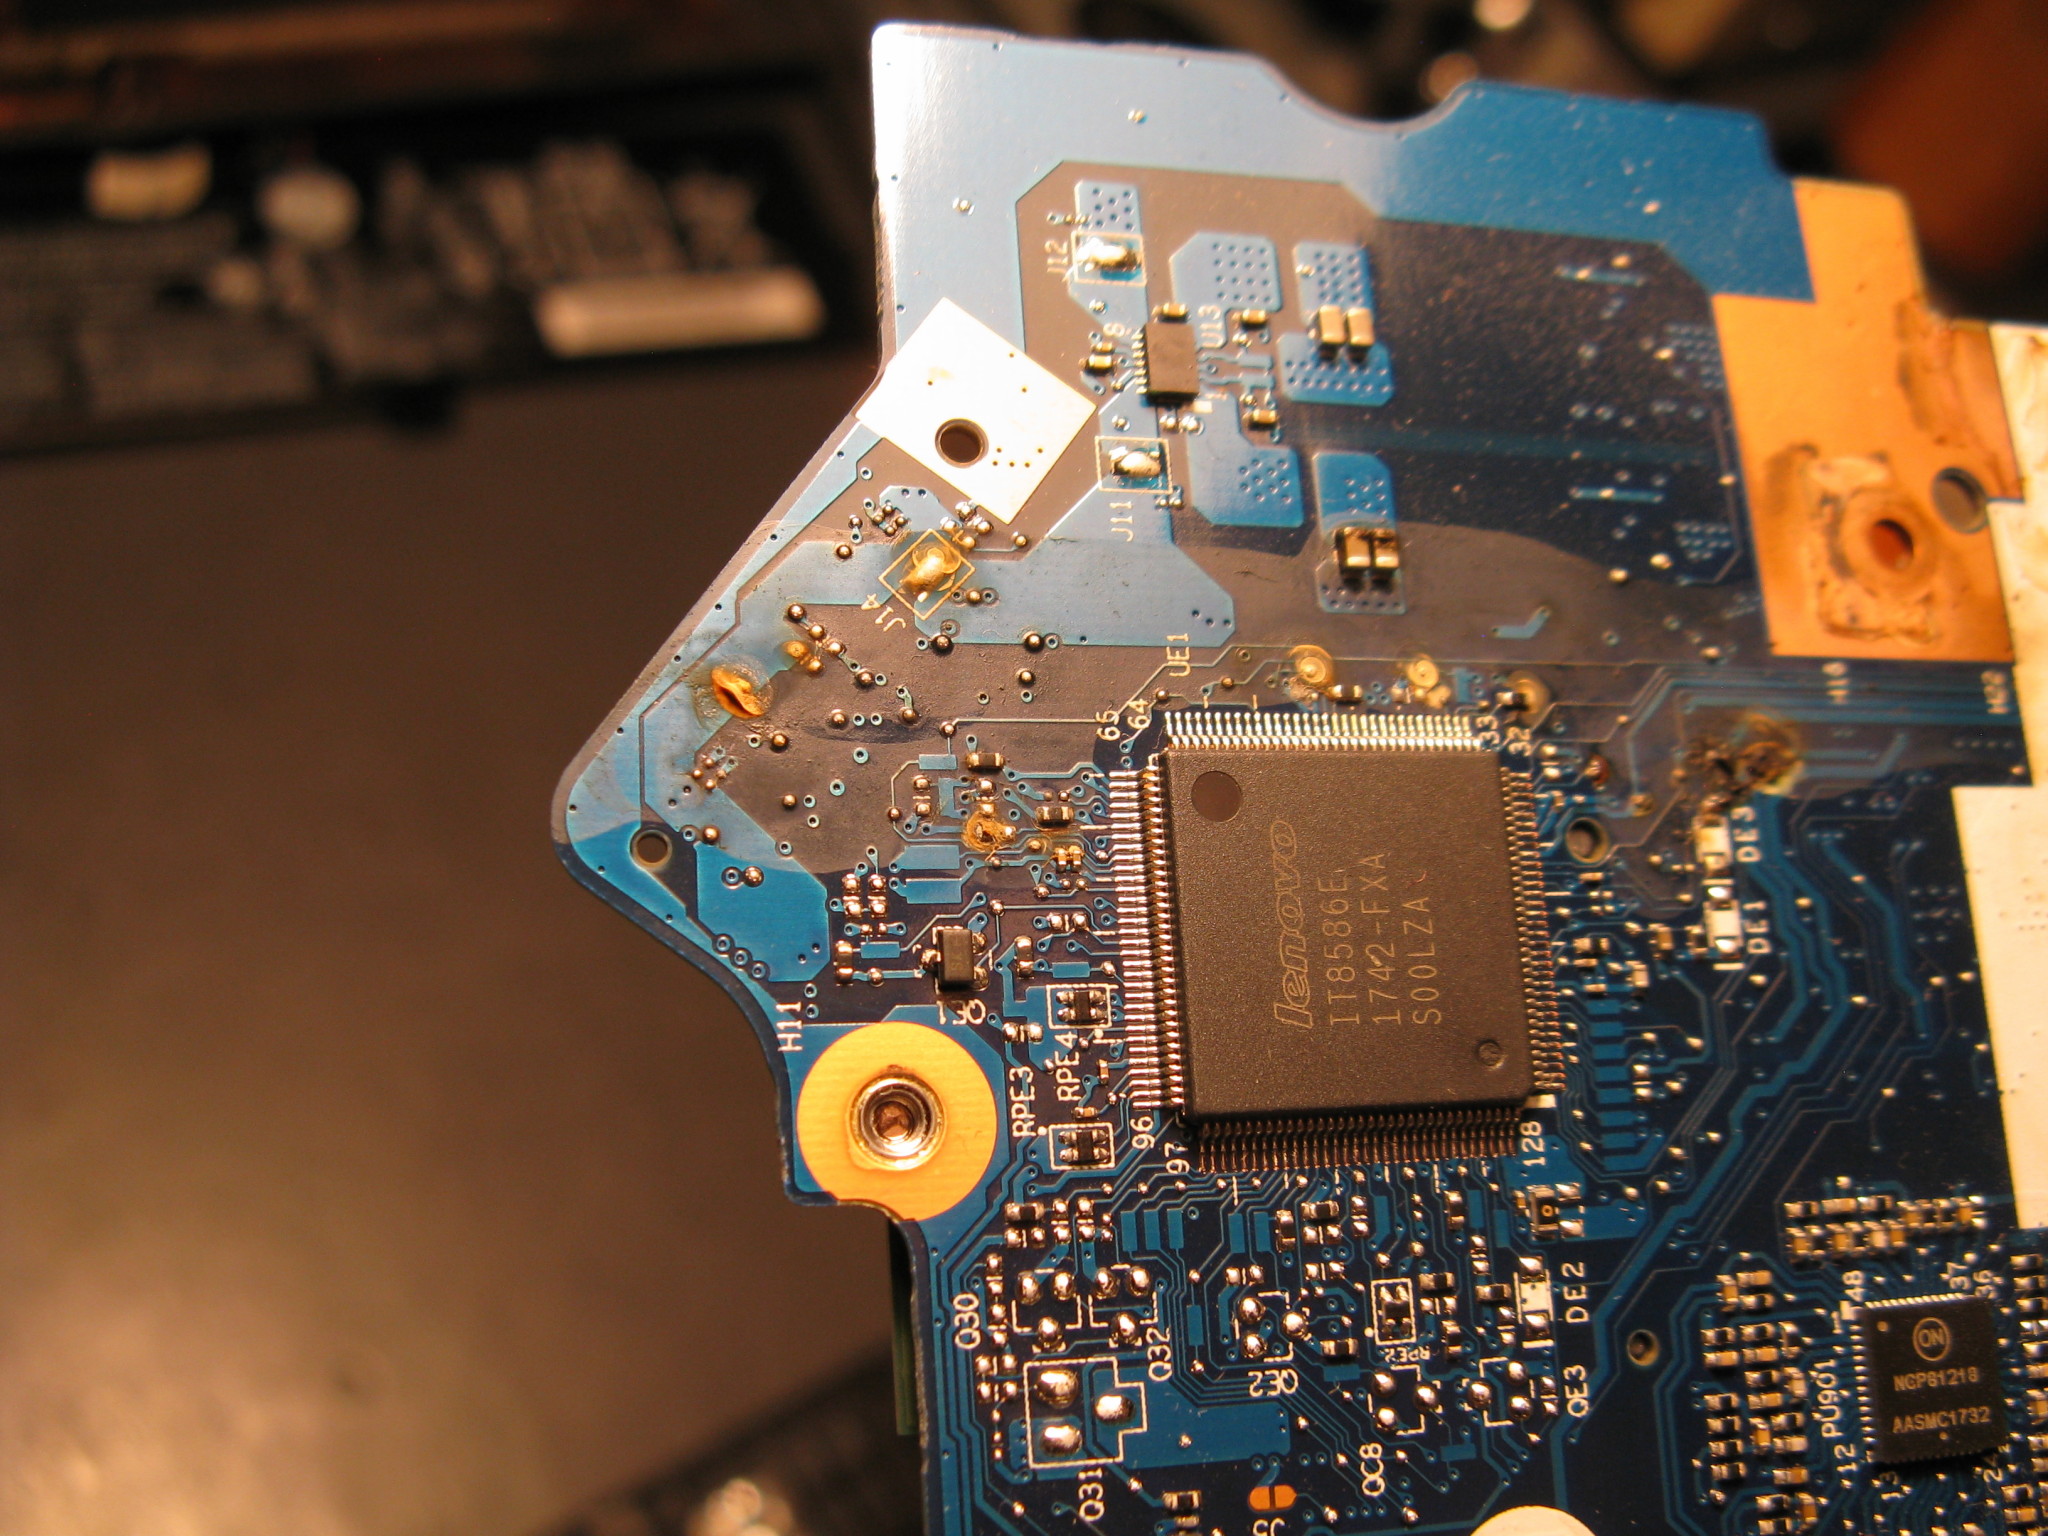
The 20V input from the mains adapter goes through a fuse and a ferrite bead, then gets to a FET (PQ311), and then goes no further because the FET does not conduct.

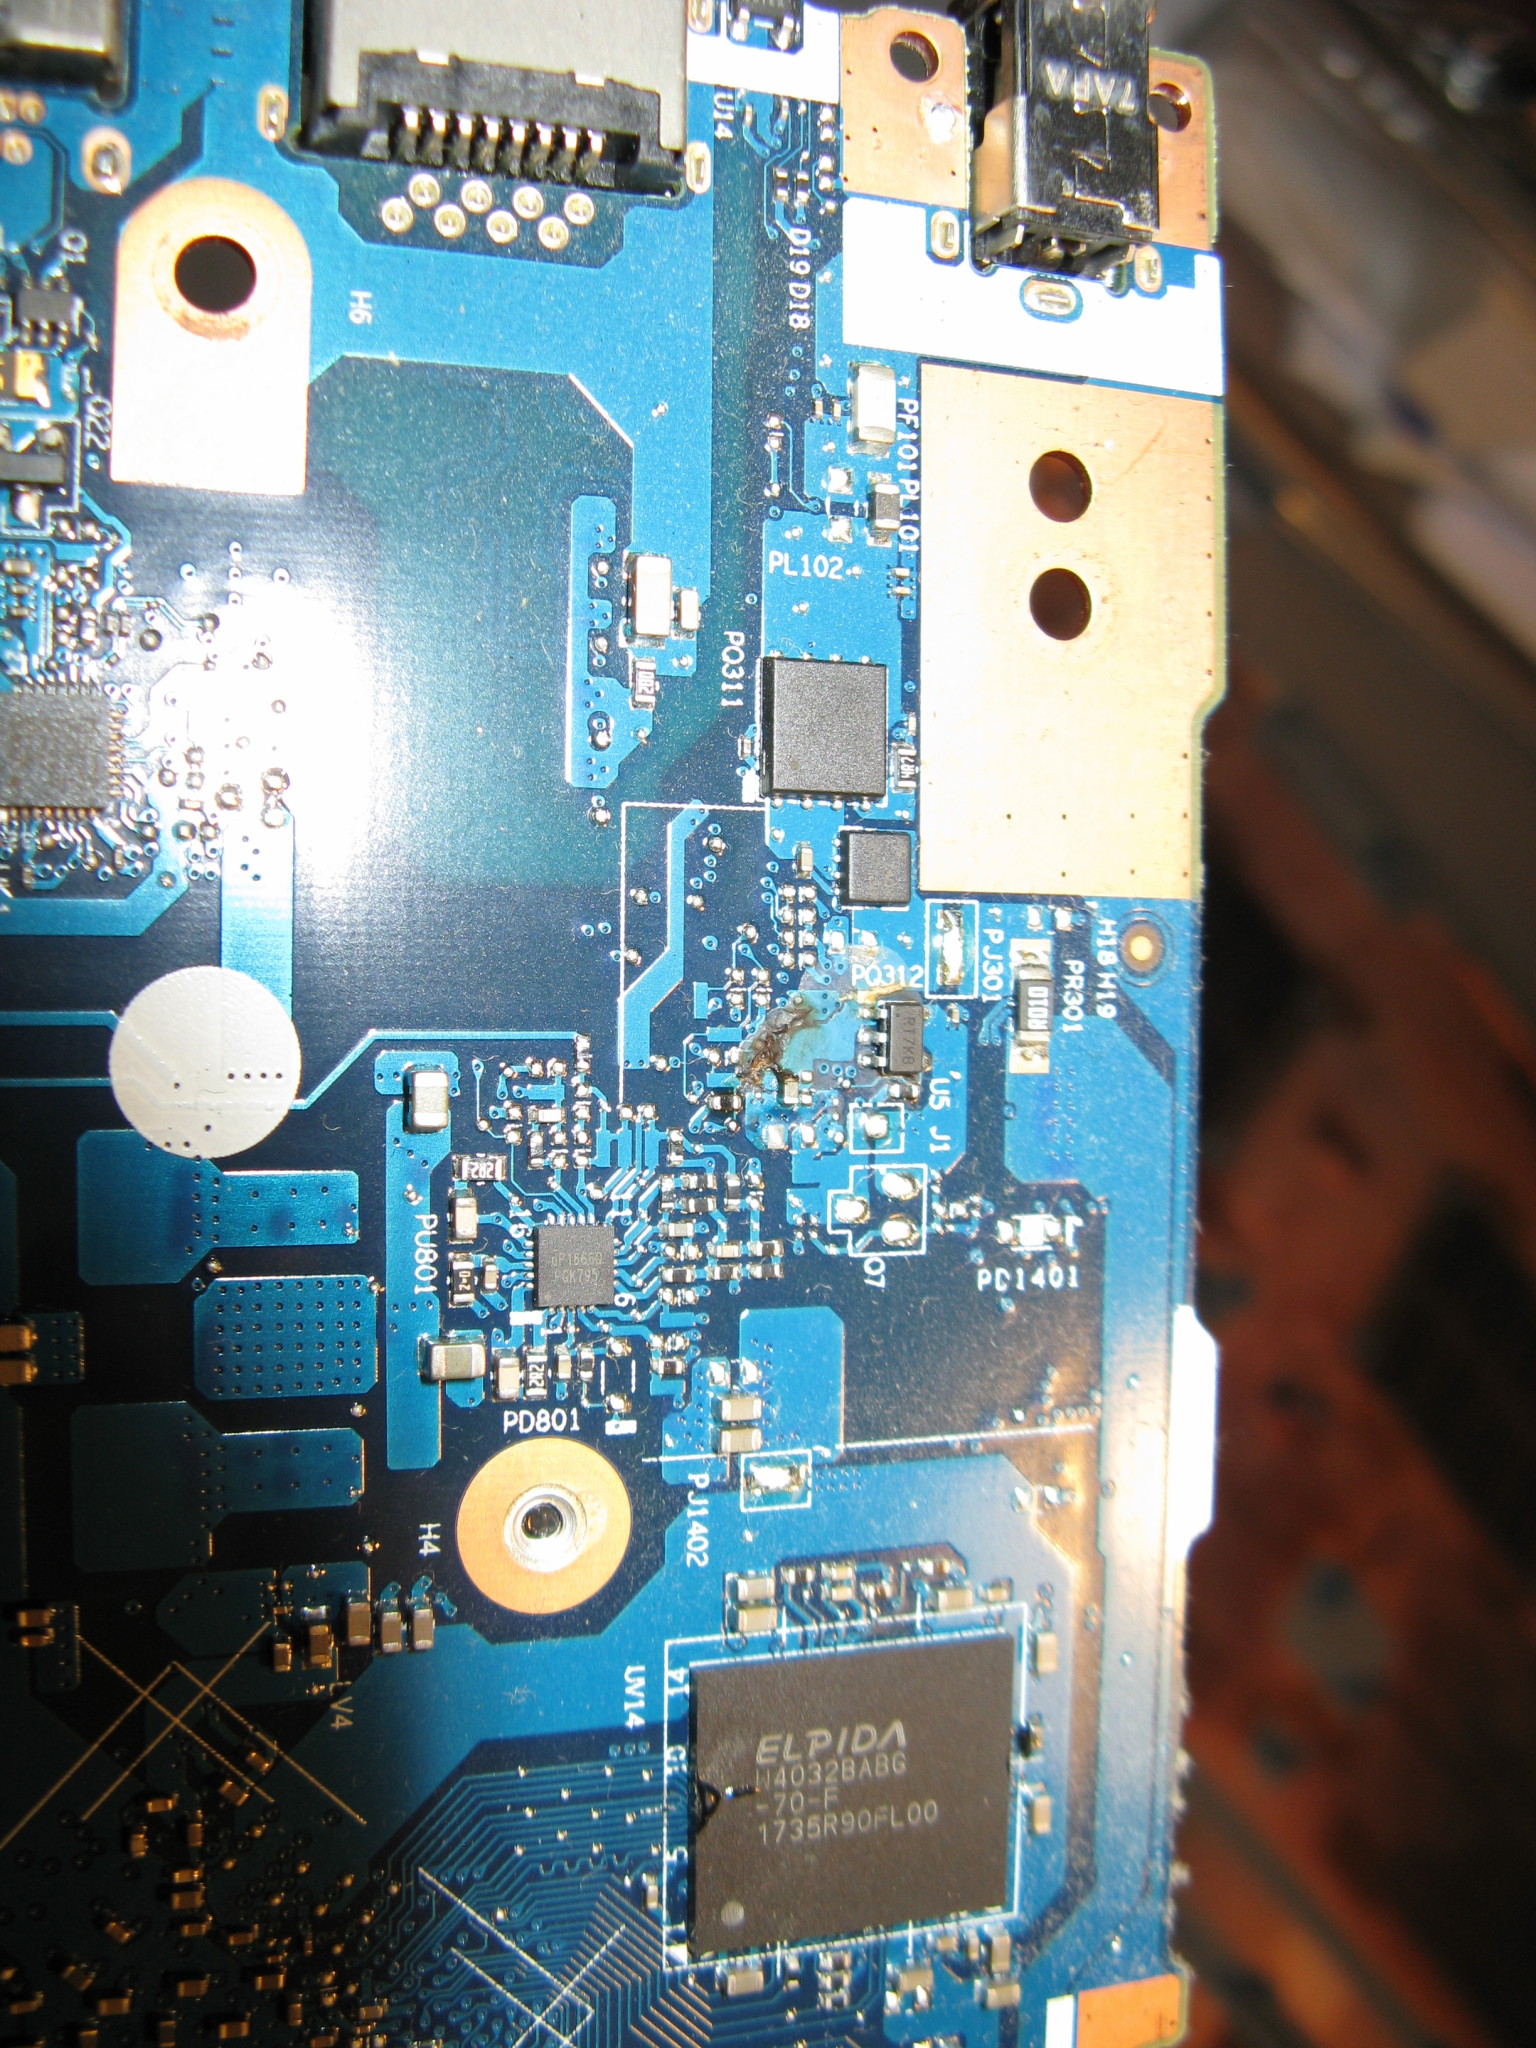
Power input in top right, FET is circled.
Ignore the coffee in the other circle, it has already been removed at this point, I’m just re-using the picture.
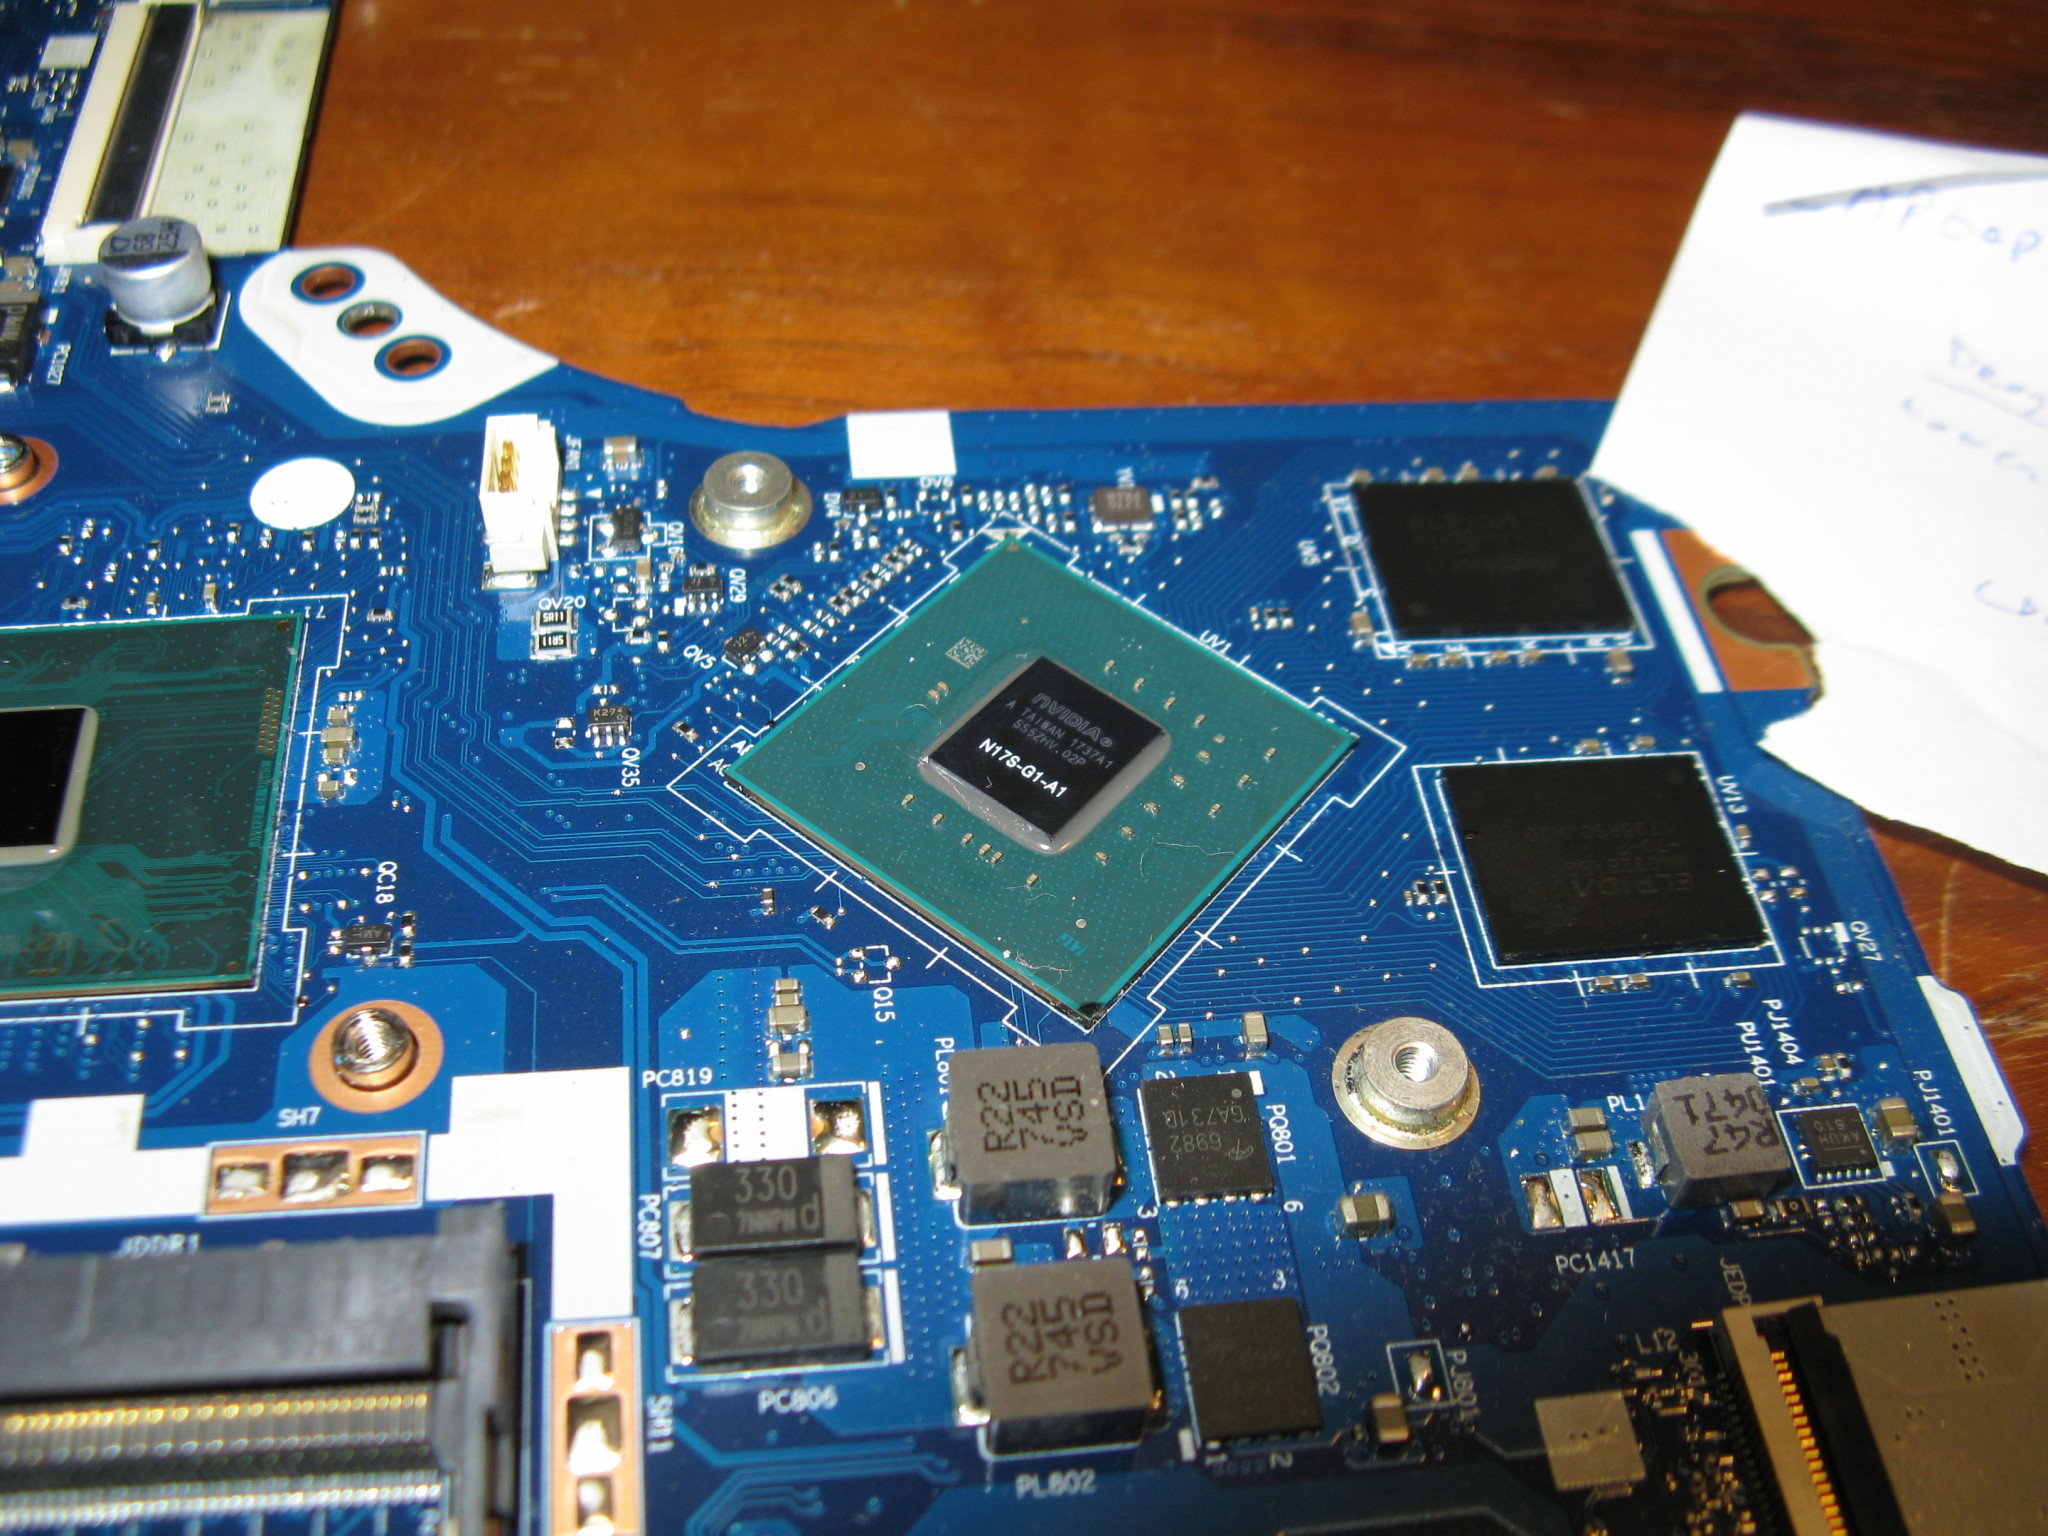
The blob on the video ram BGA (UV14, ELPIDA 4032BABG-70-F) is solder flux, not coffee
Looking at the schematics, I found that power is distributed to various parts of the laptop by various FETs like the one near the input. Their gates are driven by IC’s (PMIC’s, probably. For power sequencing and to switch off various rails on standby). The first FET after the input gets driven by PU301, a BQ24780. And it turned out that IC did not get any power.
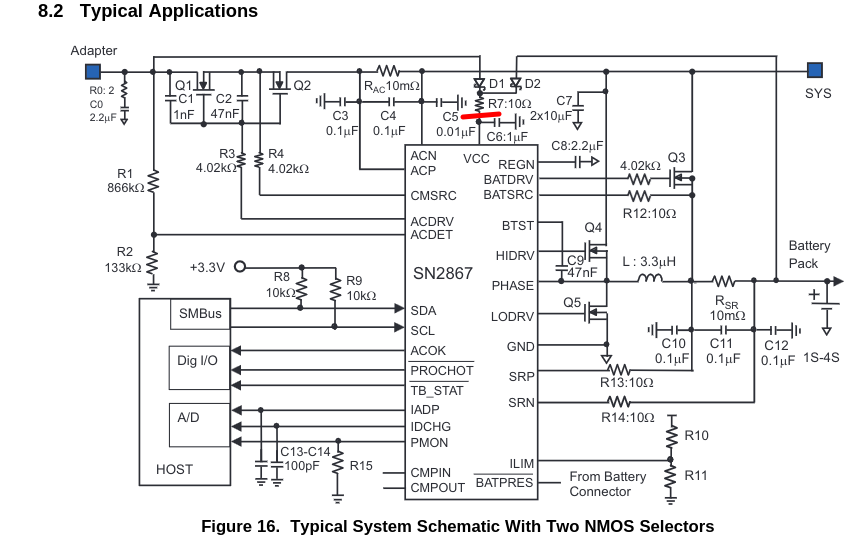
Normally this IC (PU301) gets power when the battery or mains adapter is connected but the laptop is not powered on yet. The schematic above is from the BQ24780 datasheet, but it matches the laptop sufficiently to show where the problem was: the red line indicates which track on the laptop system board was broken (Between R7 and C6, leaving C6 connected to the IC).
Because the trace between PR314 (R7 in the example schematic above) and pin28 of the BQ24780 was corroded through, it got no power and could not switch on PQ311 (Q1/Q2 in the example schematic above). And because PQ311 is not on, nothing in the laptop gets power, not even the power indicator led.
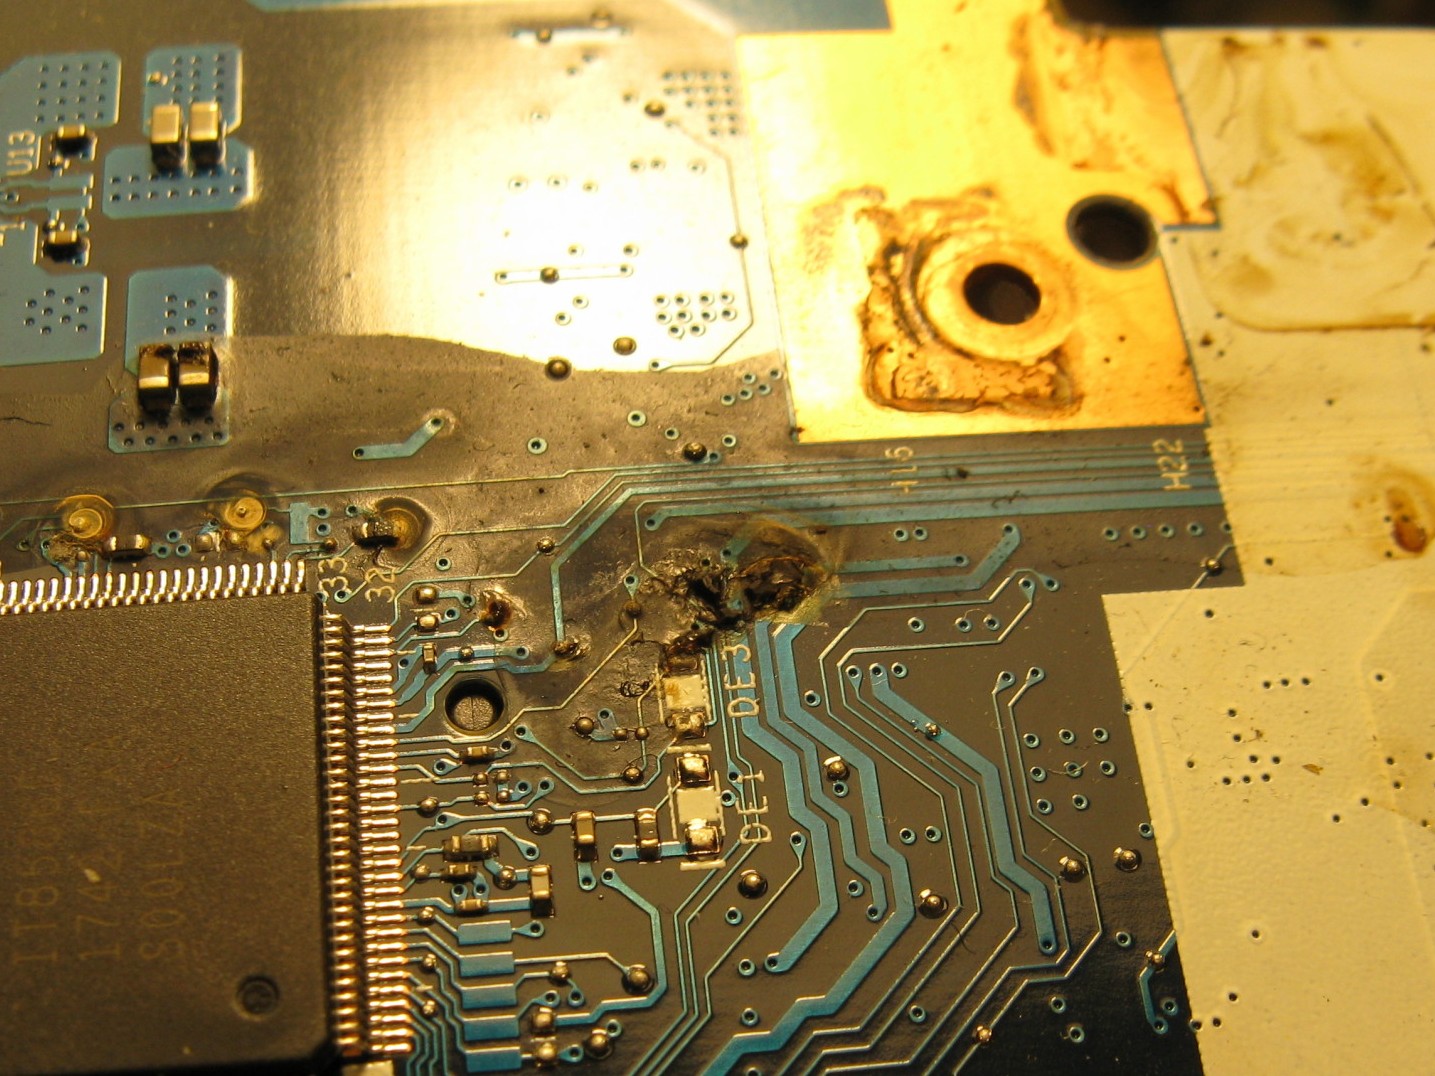
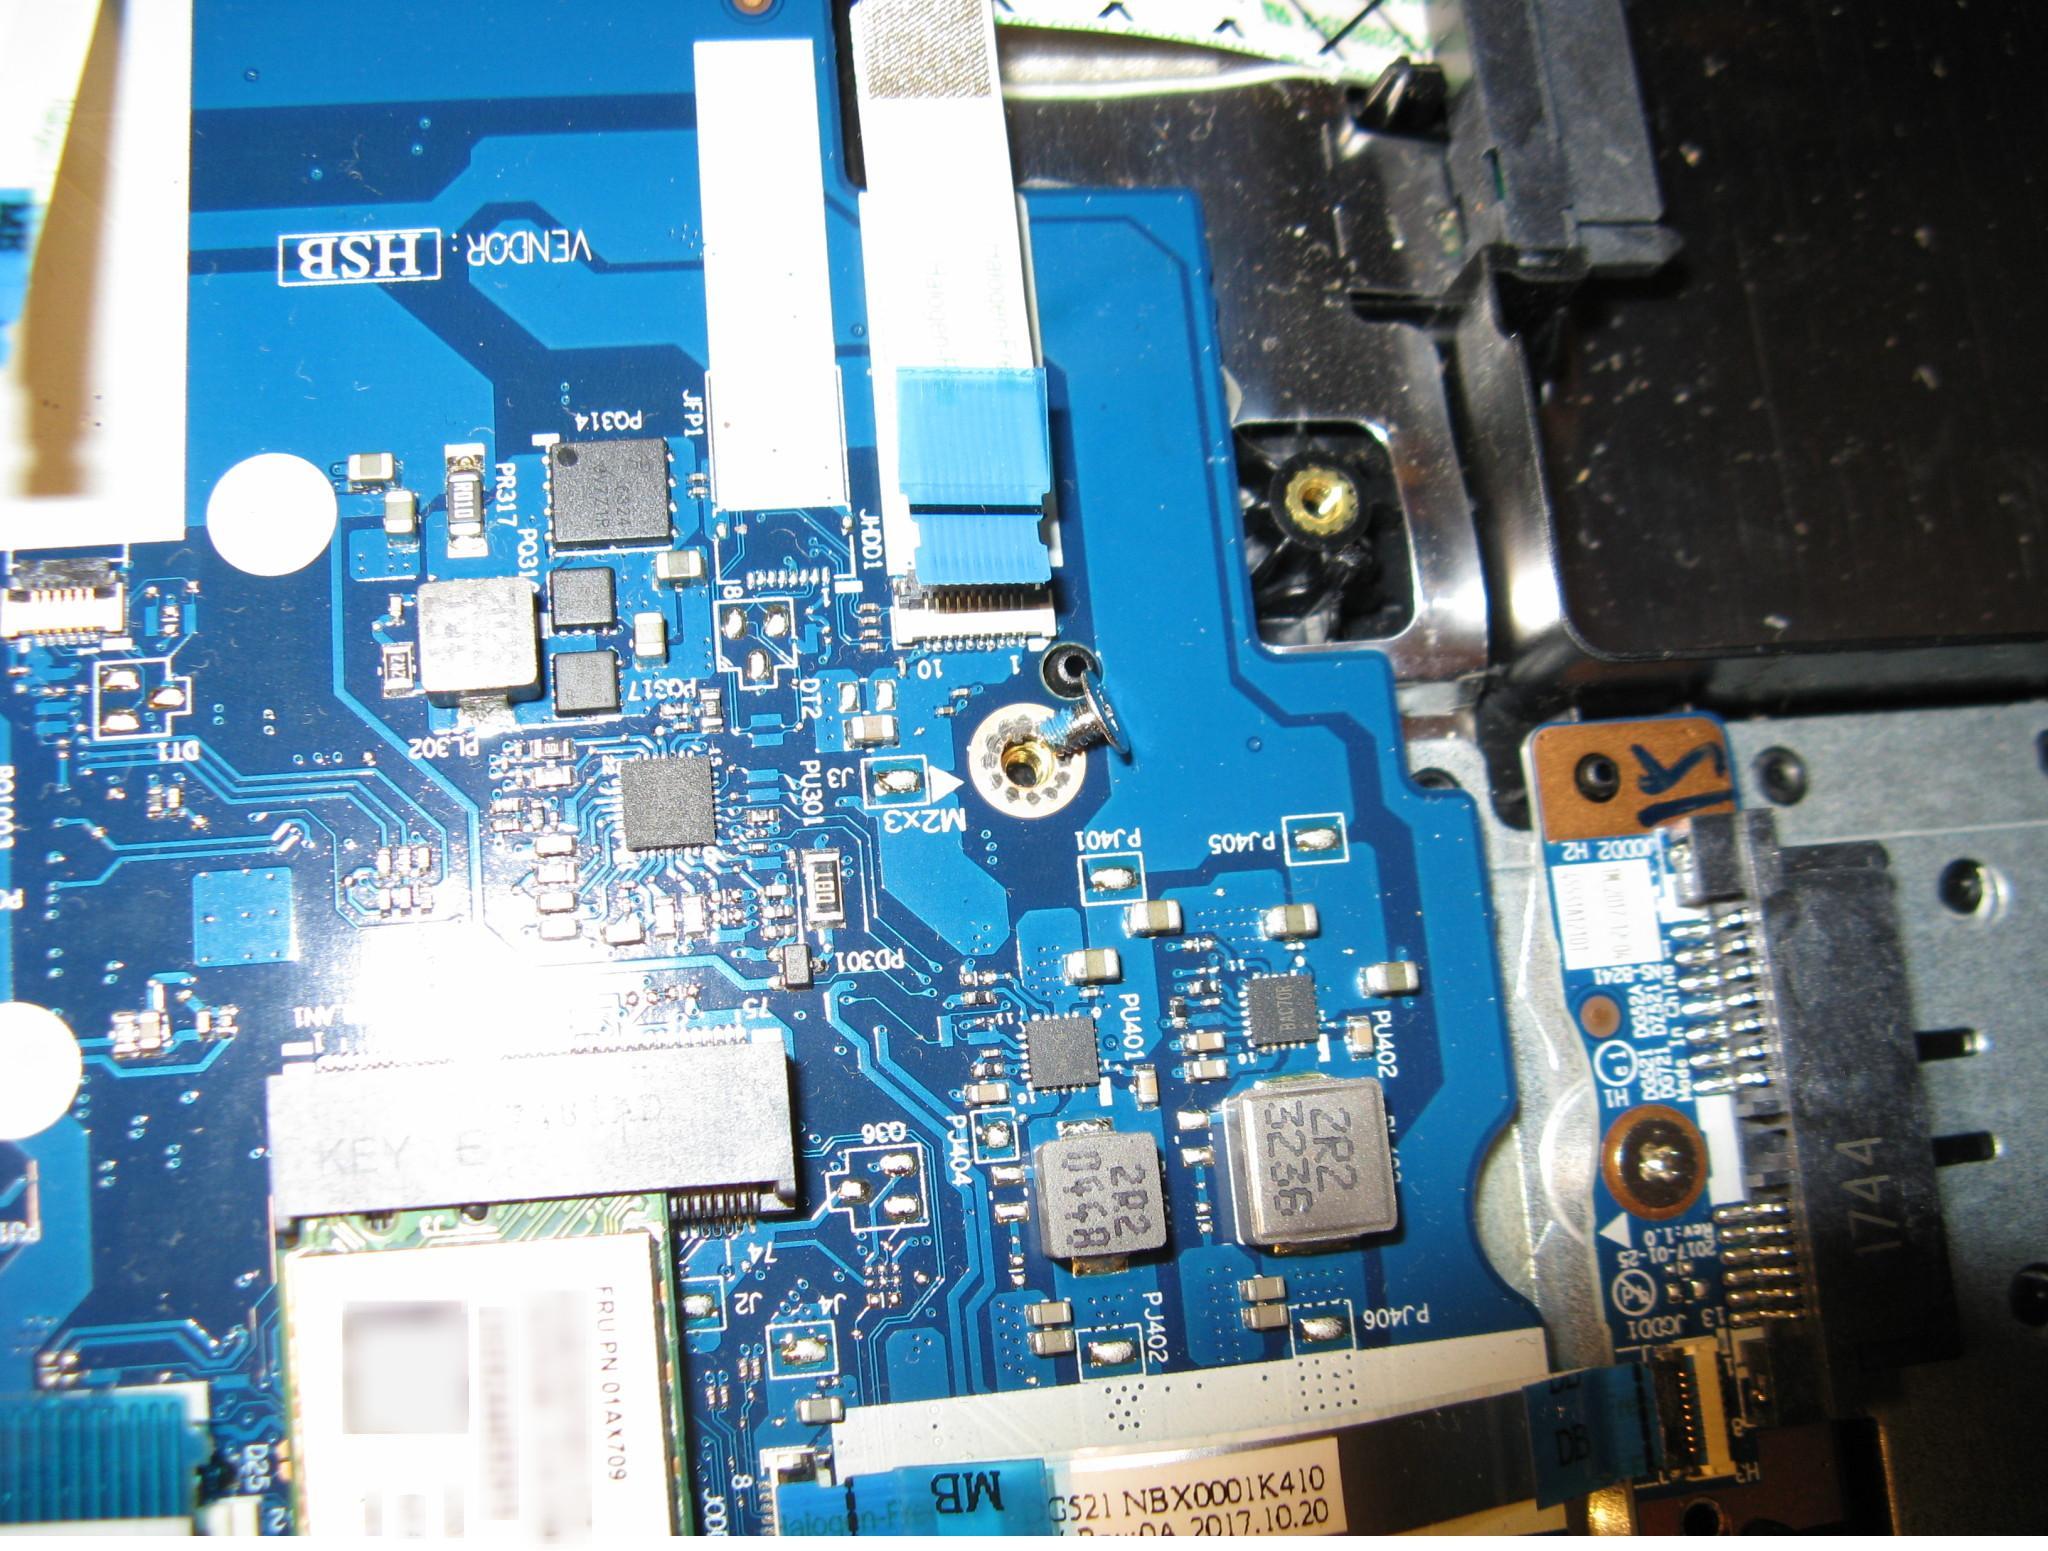
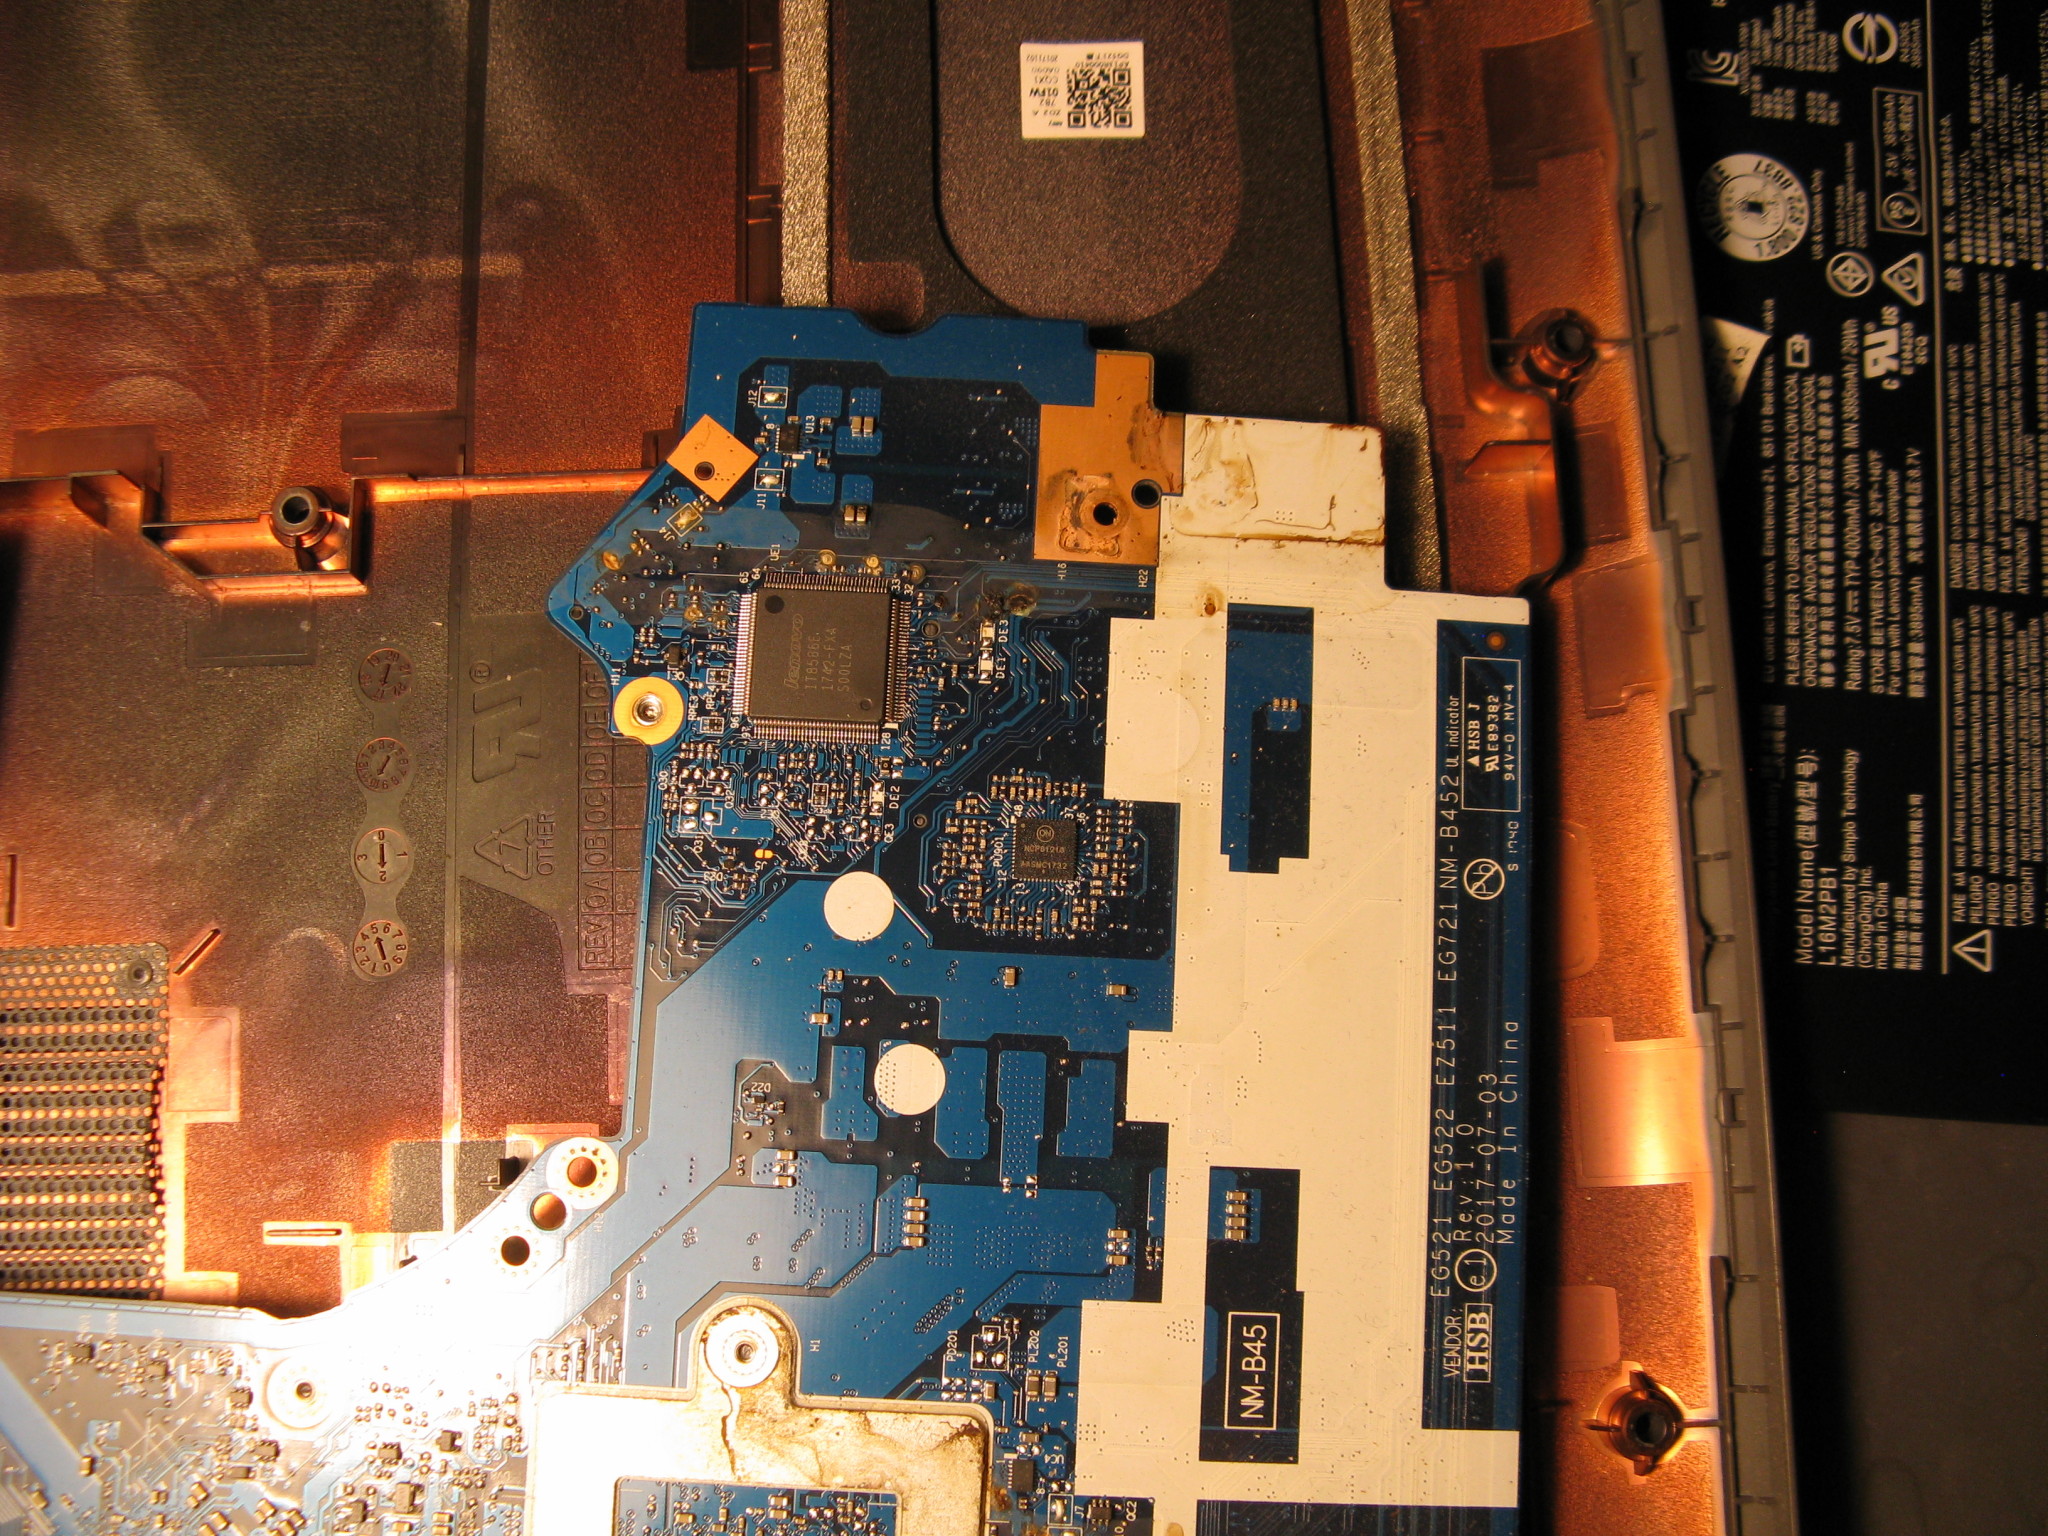
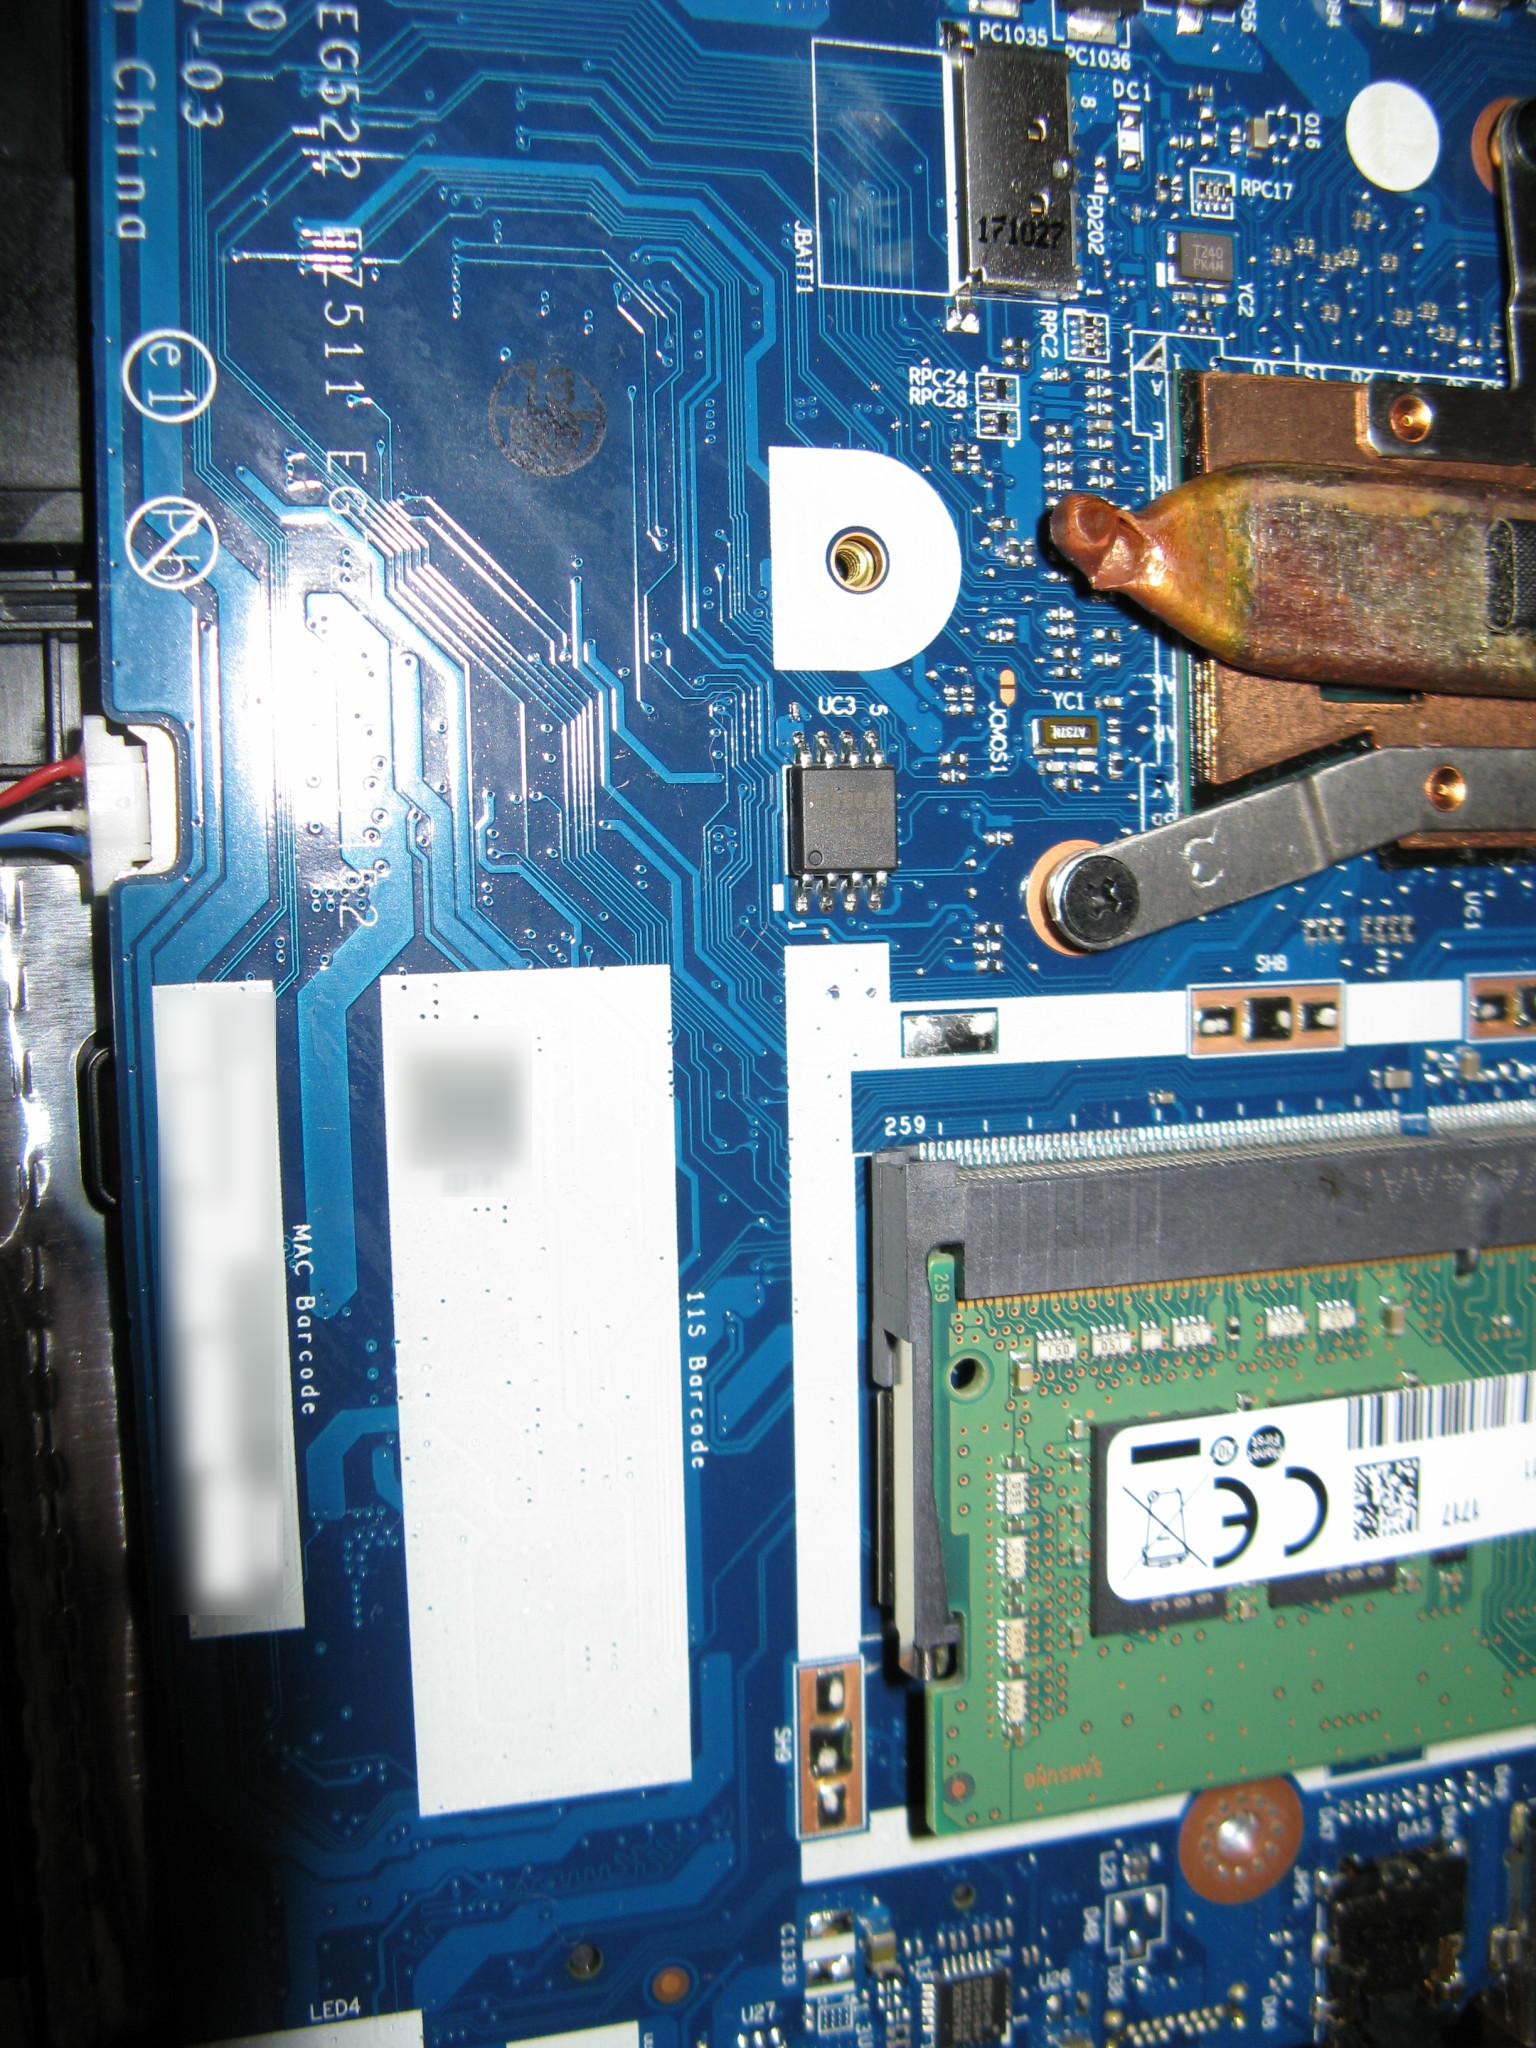
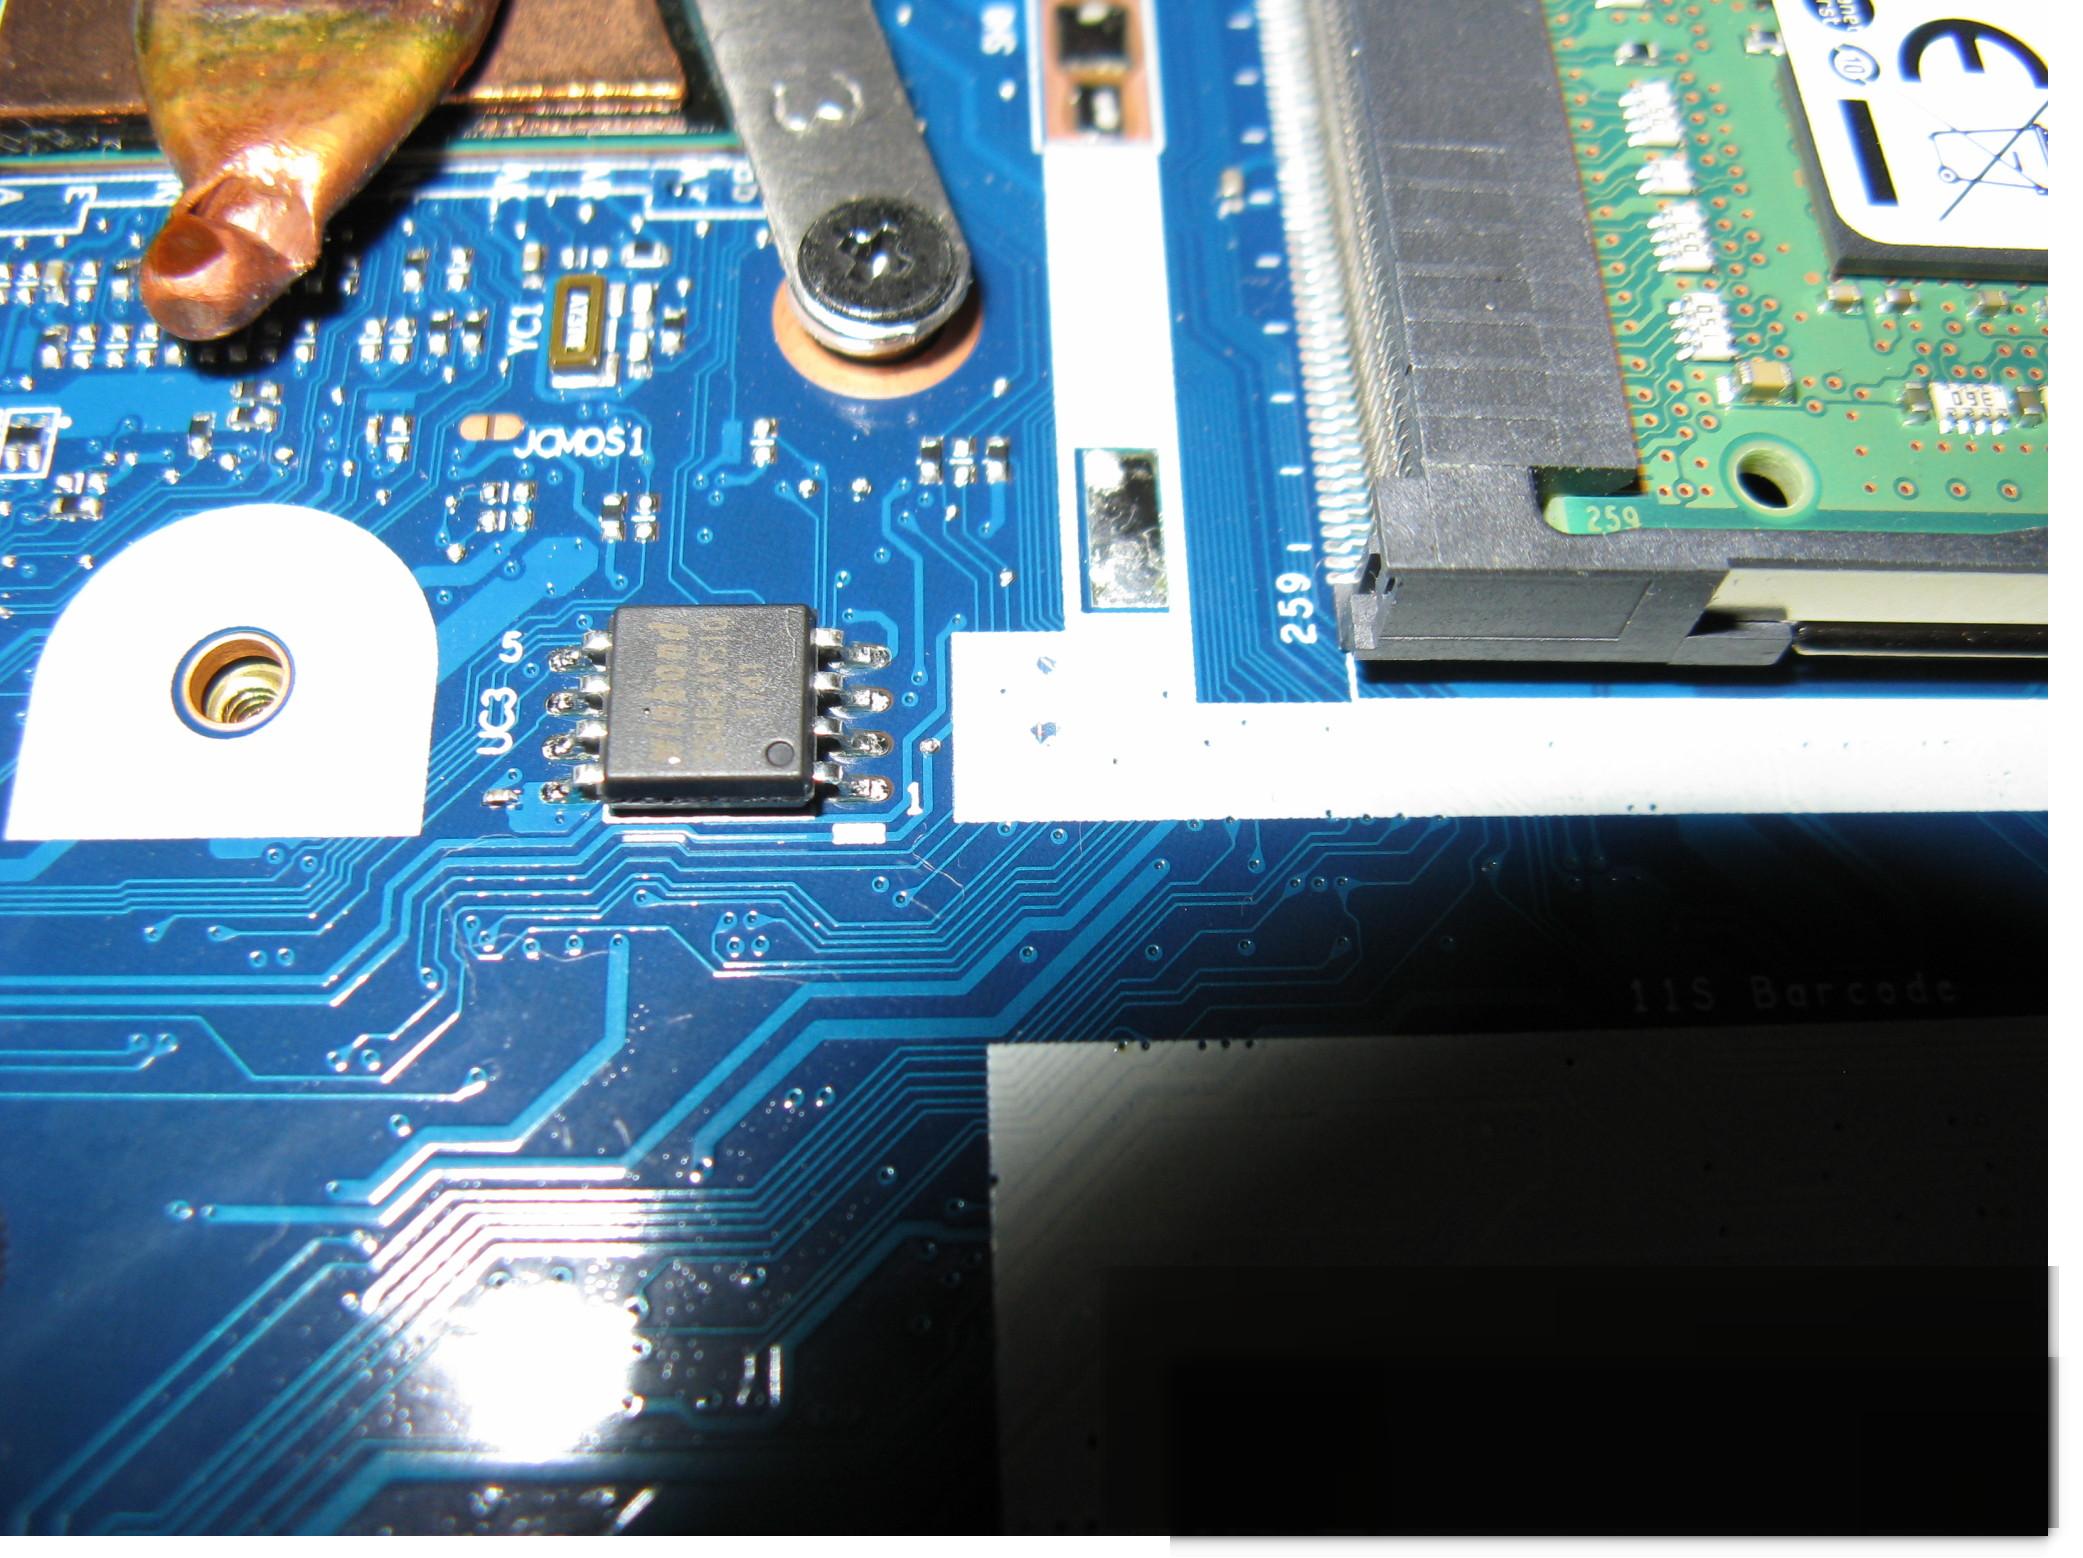
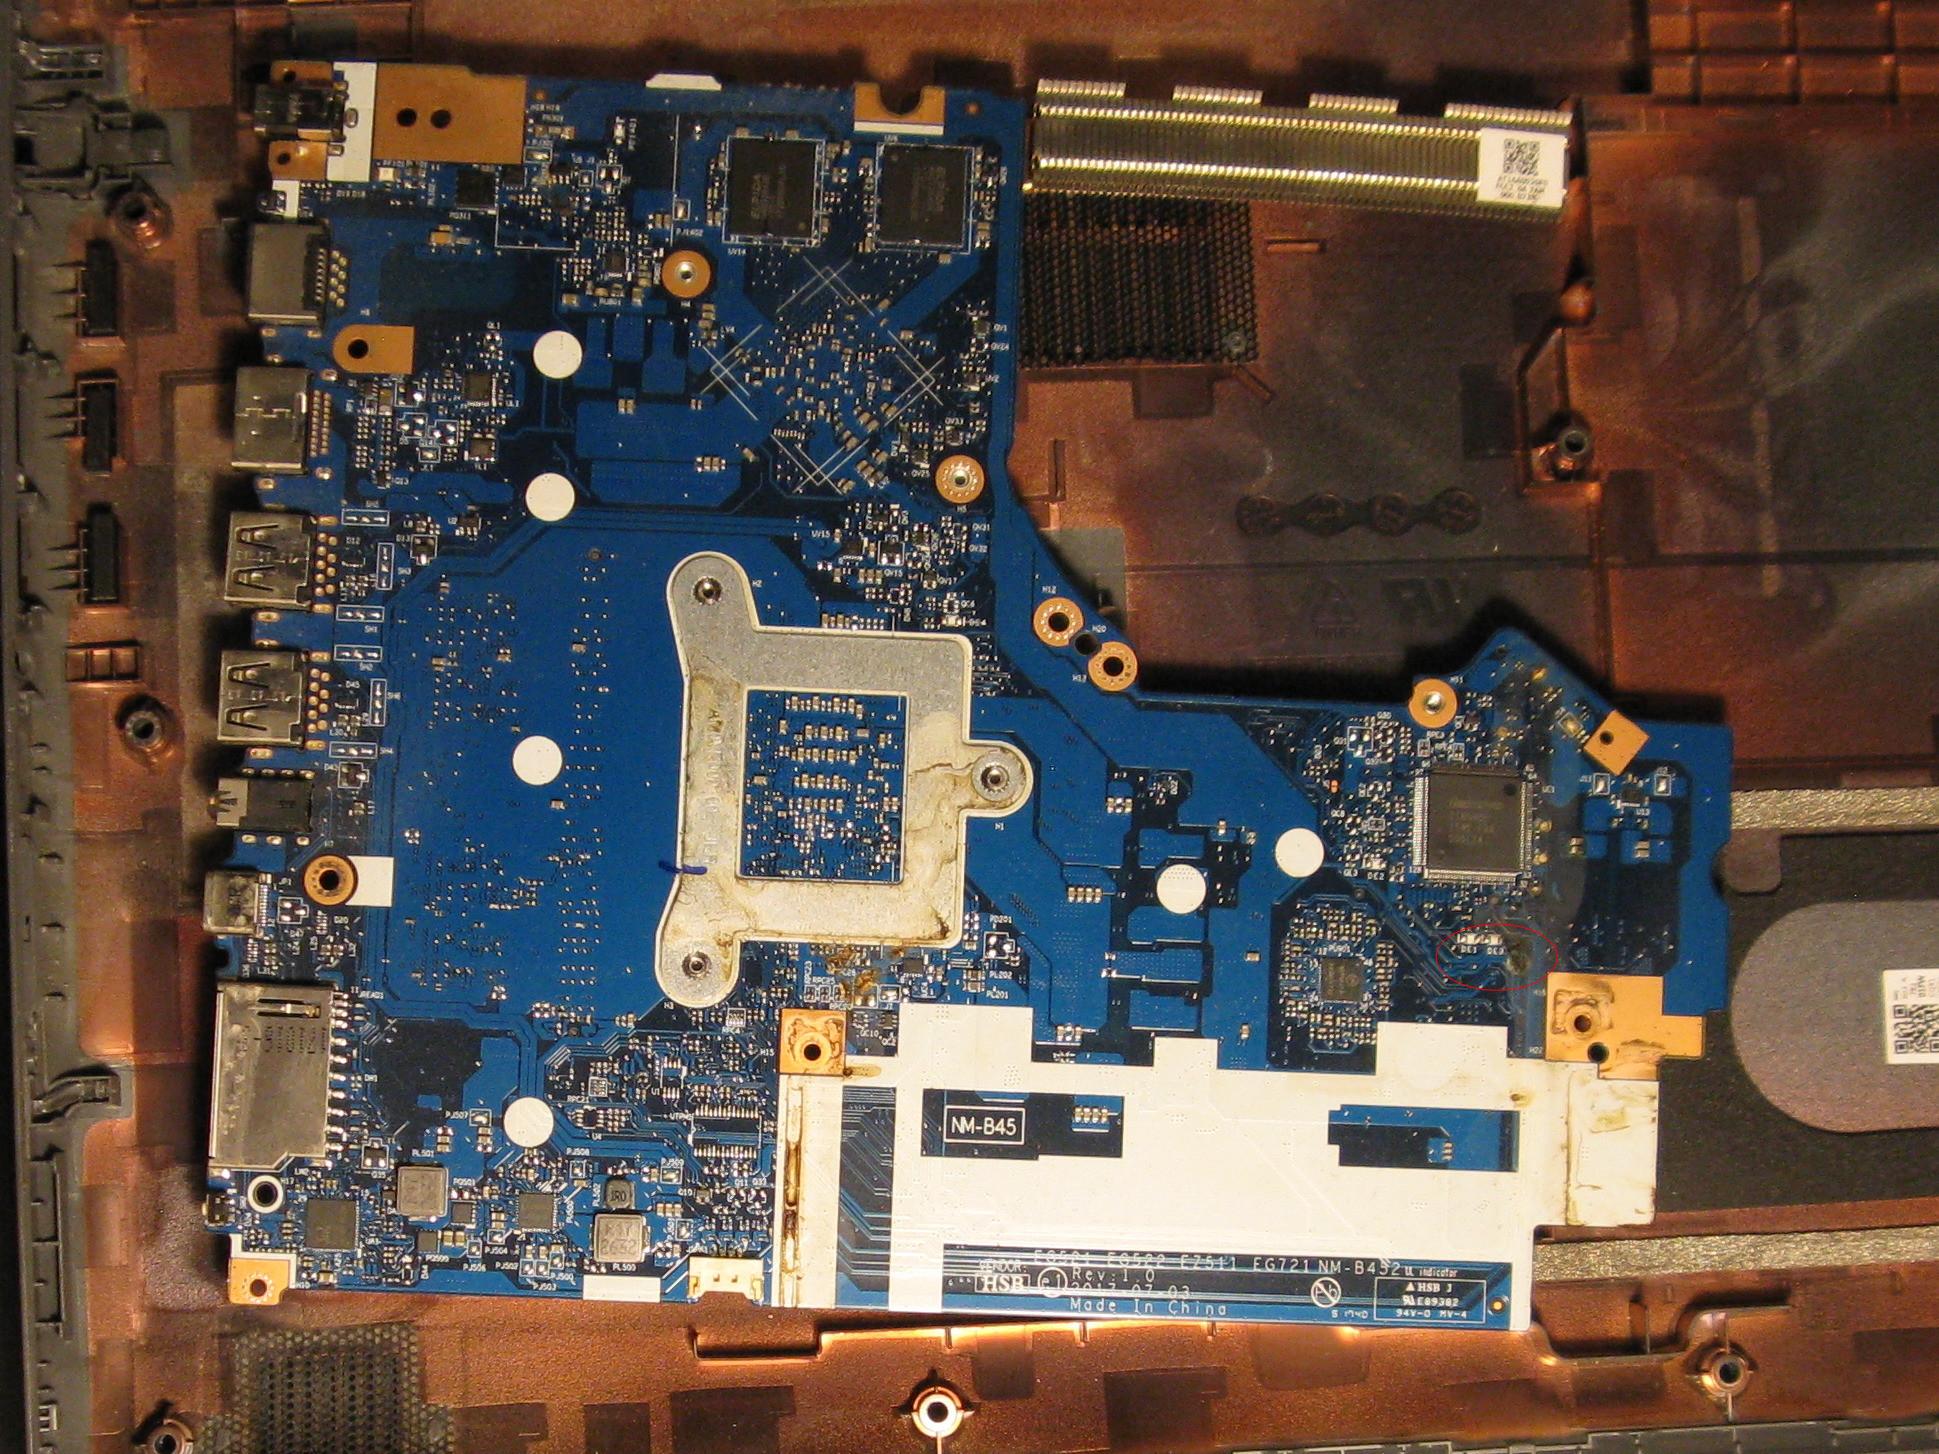
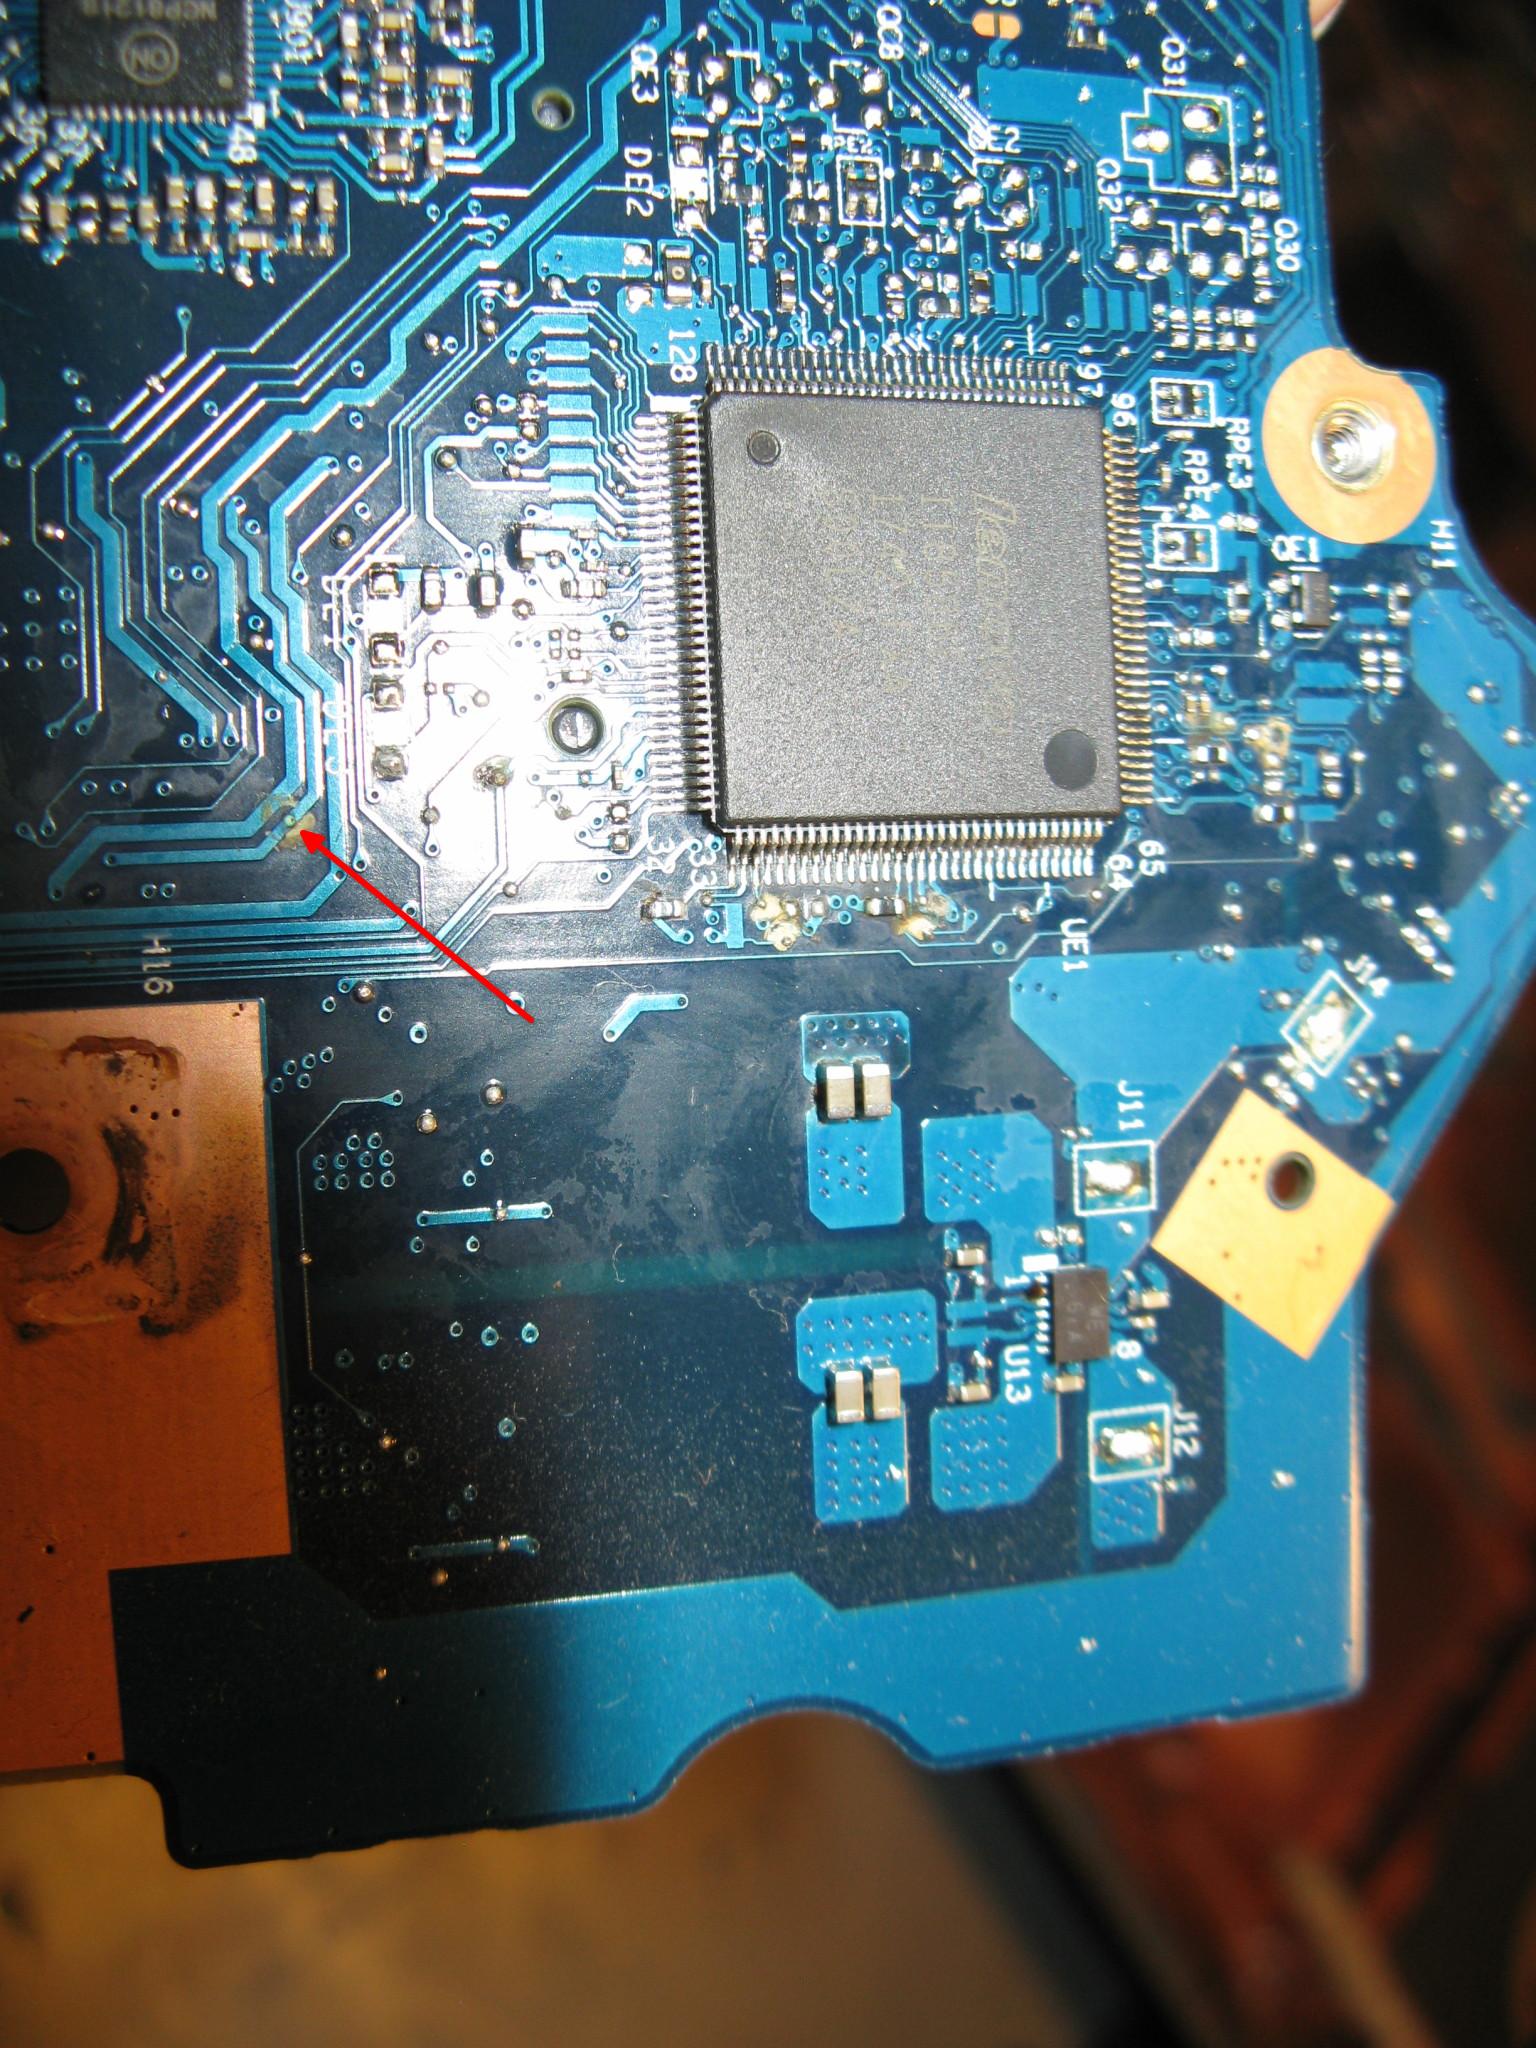
Red circle around PU301 the BQ24780, which is nowhere near the power input. Arrows indicating what in the schematic above would be R7 and C6. The track between those two is on the other side of the board. (Click the picture for full resolution. The circled IC is above the WIFI card and to the right a bit)
Zoomed in on PU301, green arrow indicating its VCC pin that is connected to the capacitor indicated by the left red arrow. That capacitor should be connected to the resistor indicated by the other red arrow, by a track on the other side of the board.
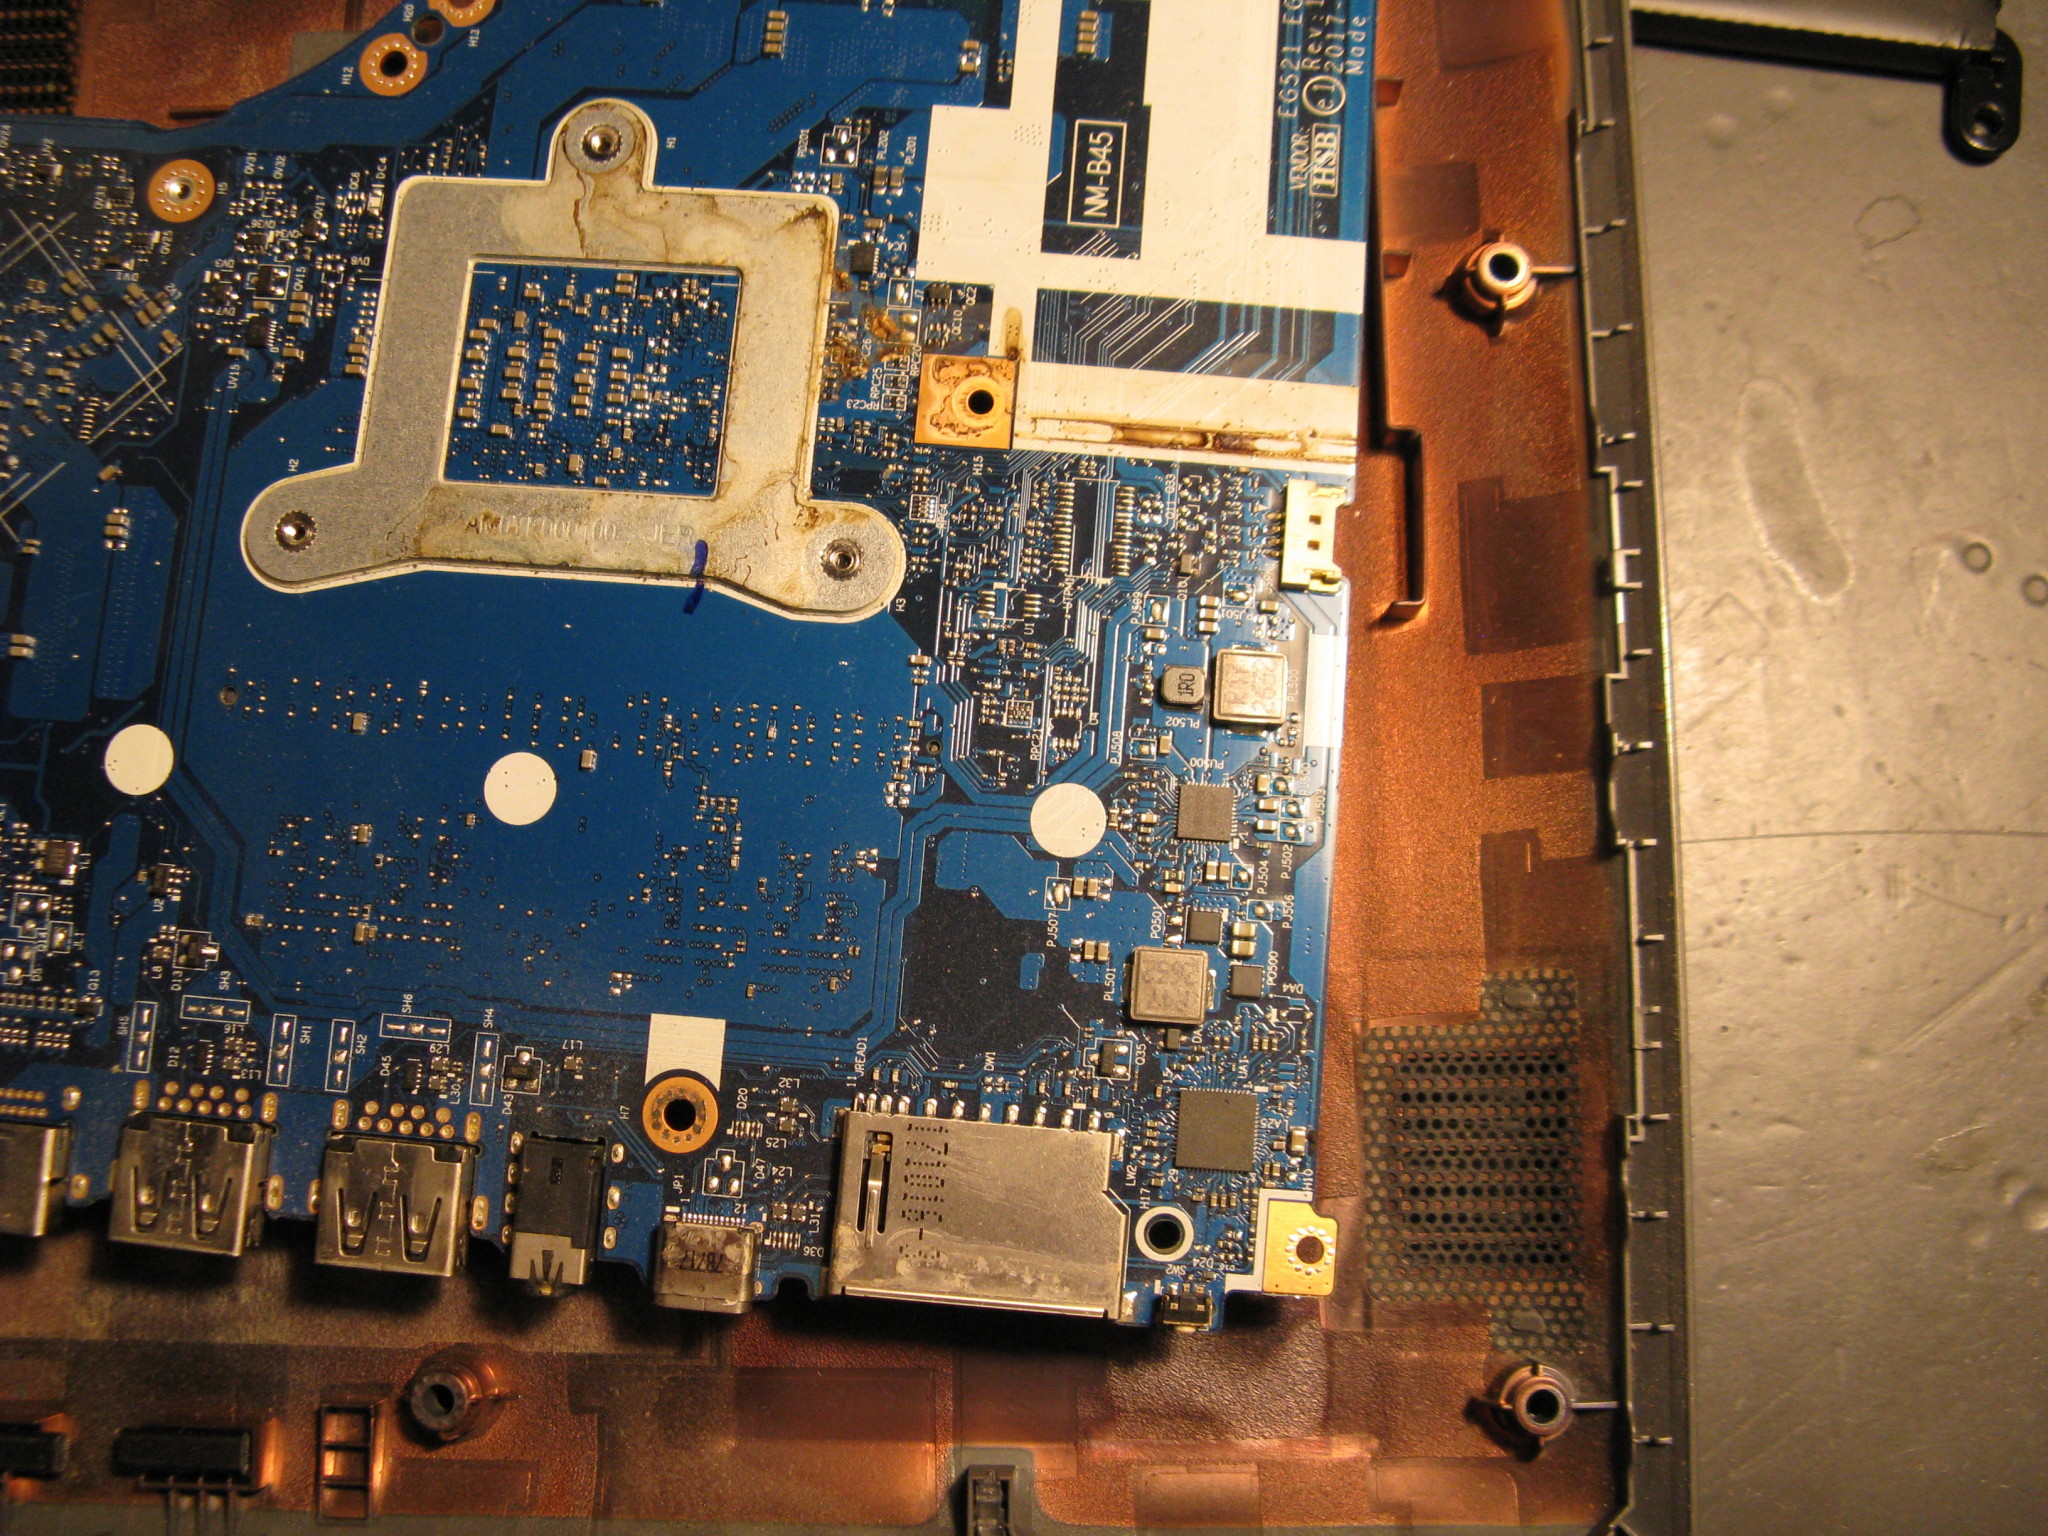
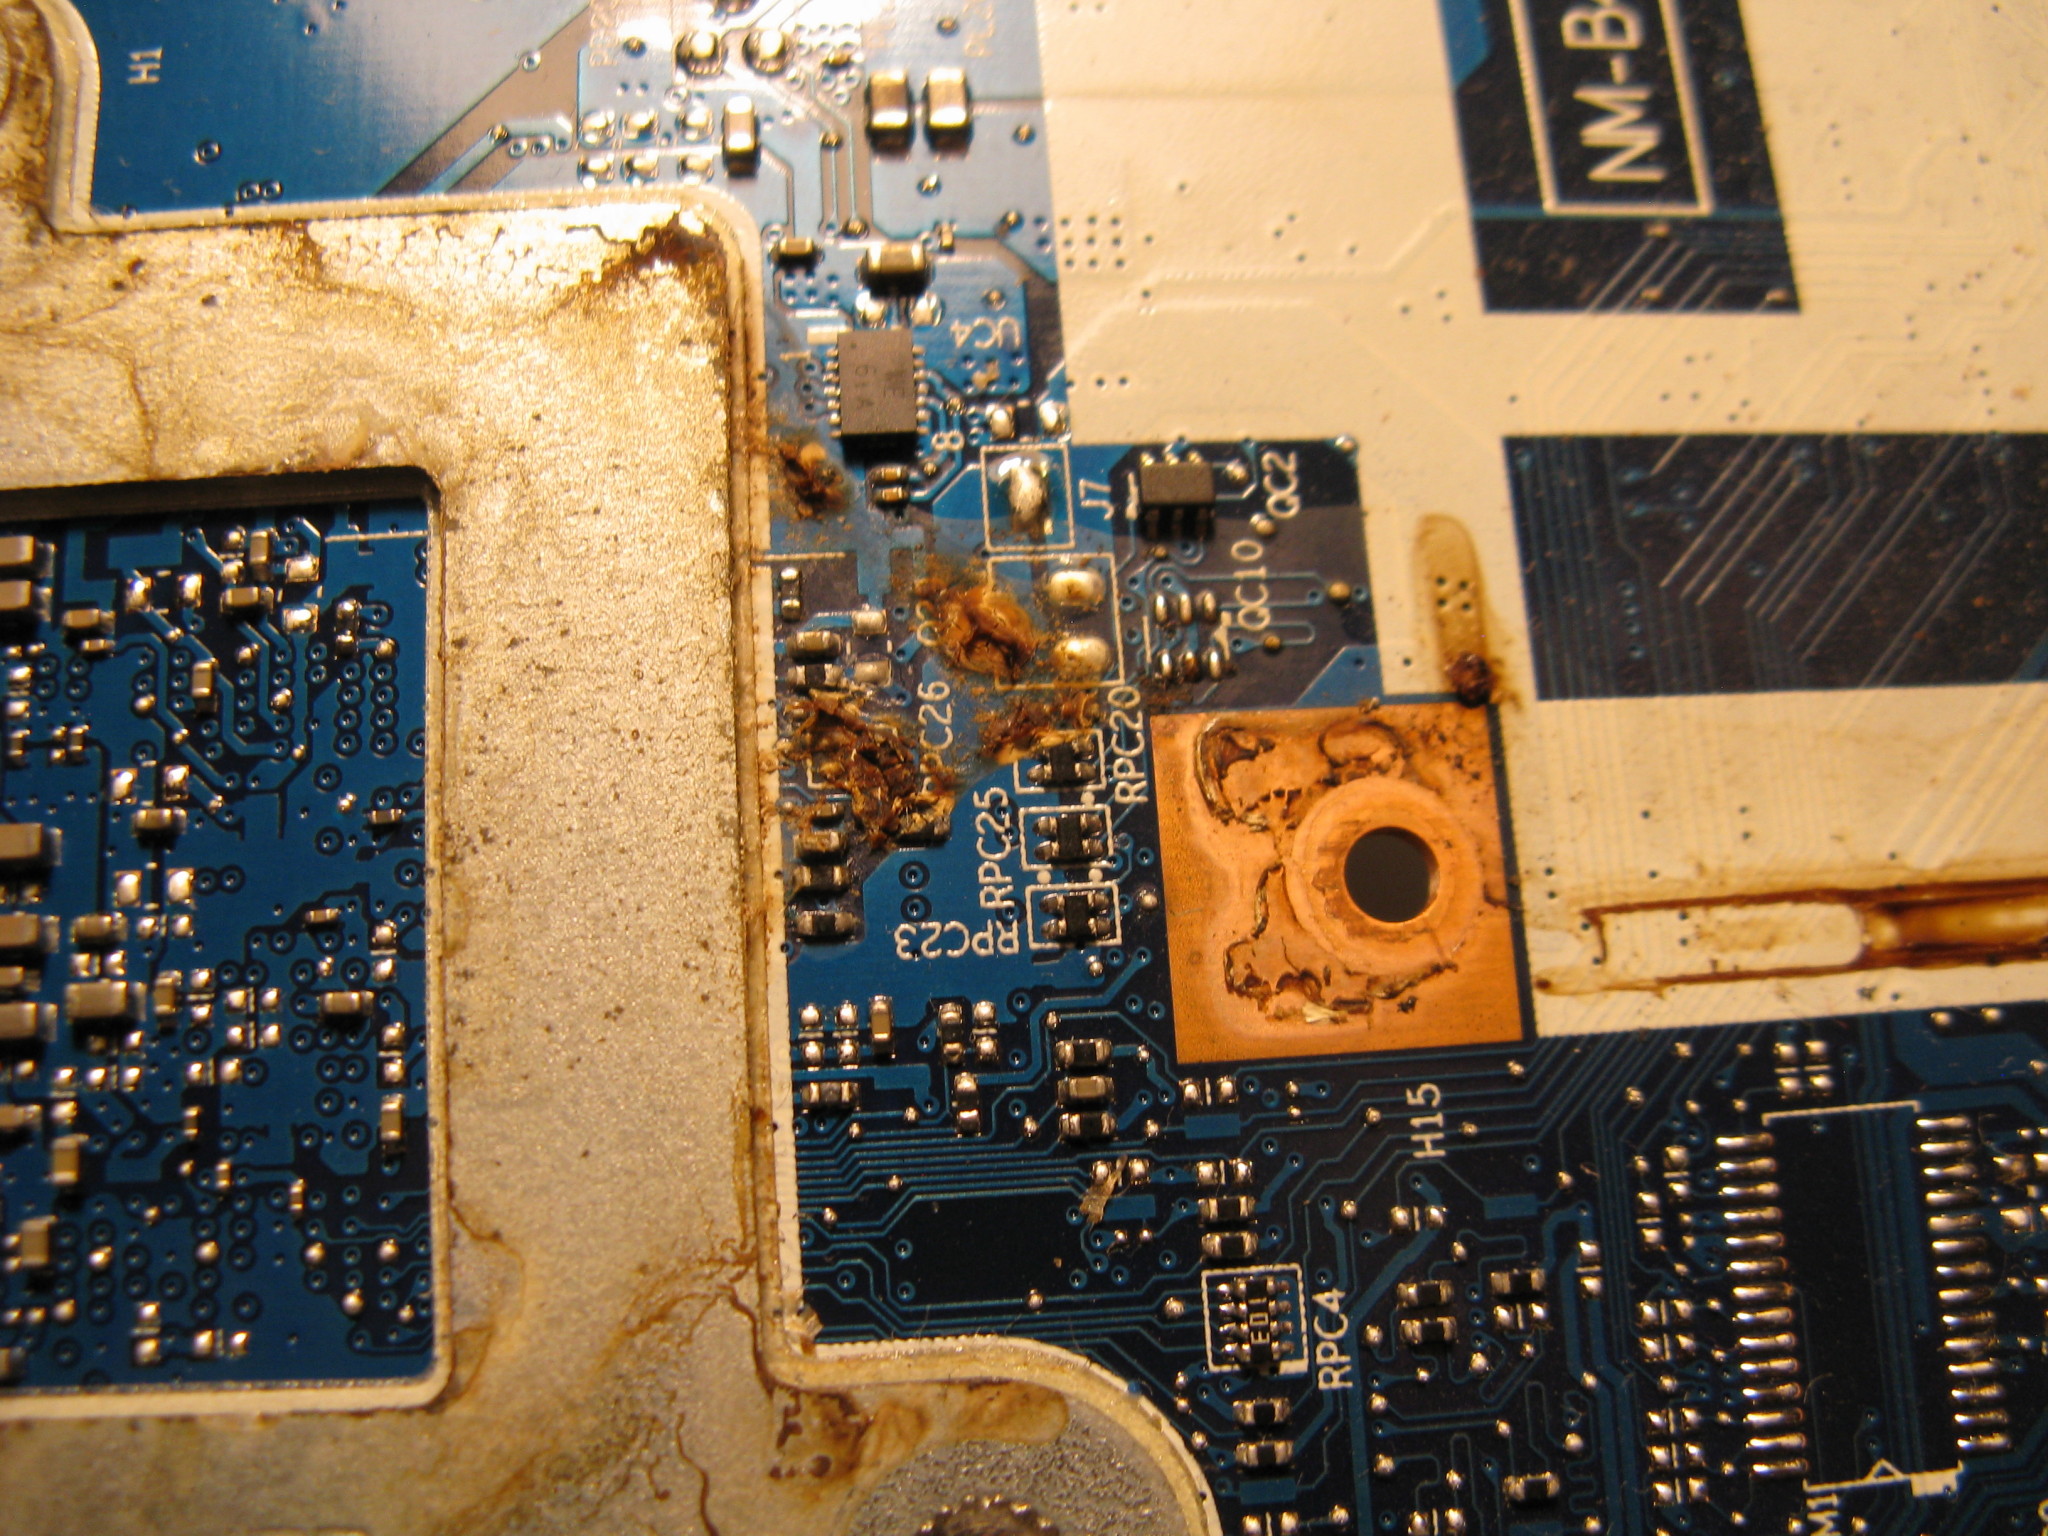
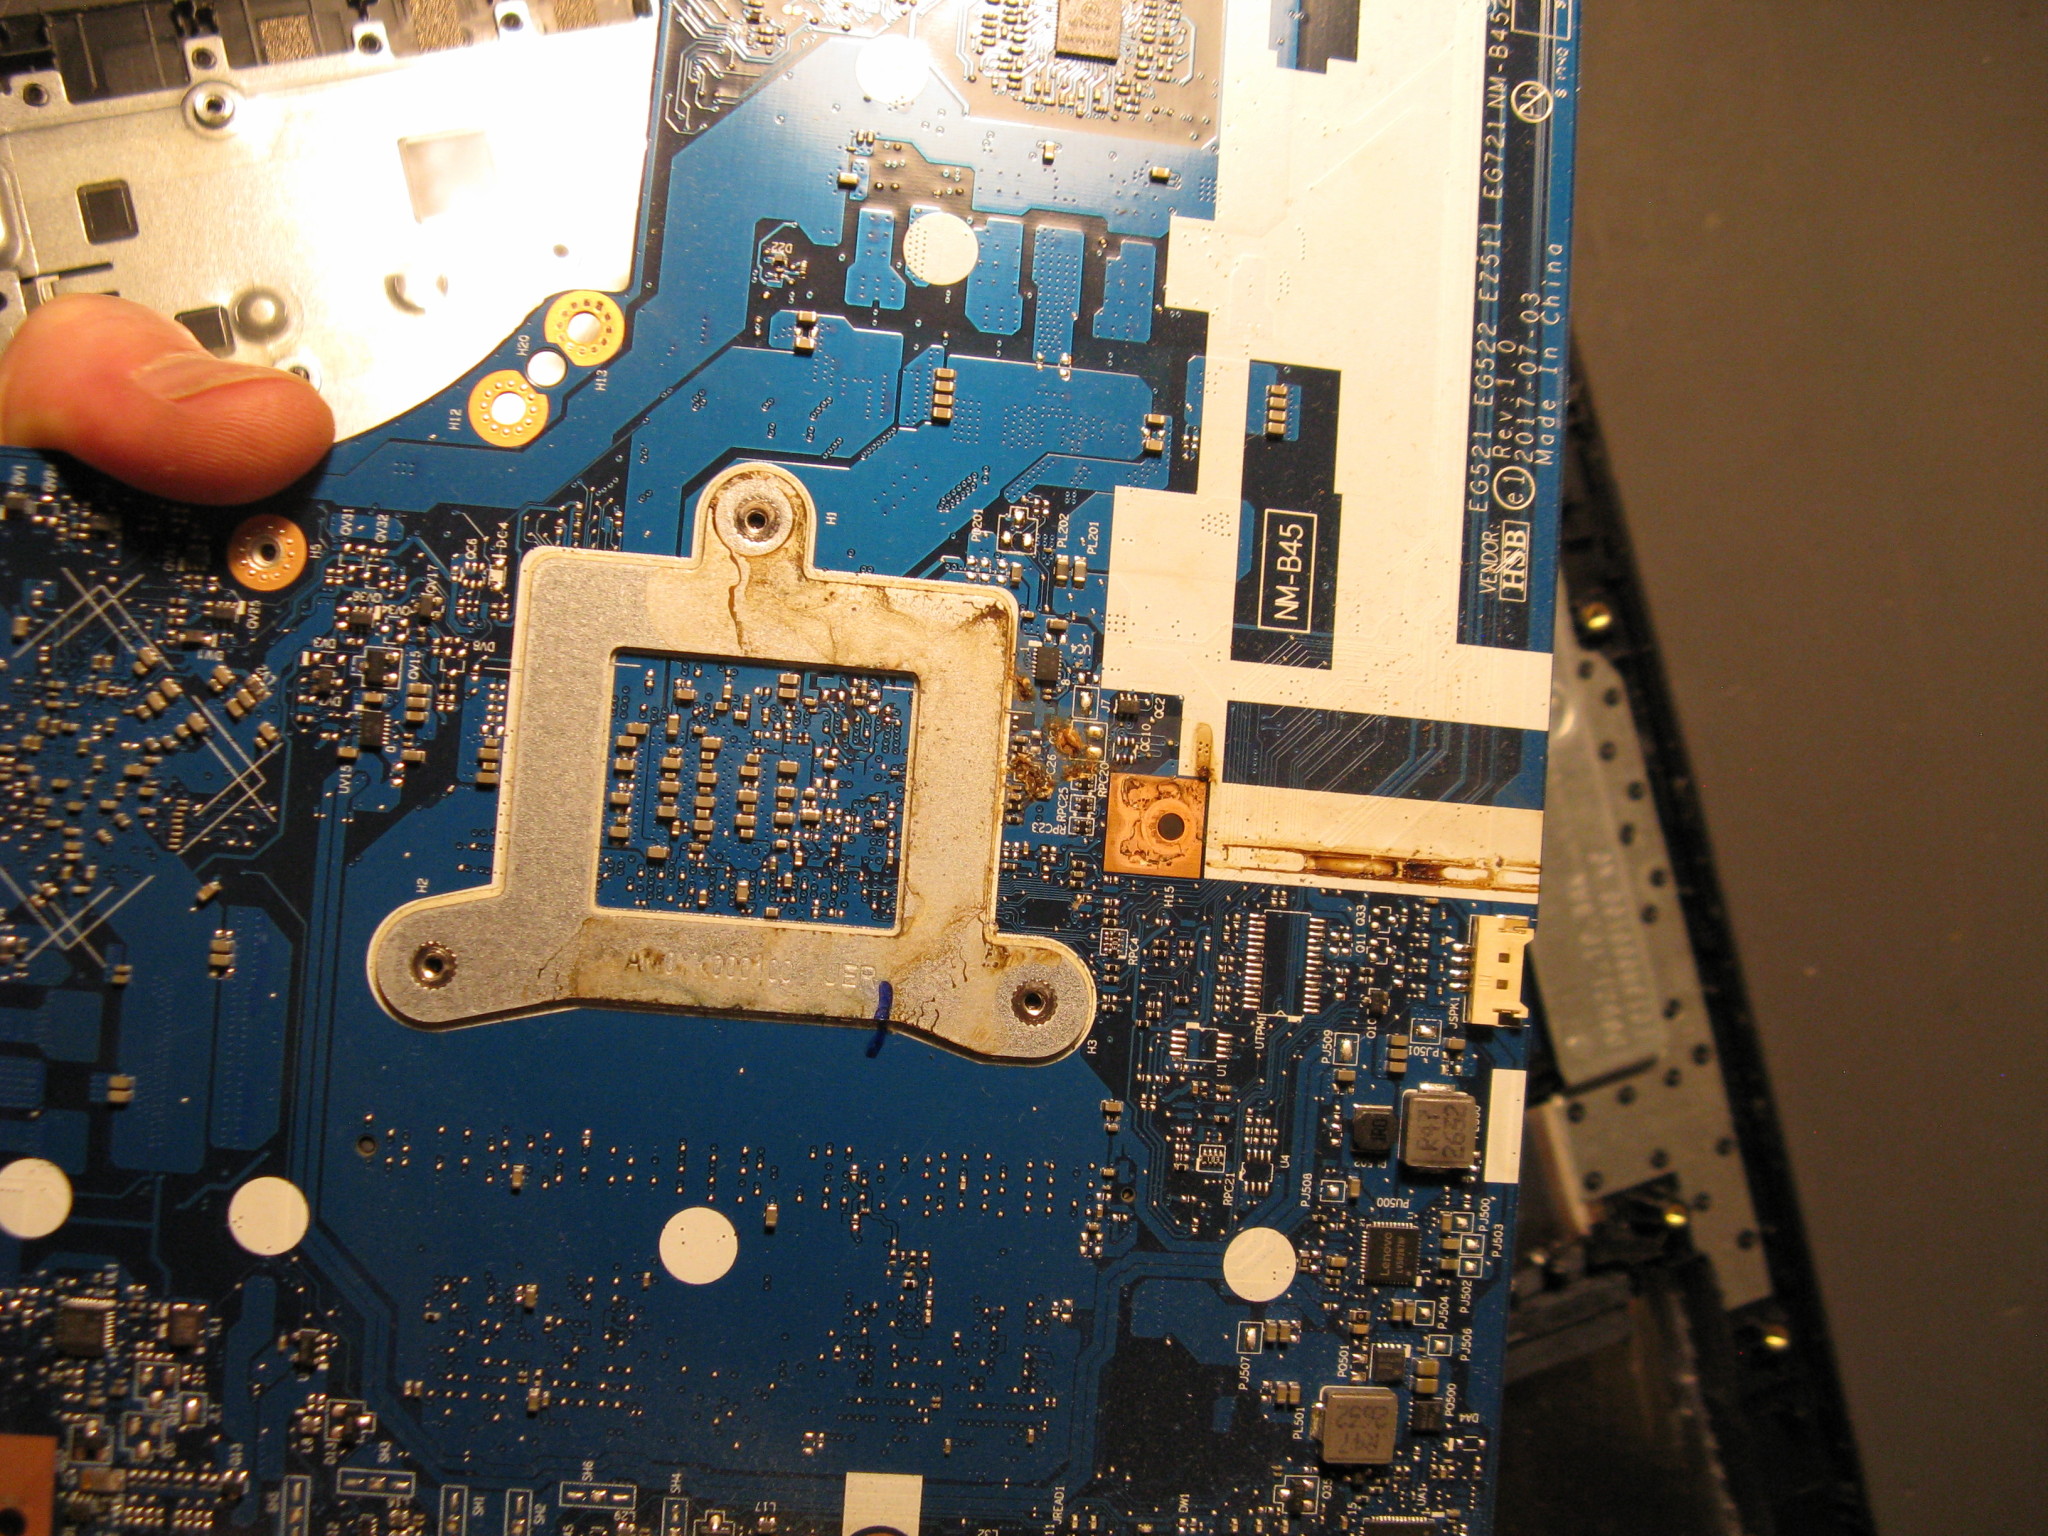
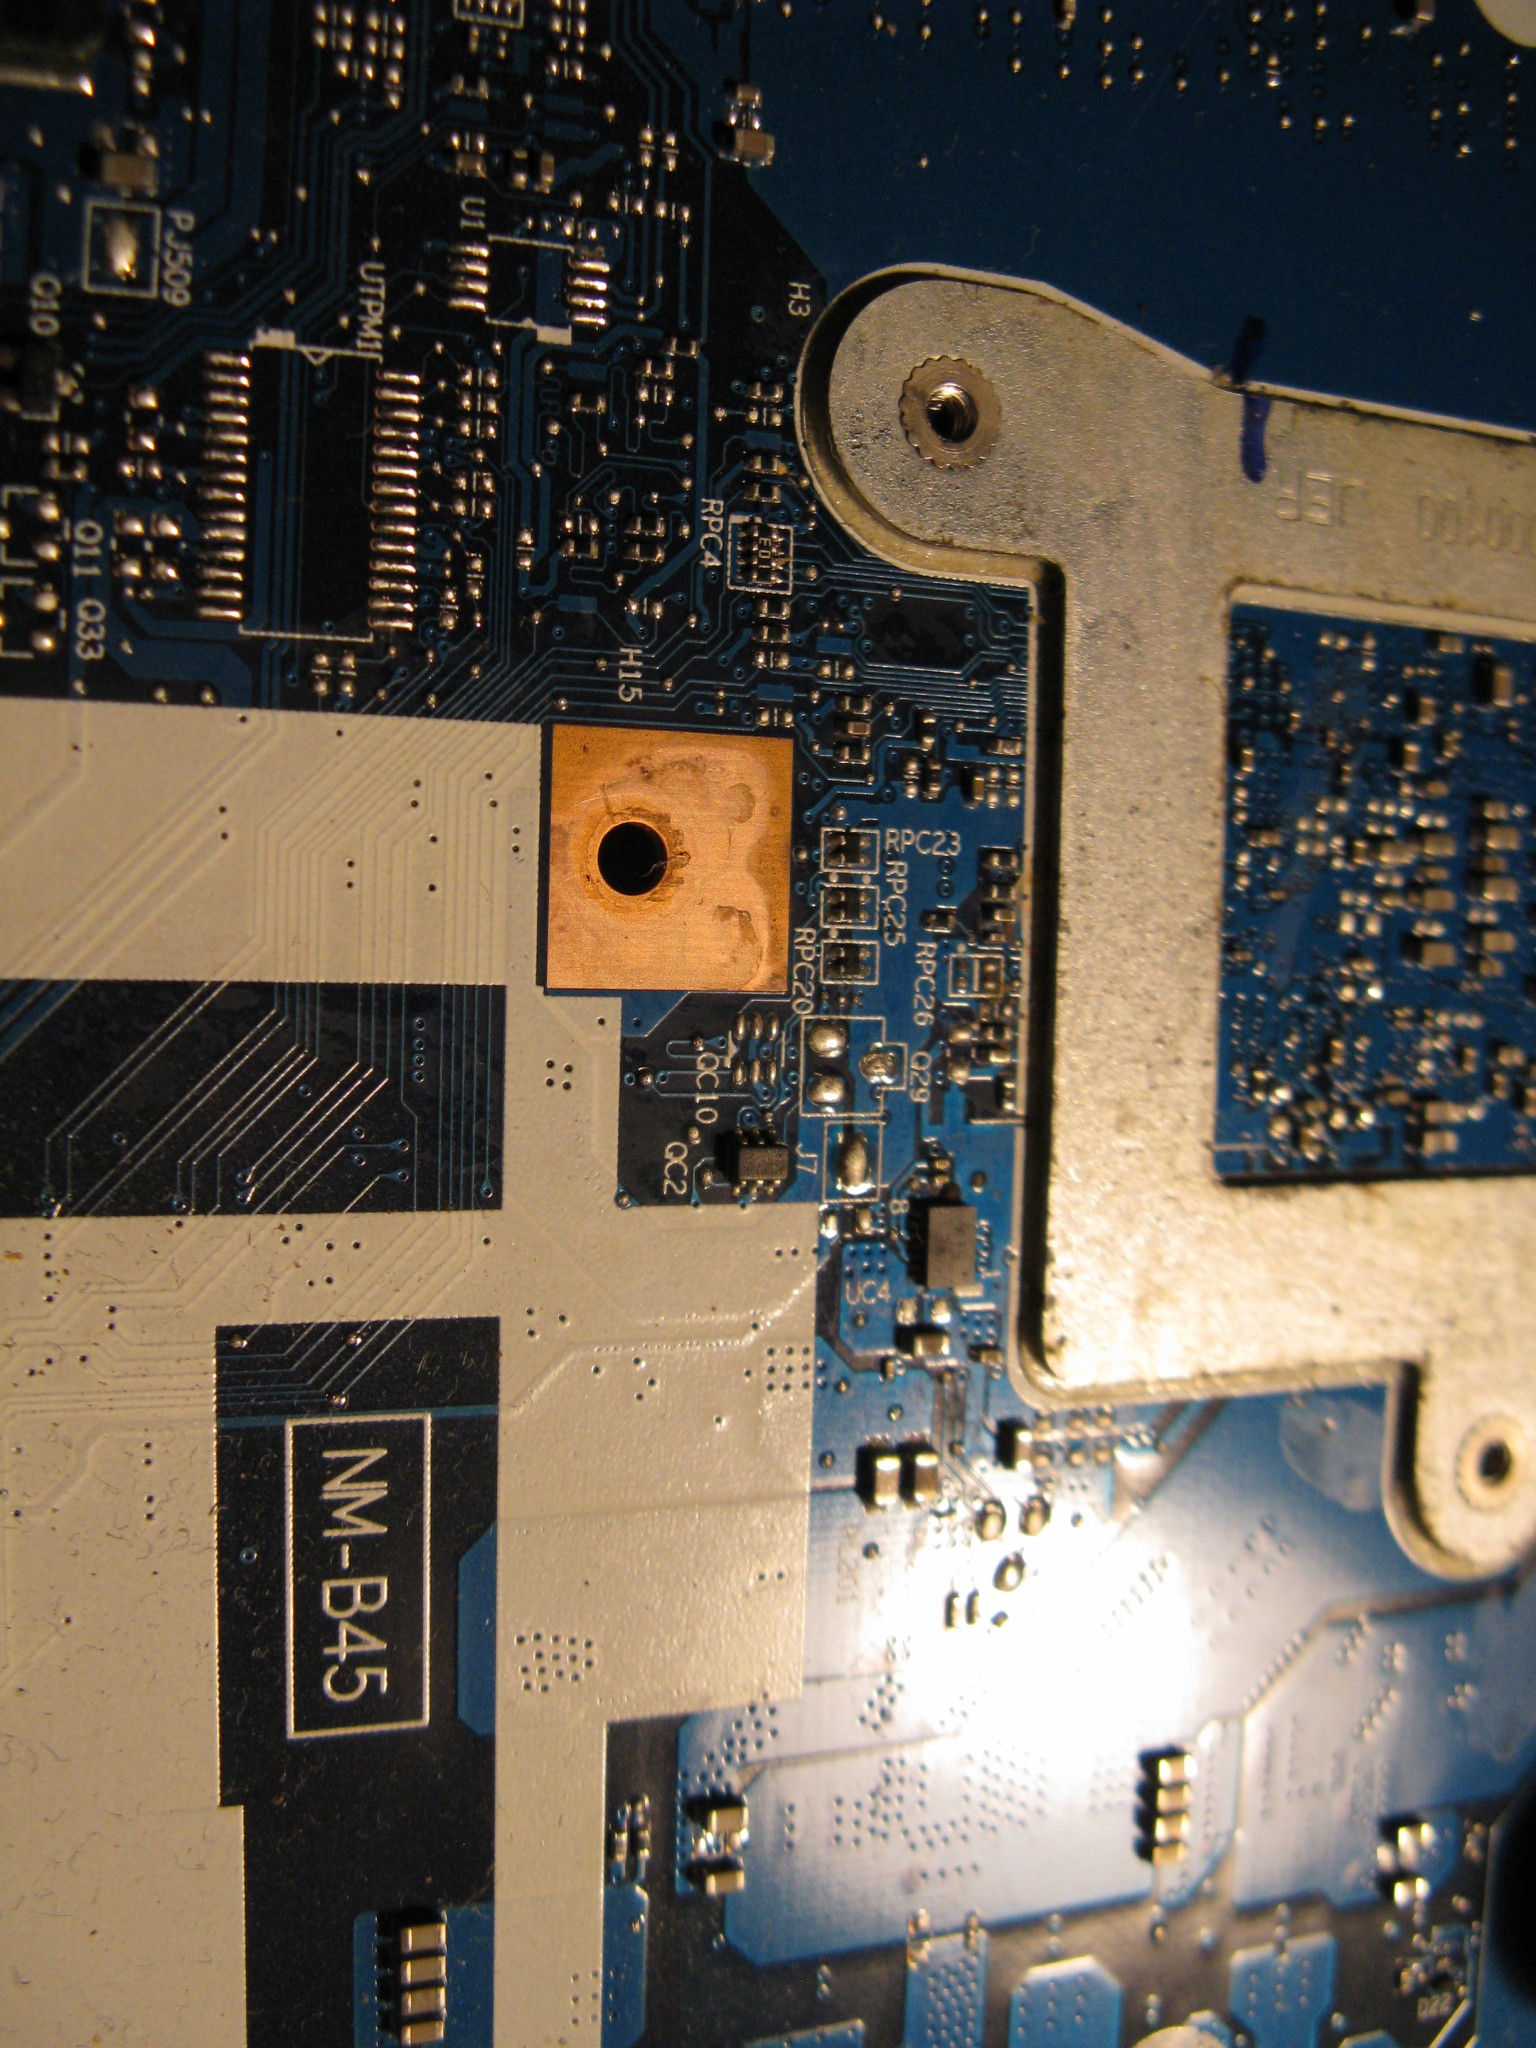
This is the other side of the board, before it was cleaned, with a circle around the track that should connect that R and C.
This is after cleaning and zoomed in a bit, arrow indicates where the track is broken / corroded through.
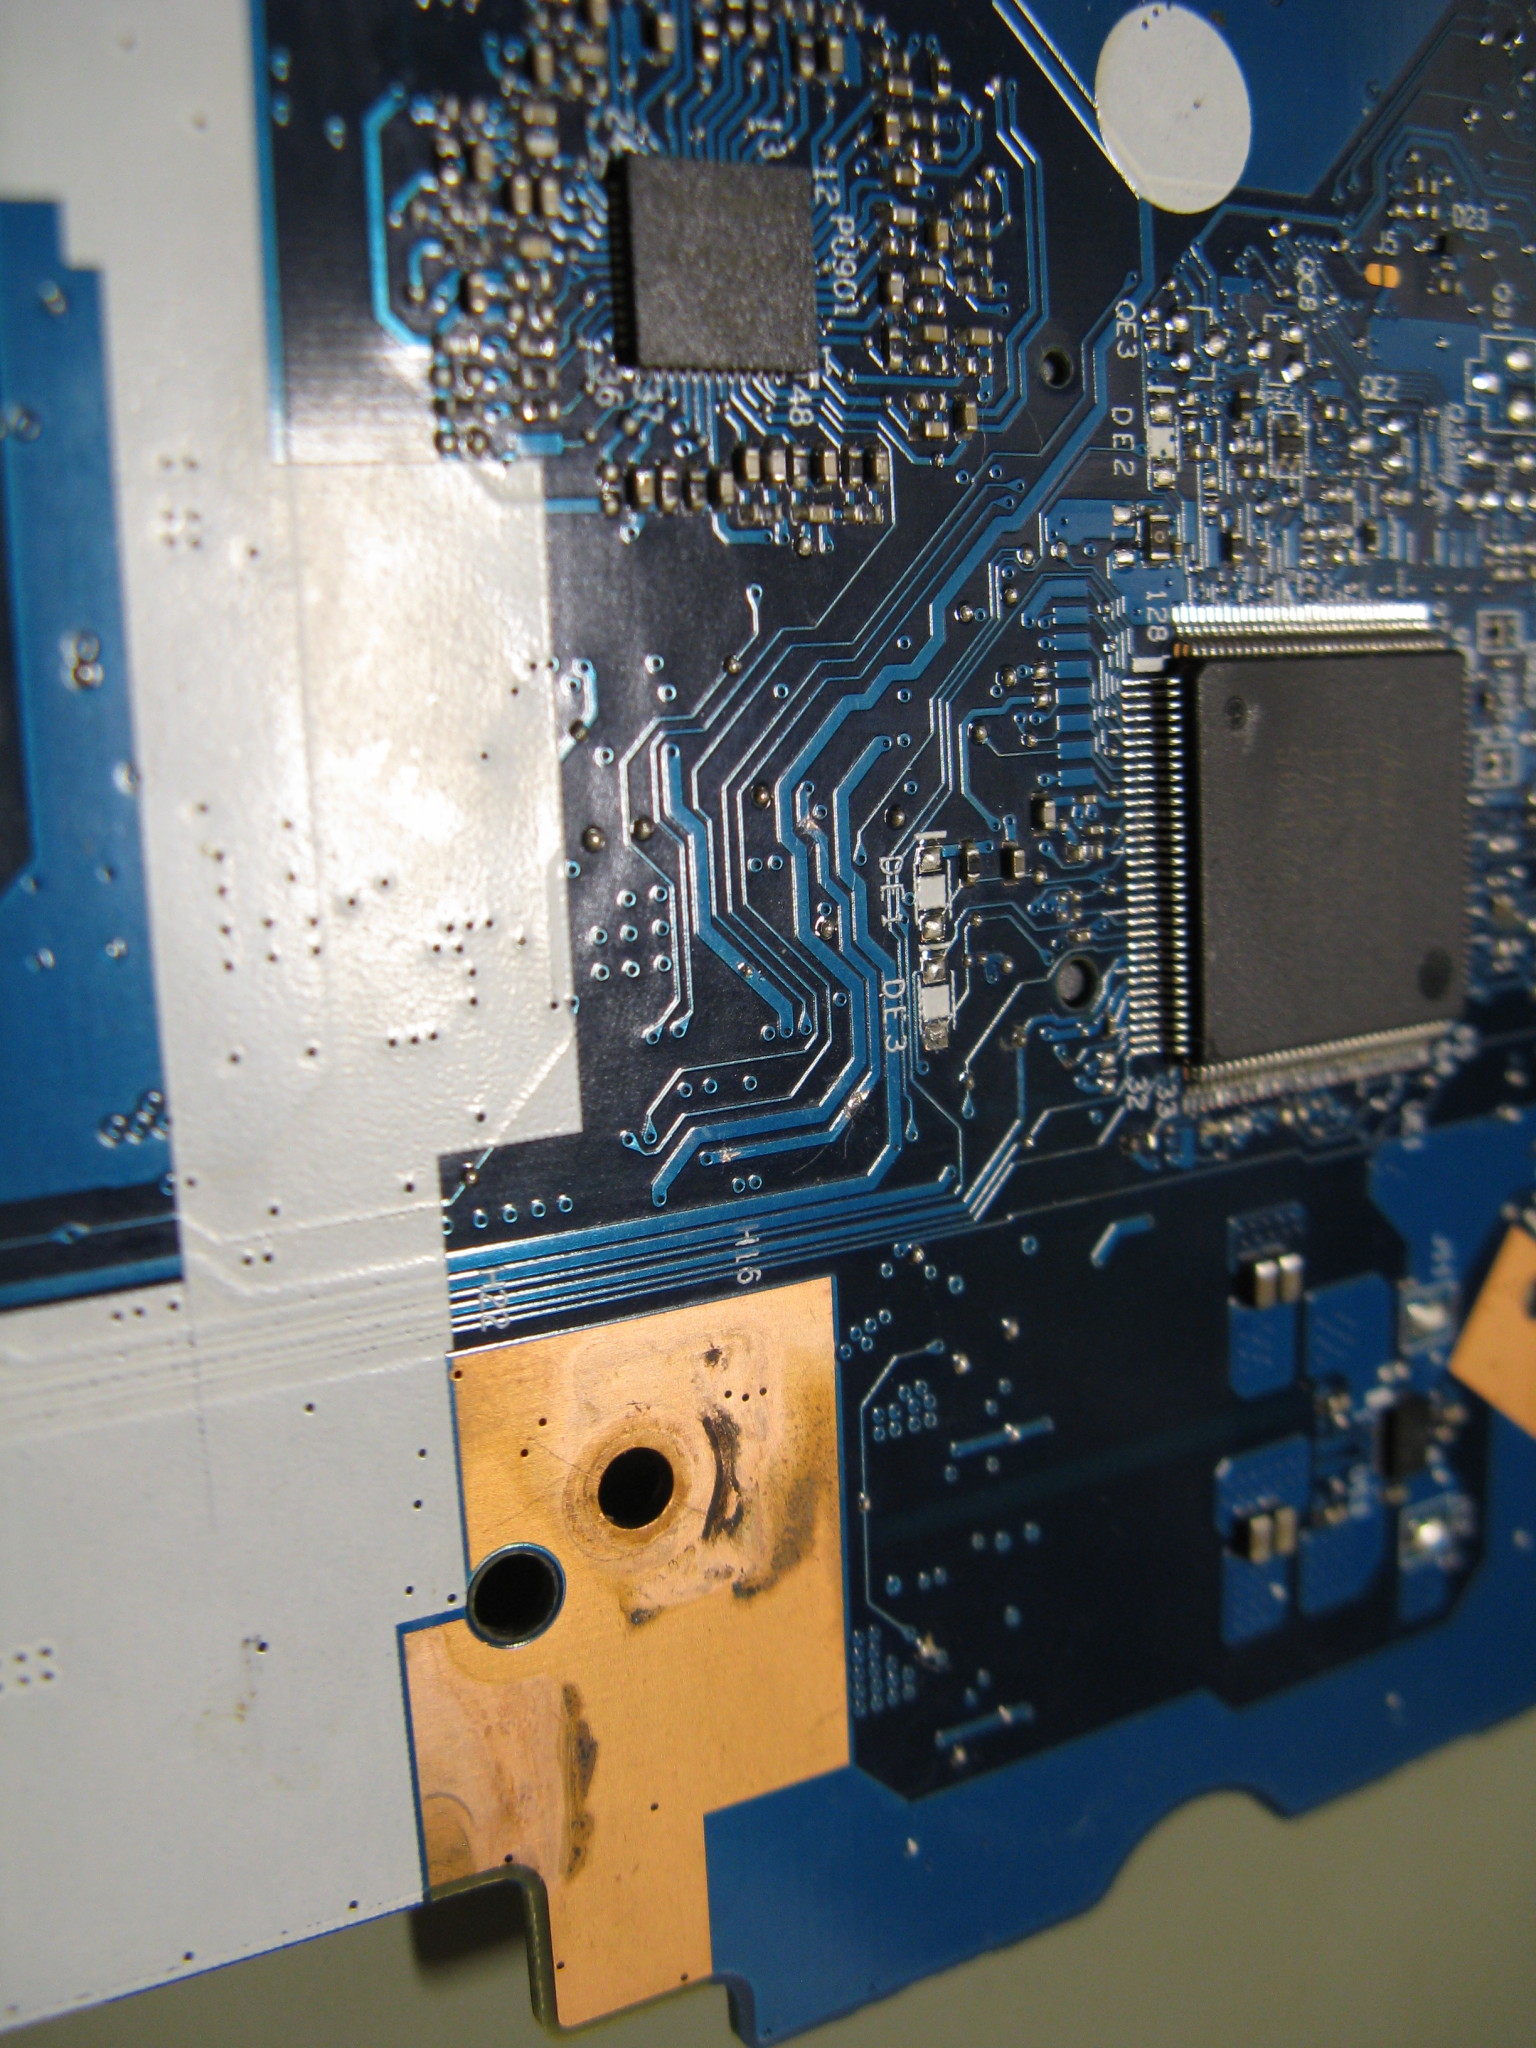
I scratched trough the solder resist on this track. Both ends conduct up to the corroded bit in the middle (arrow in previous picture), but not to each other.
So I repaired this trace by scratching off a bit of solder resist on both sides of the gap and soldering a hair of coper wire over it.
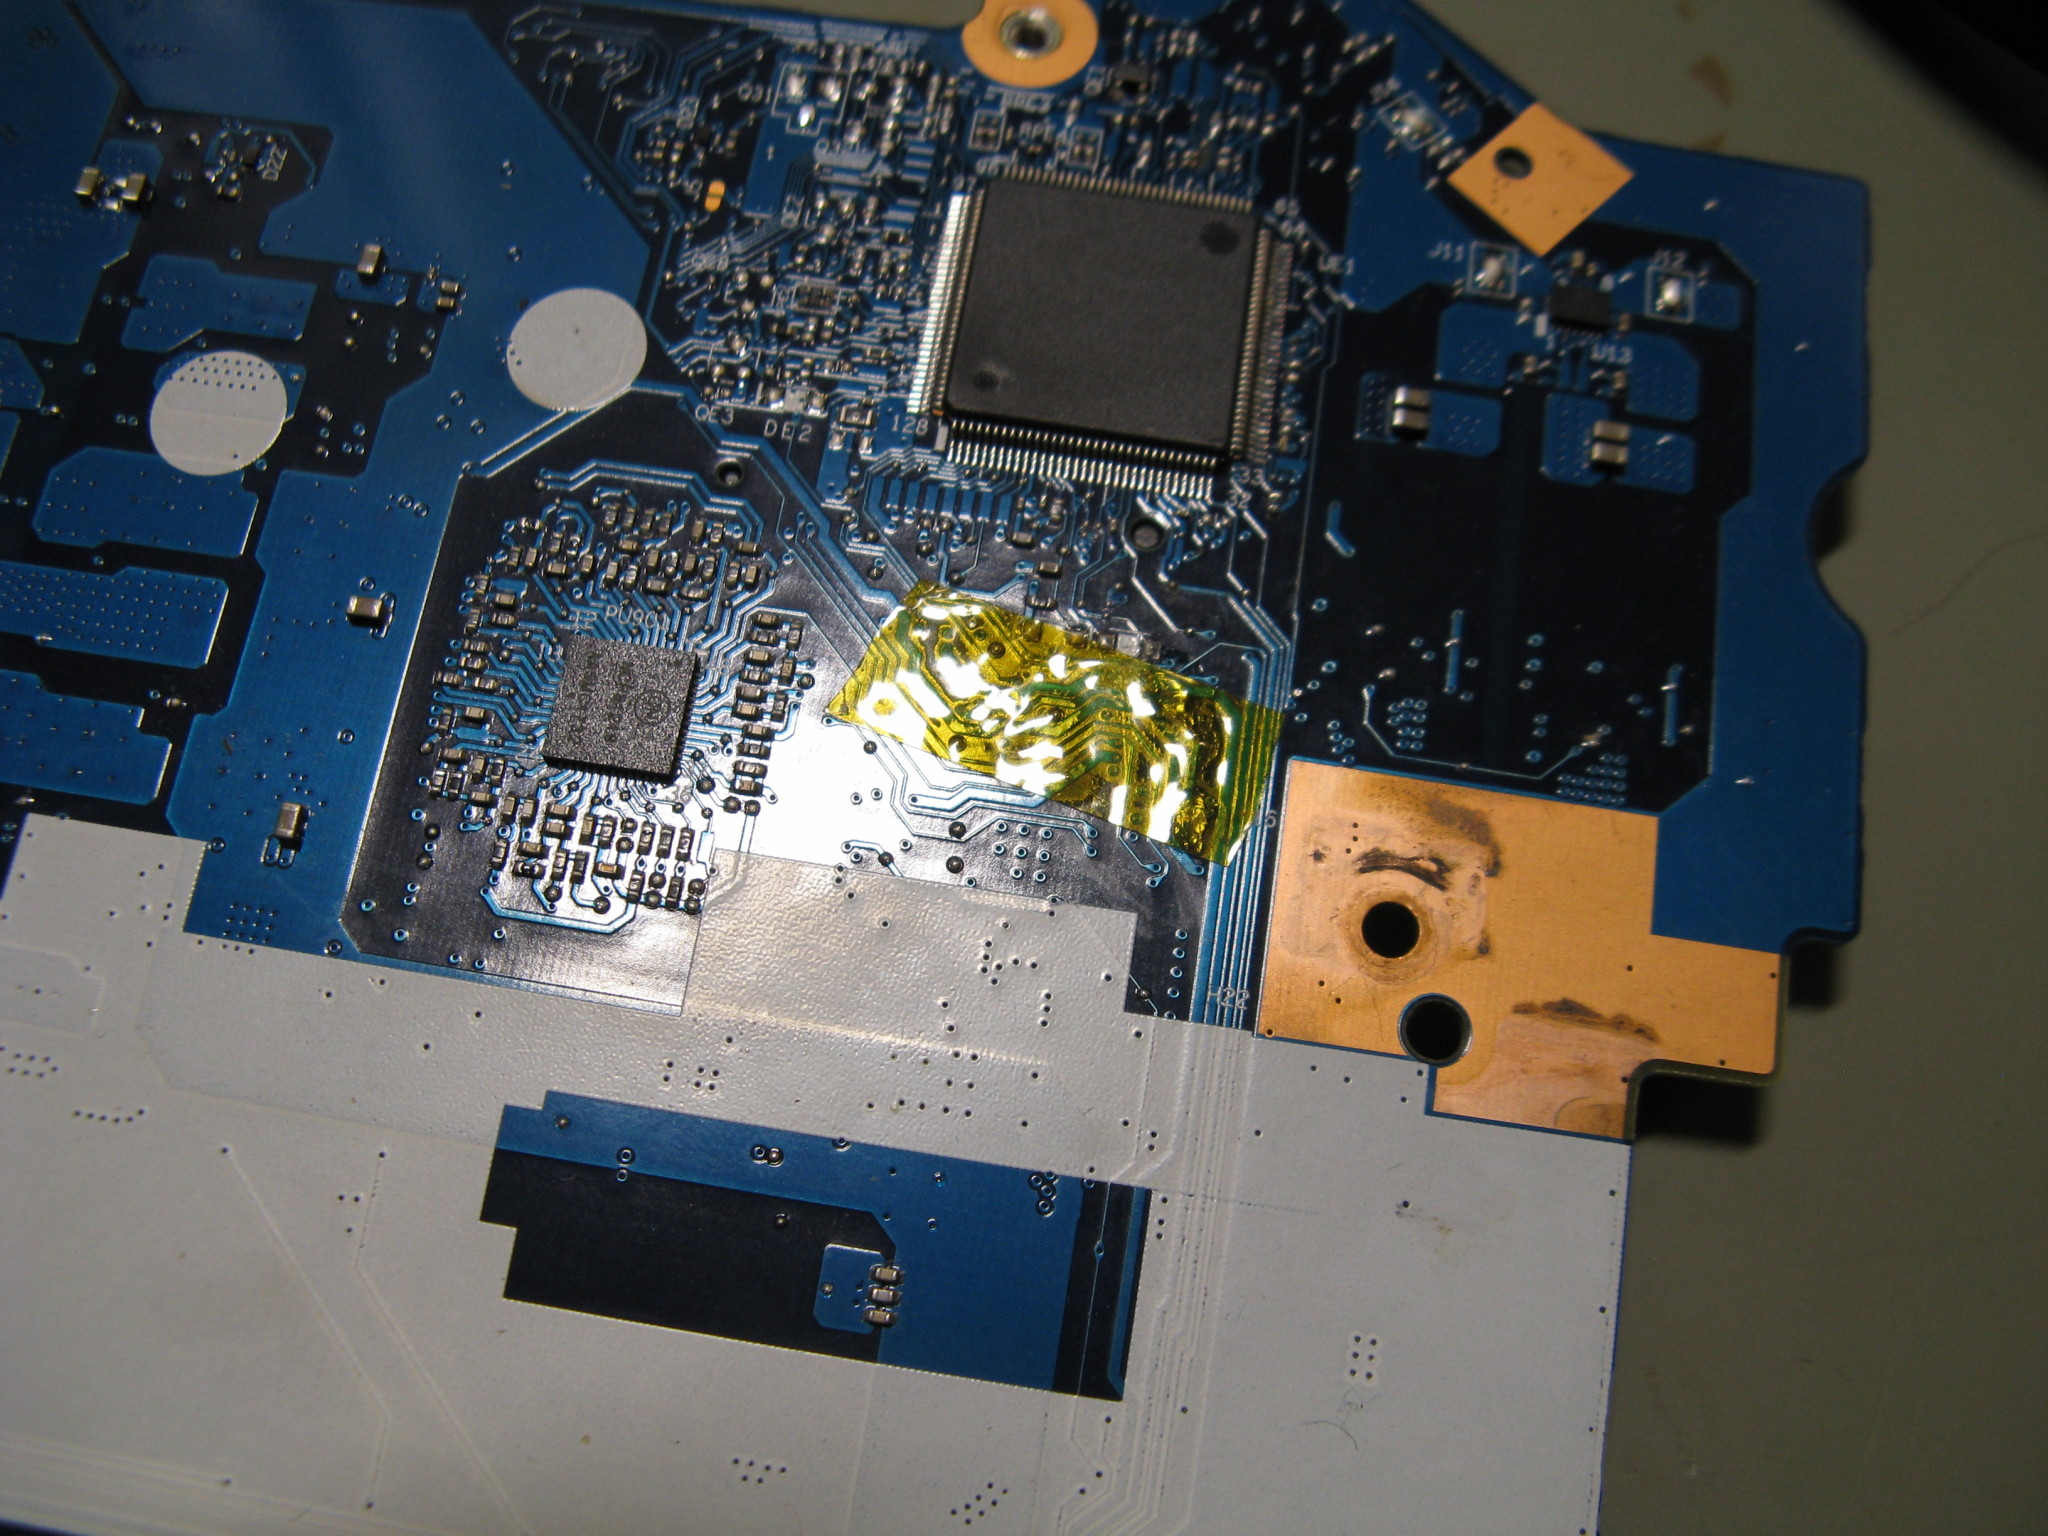
After repairing the trace I put a bit of polyamide tape over the repair and the scratched-trough solder mask
With the trace repaired and the laptop re-assembled, the laptop powered on! It booted up and started re-charging the battery .
After the laptop booted it was clear that many keys on the keyboard don’t work5. But it’s a huge improvement from a laptop that does not power on at all. I ran a memory test and it passed. A stability test also passed.
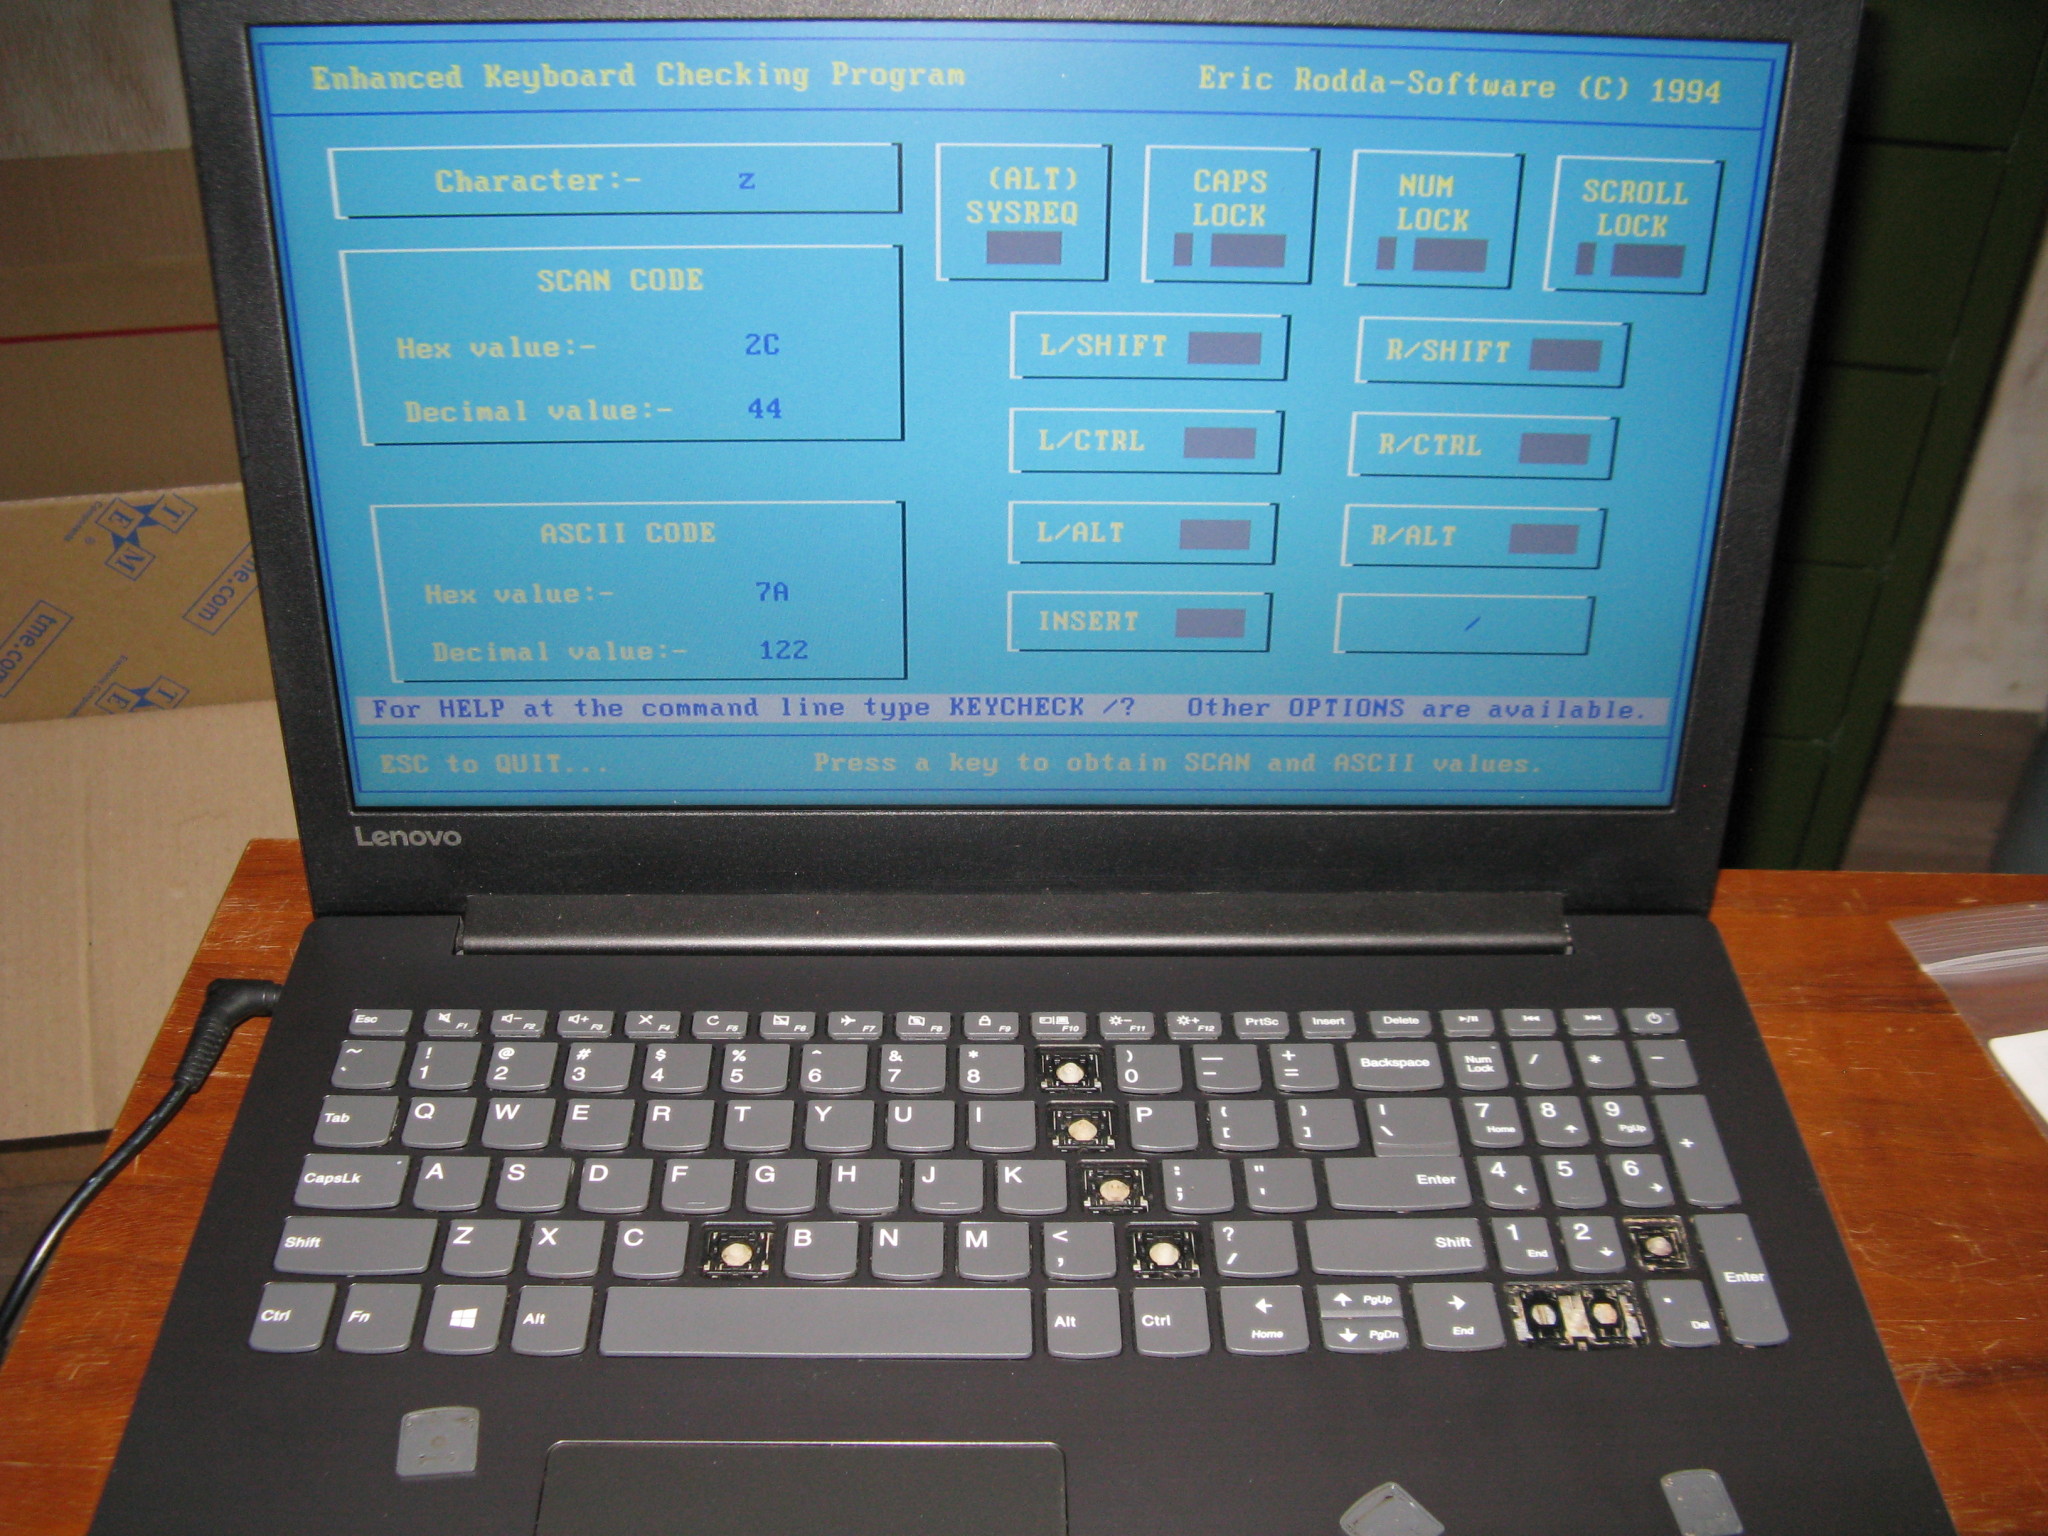
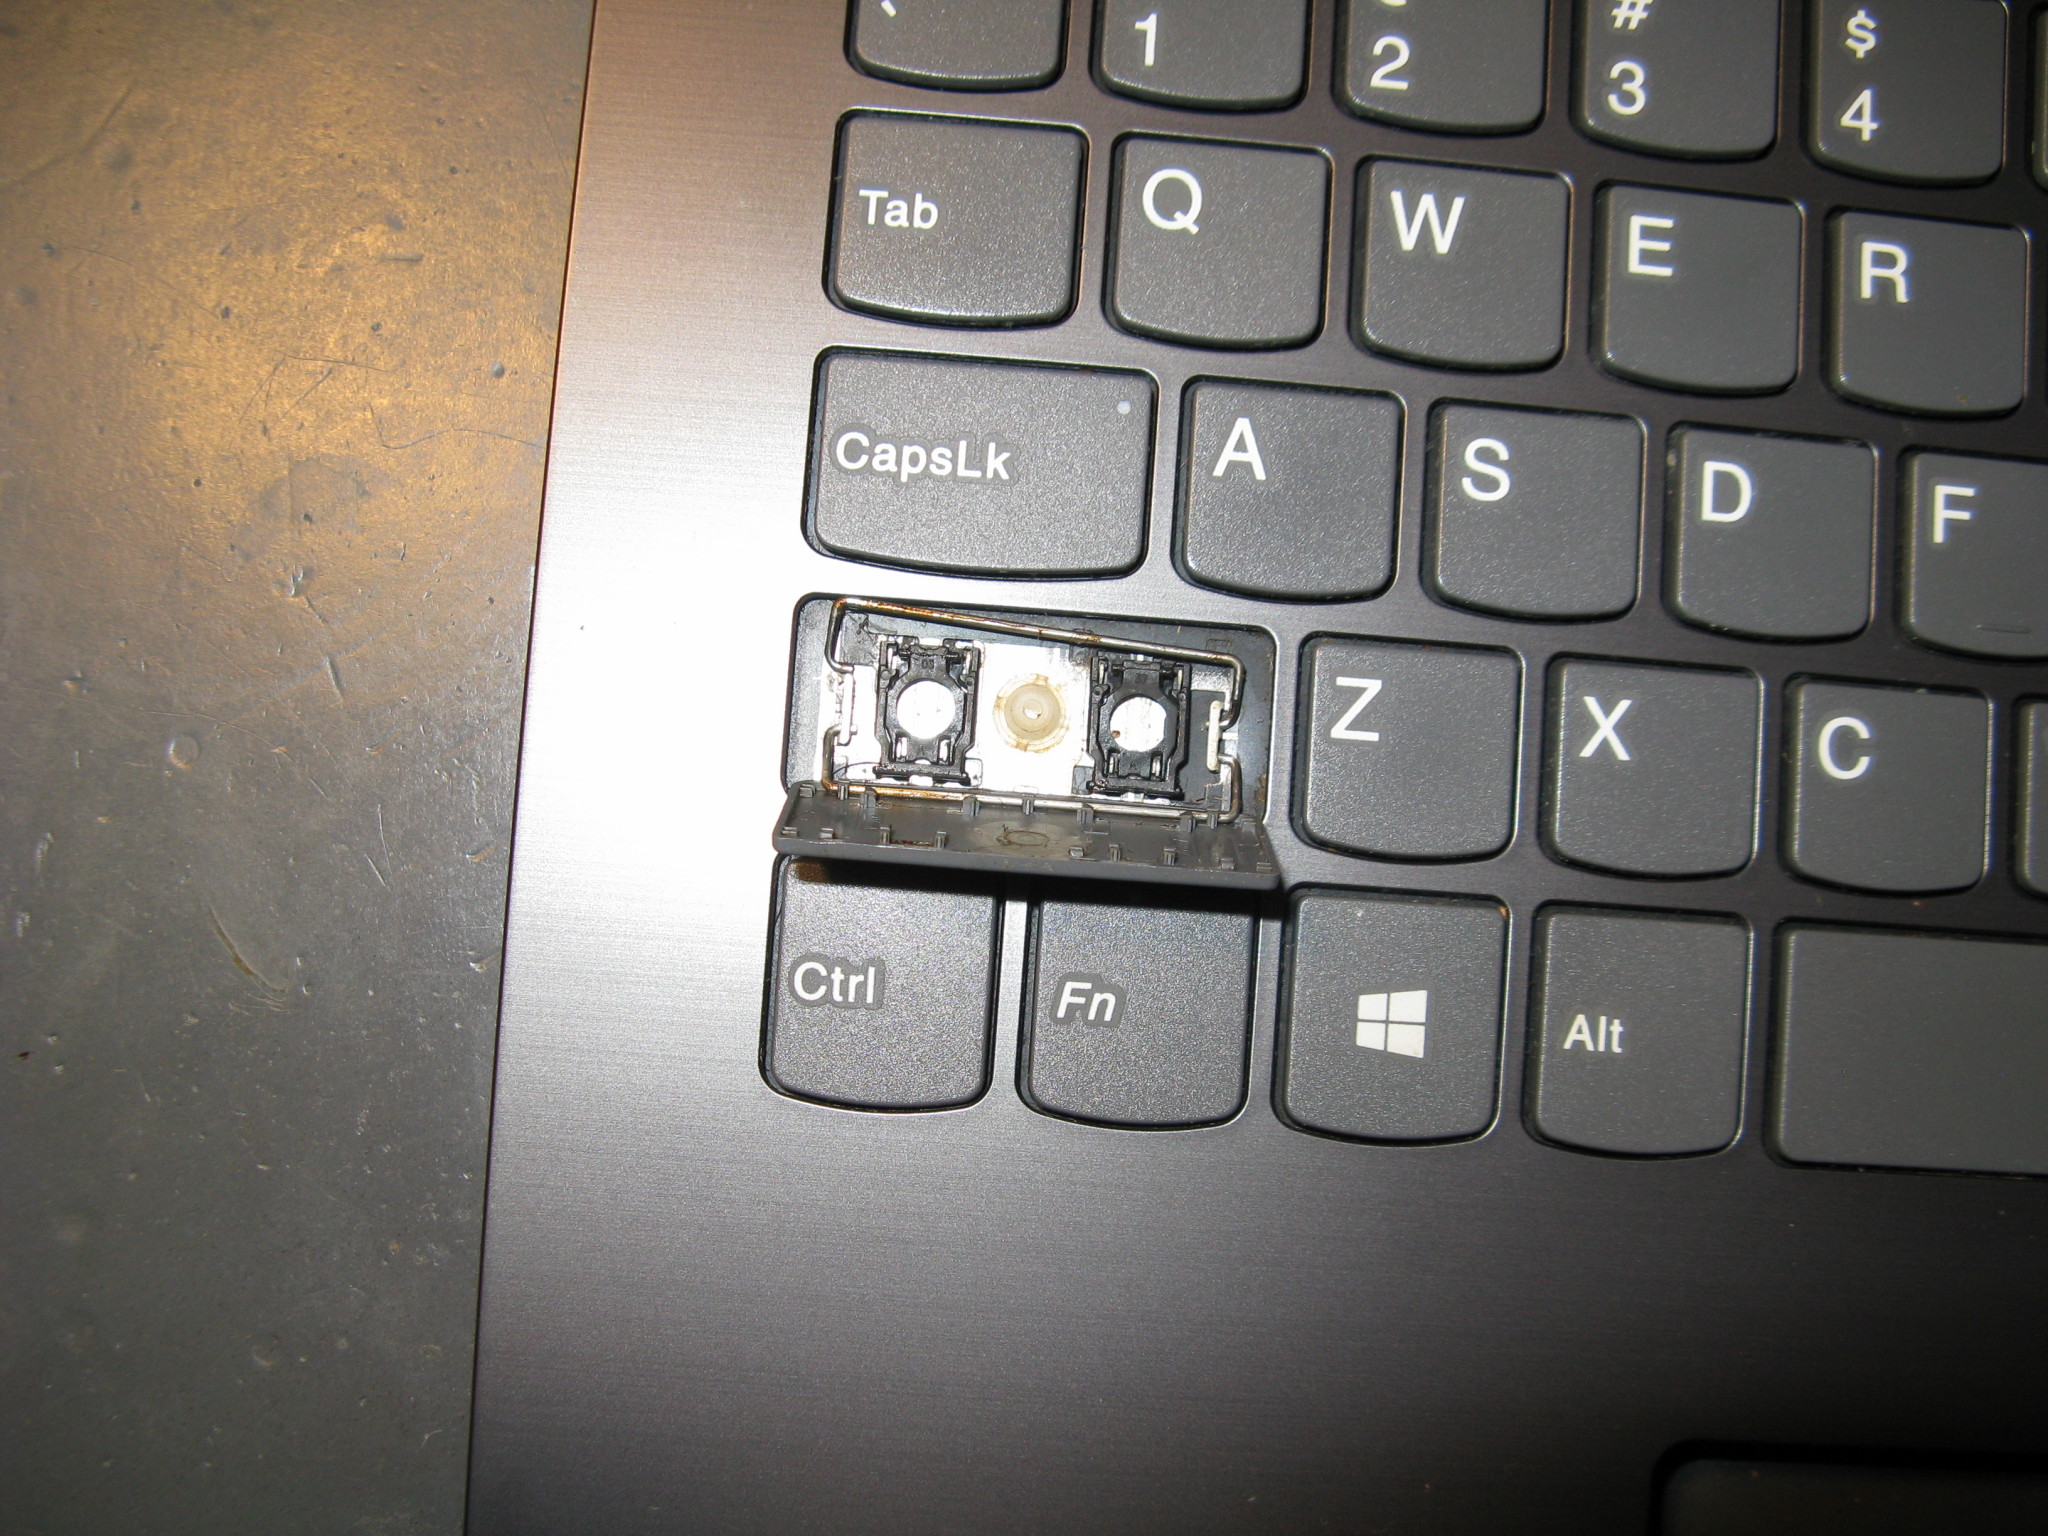
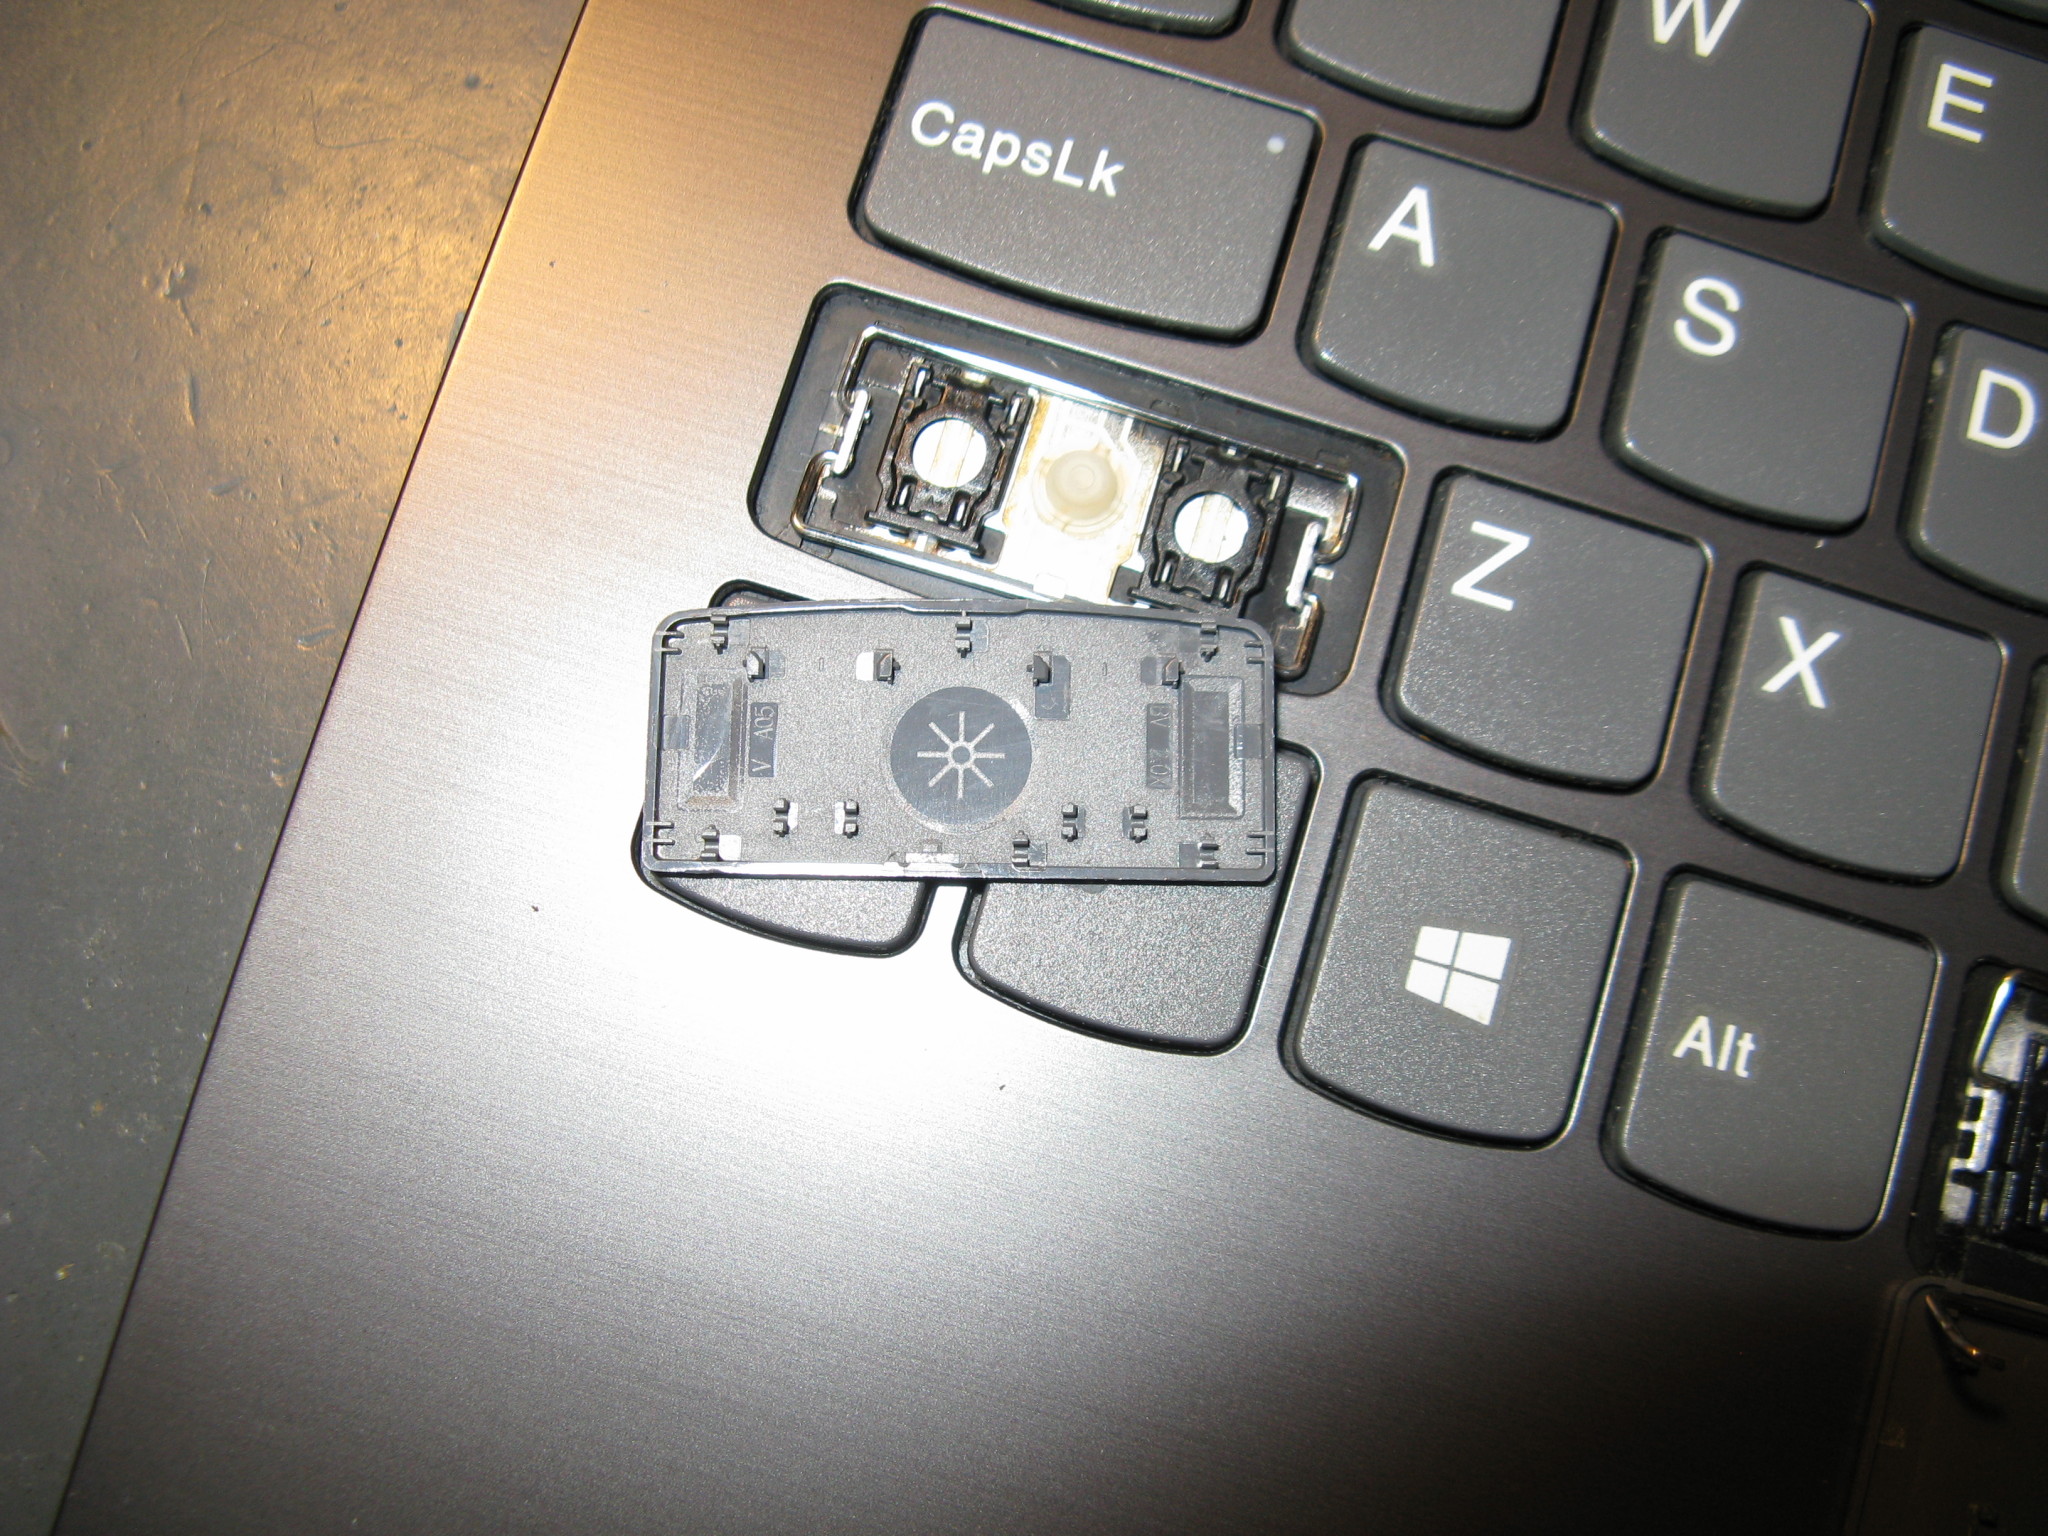
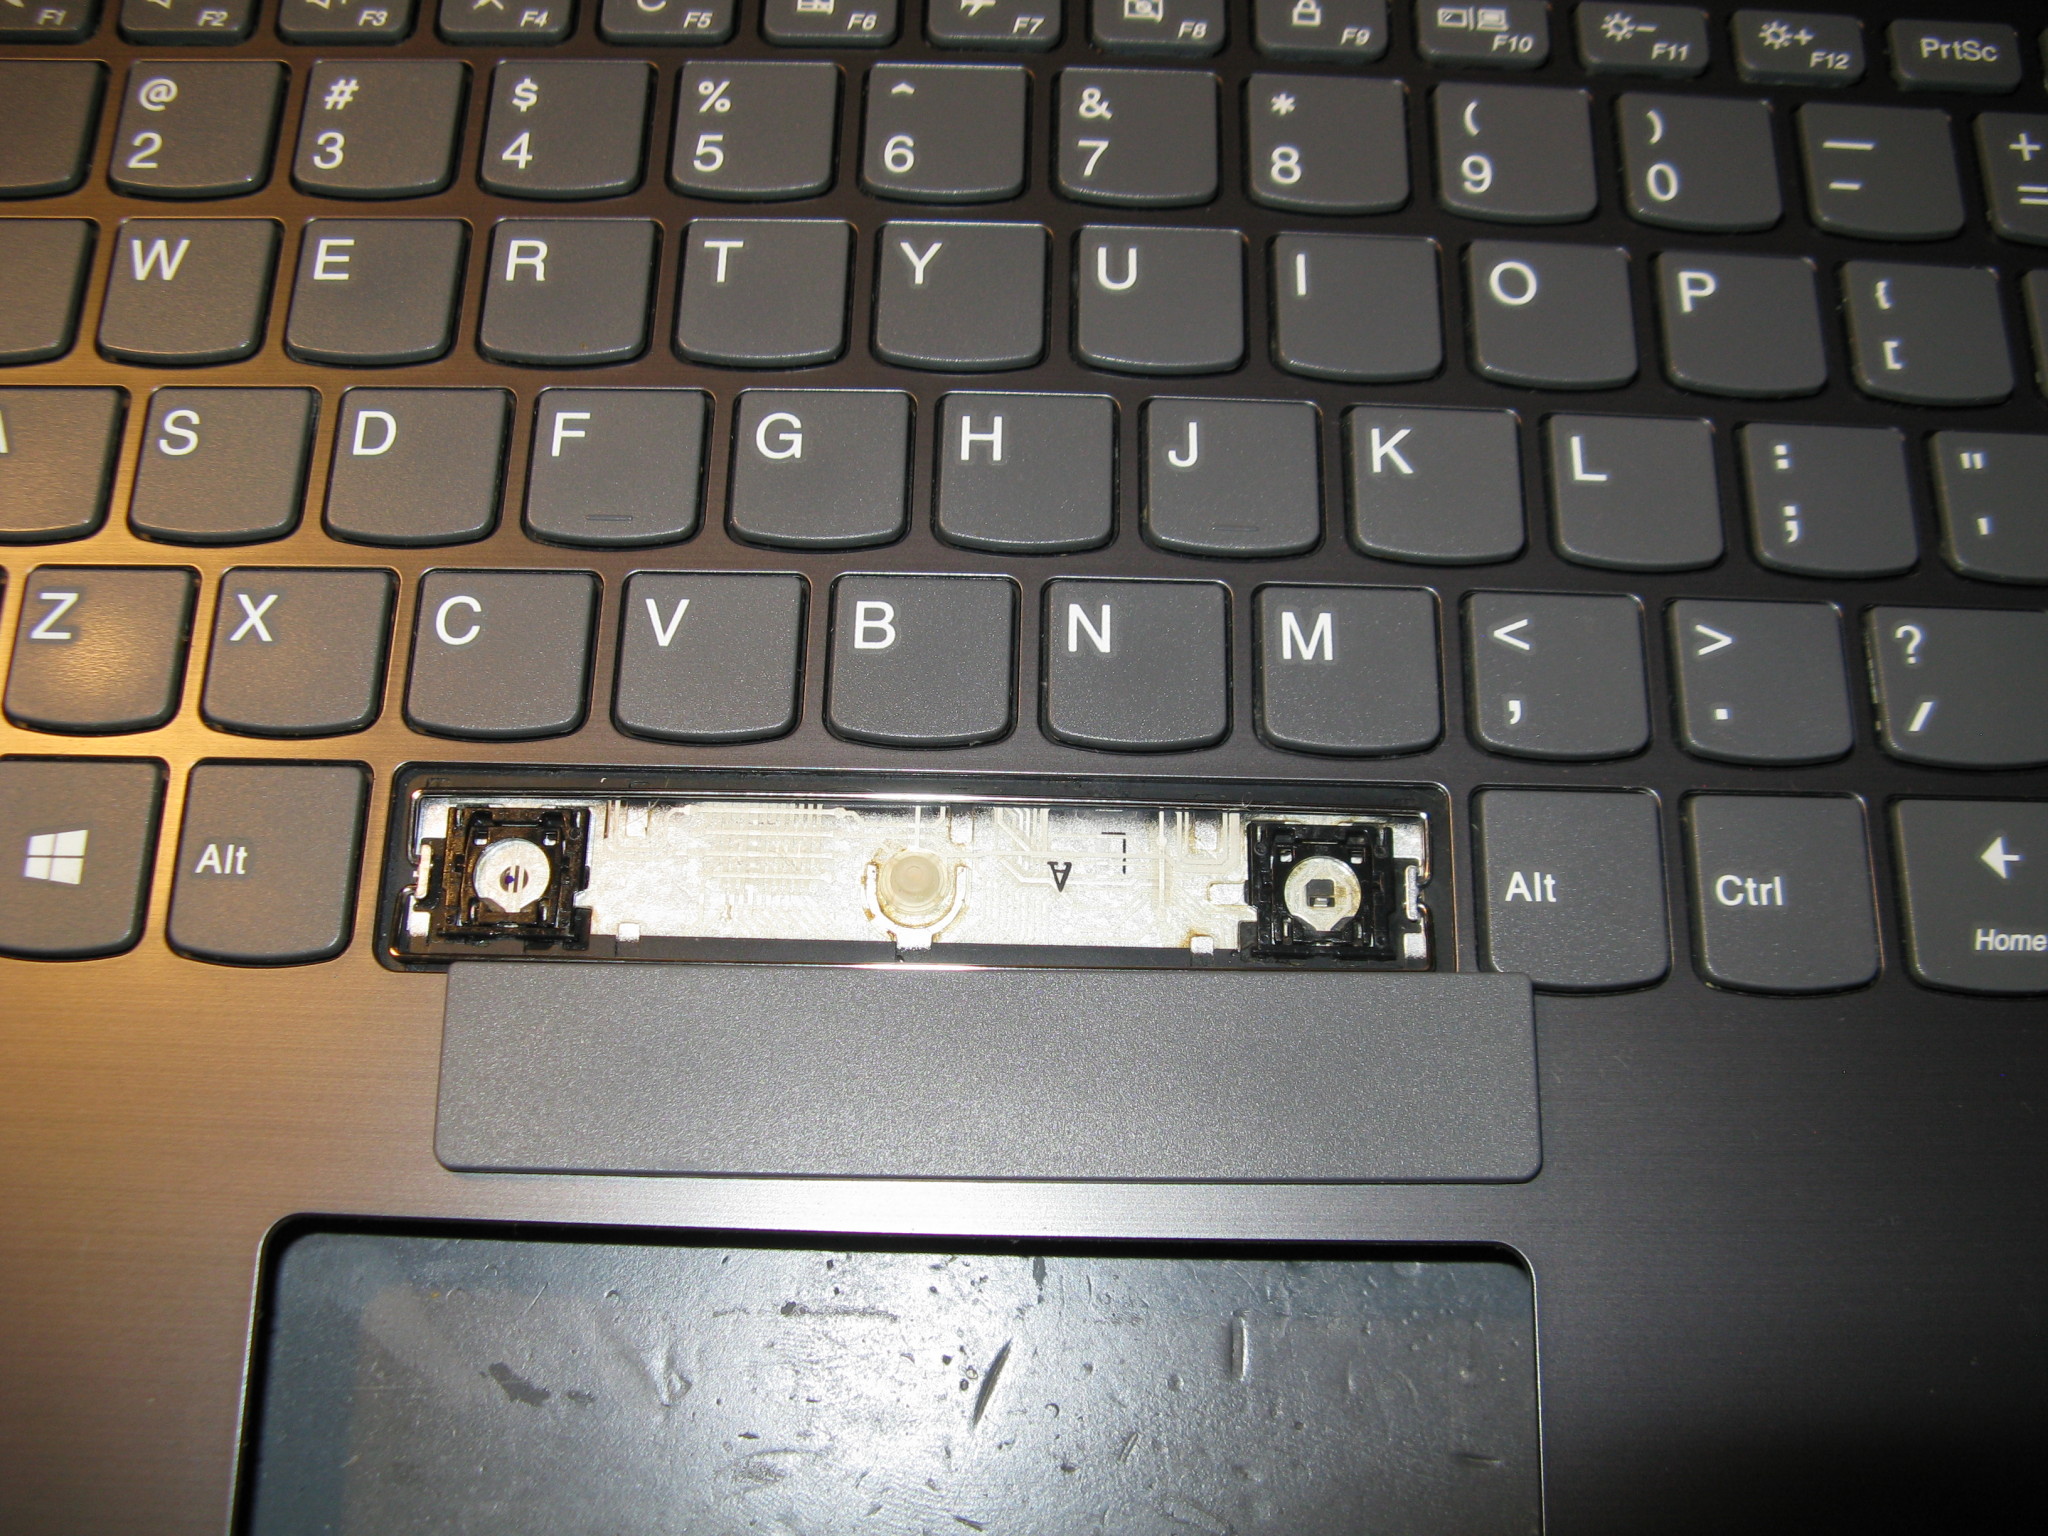
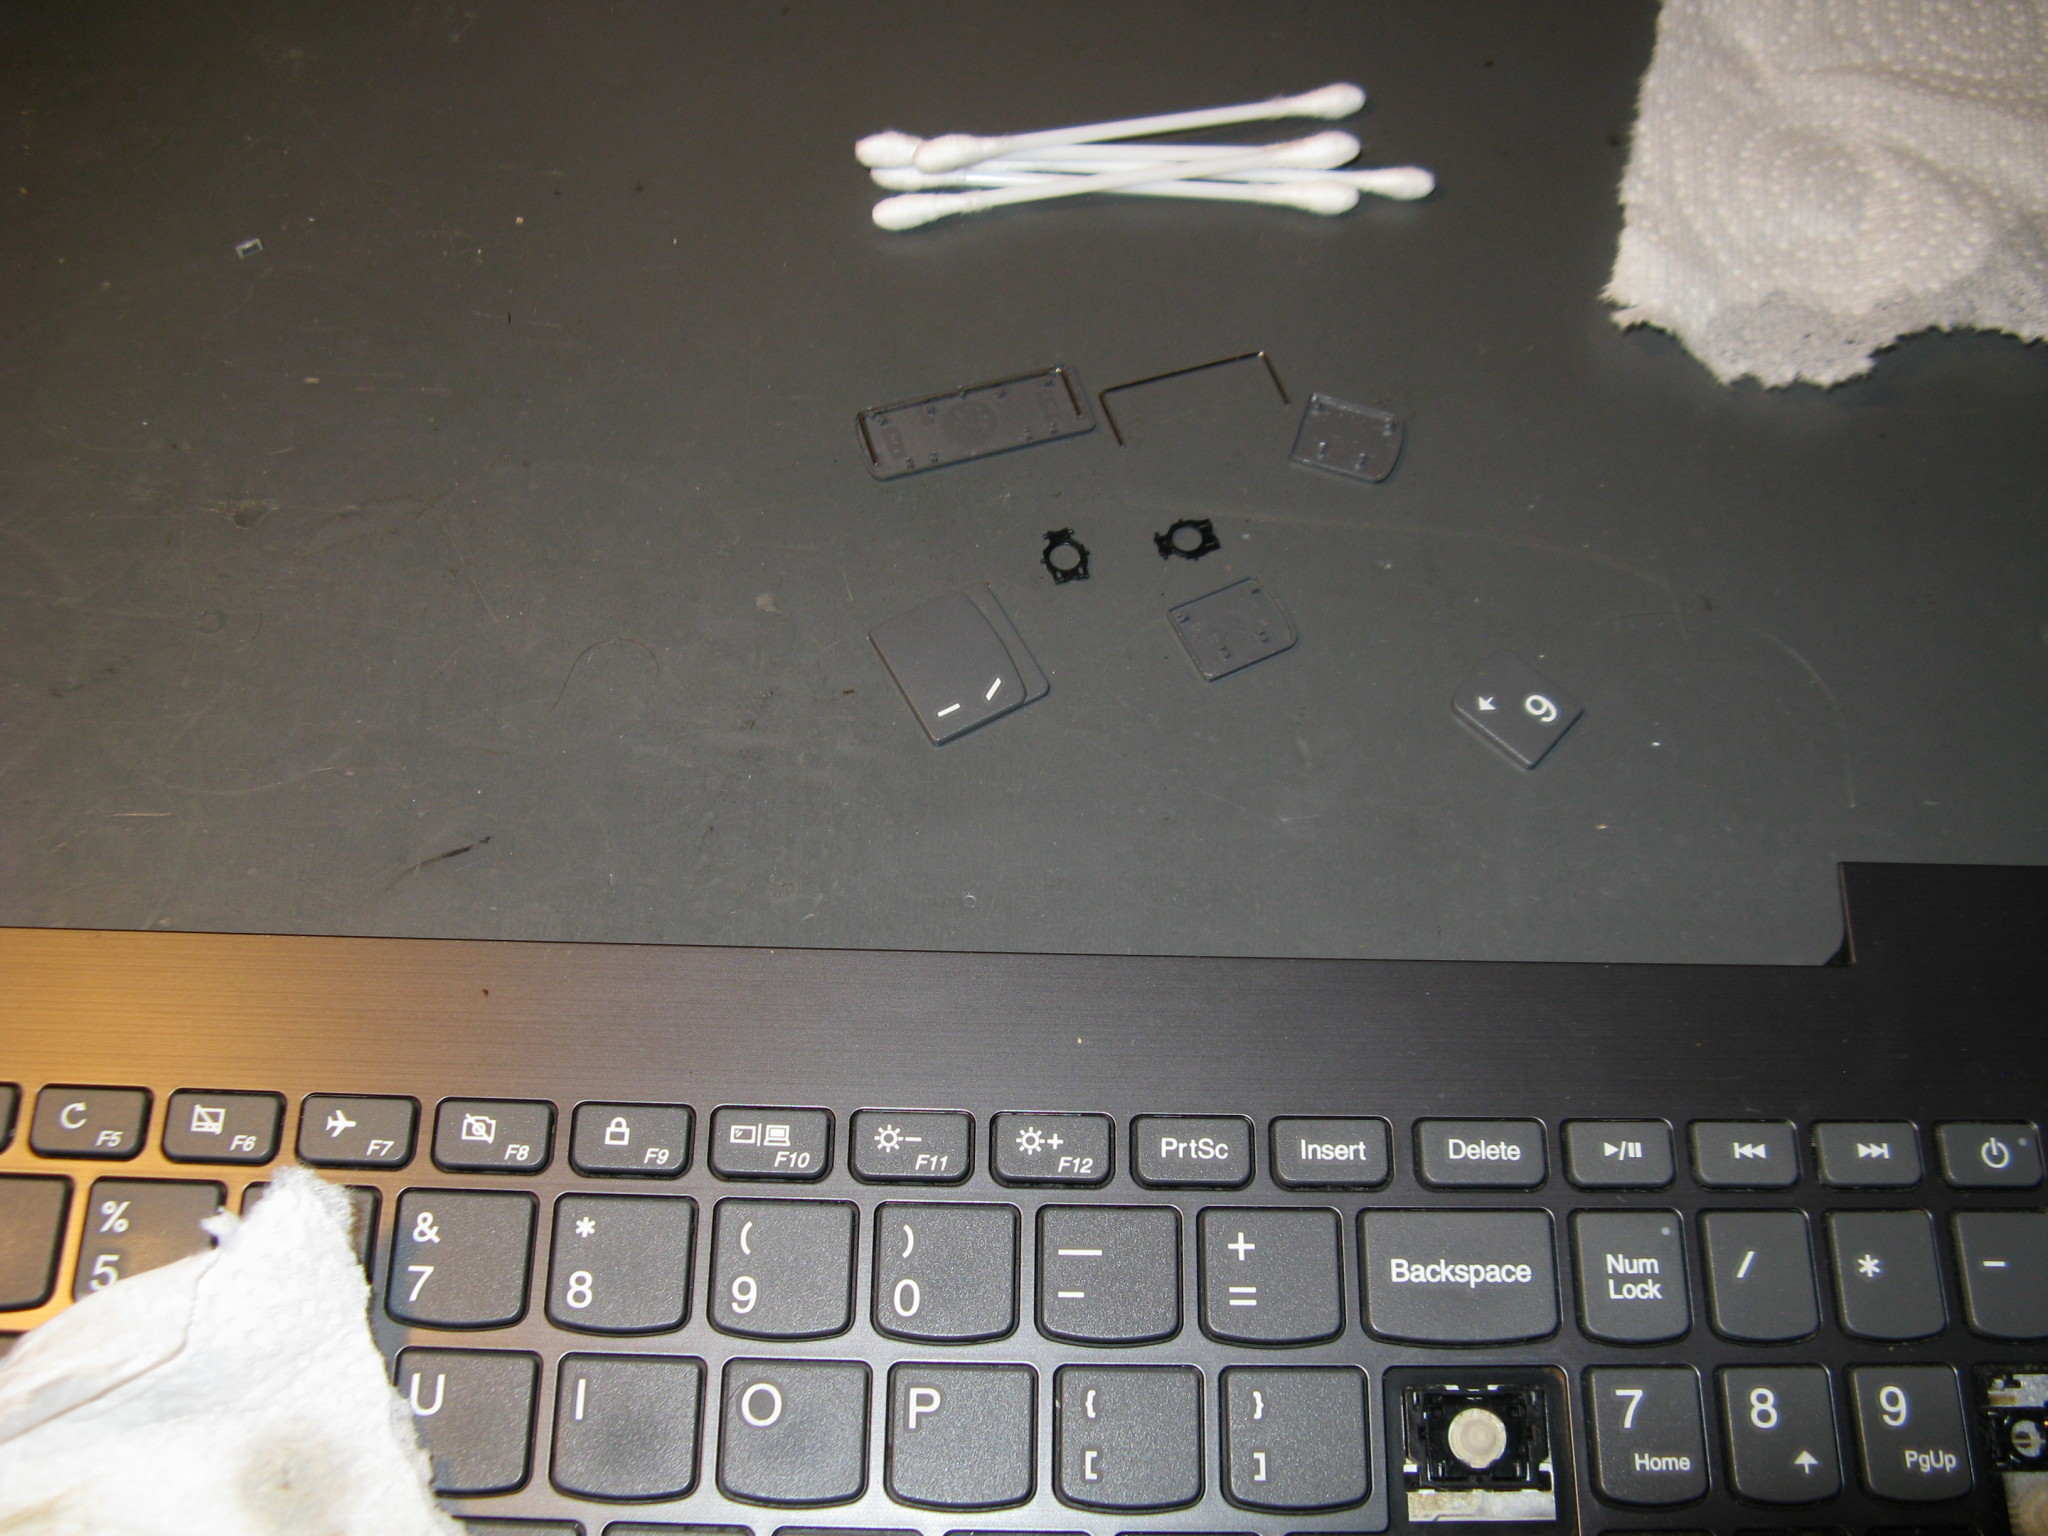
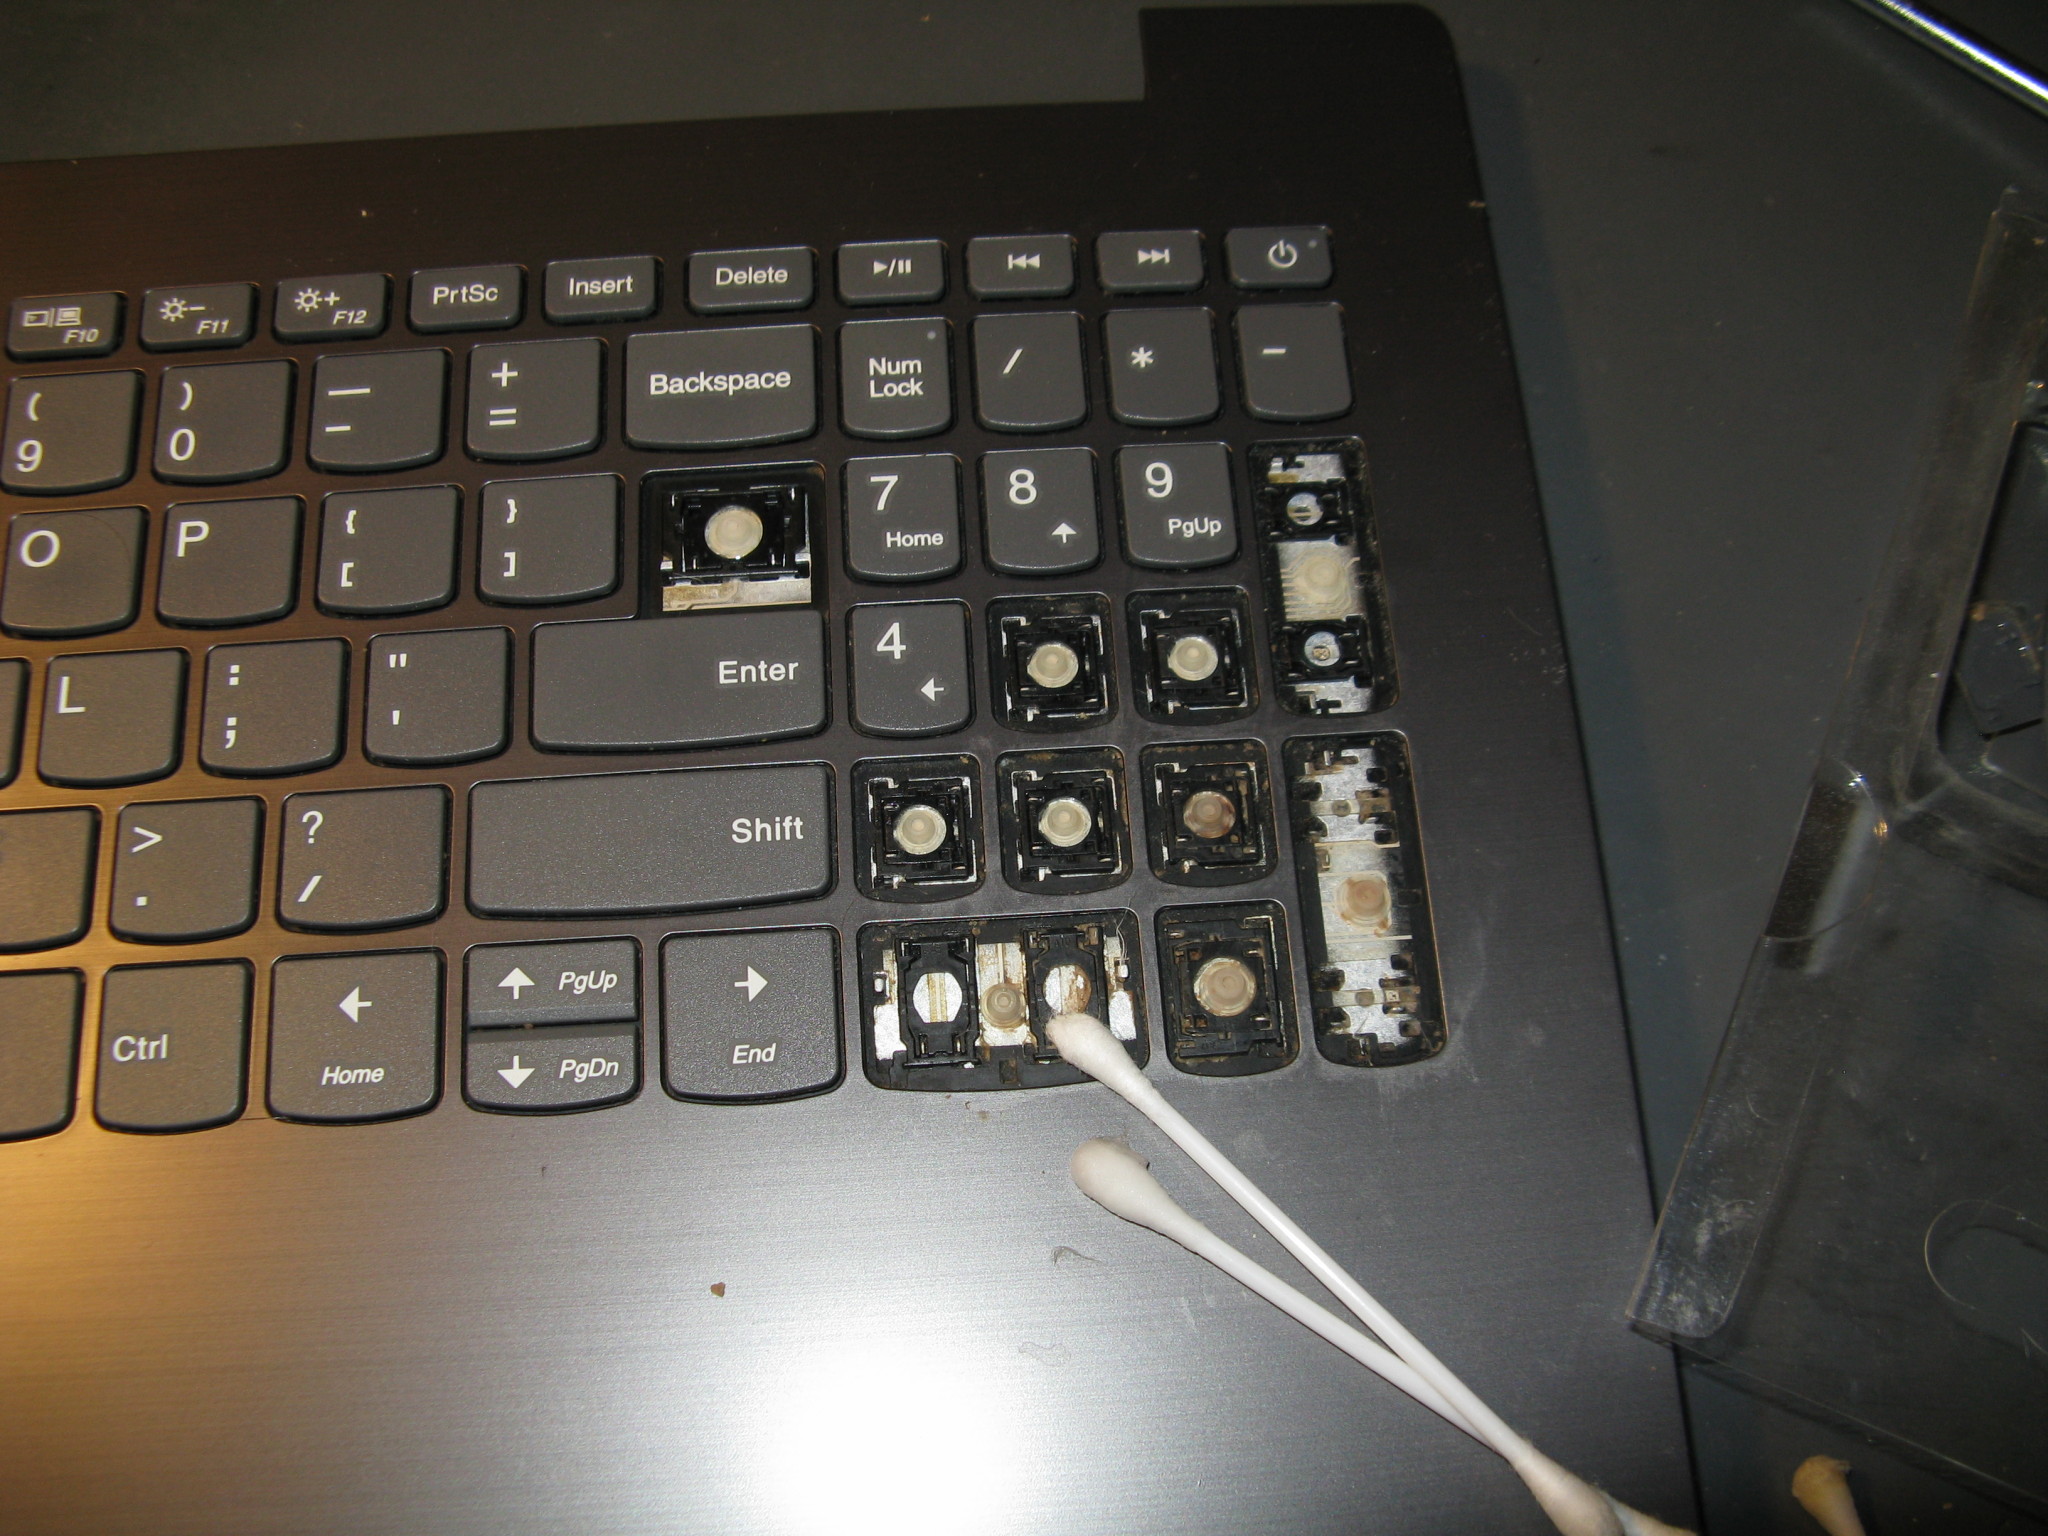
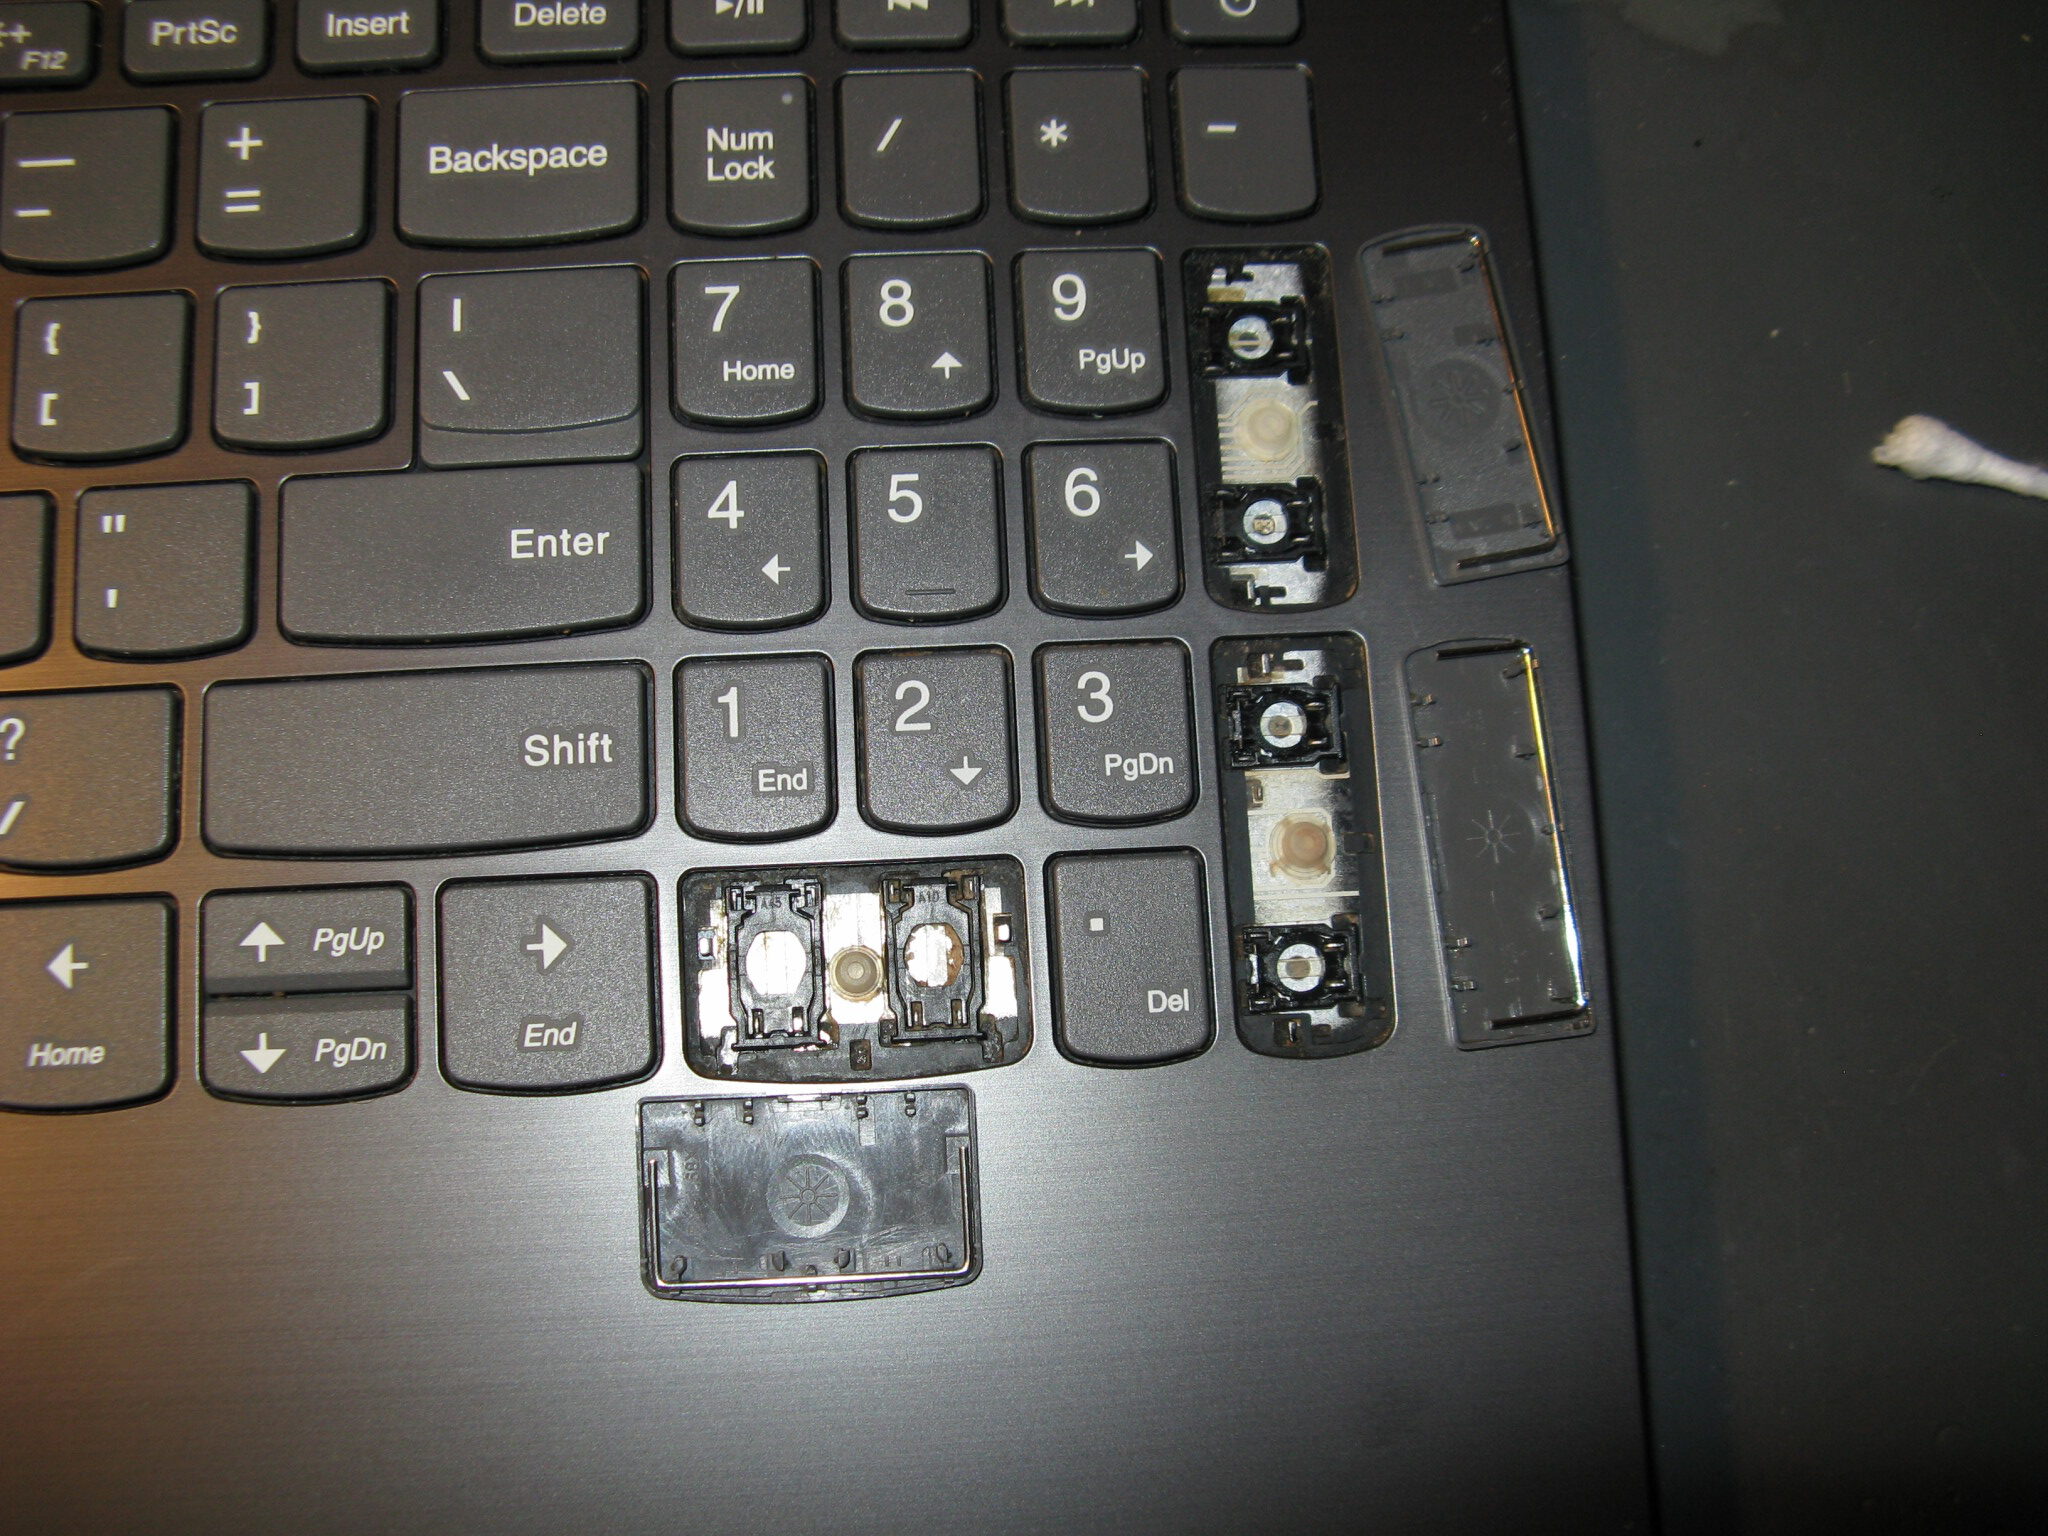
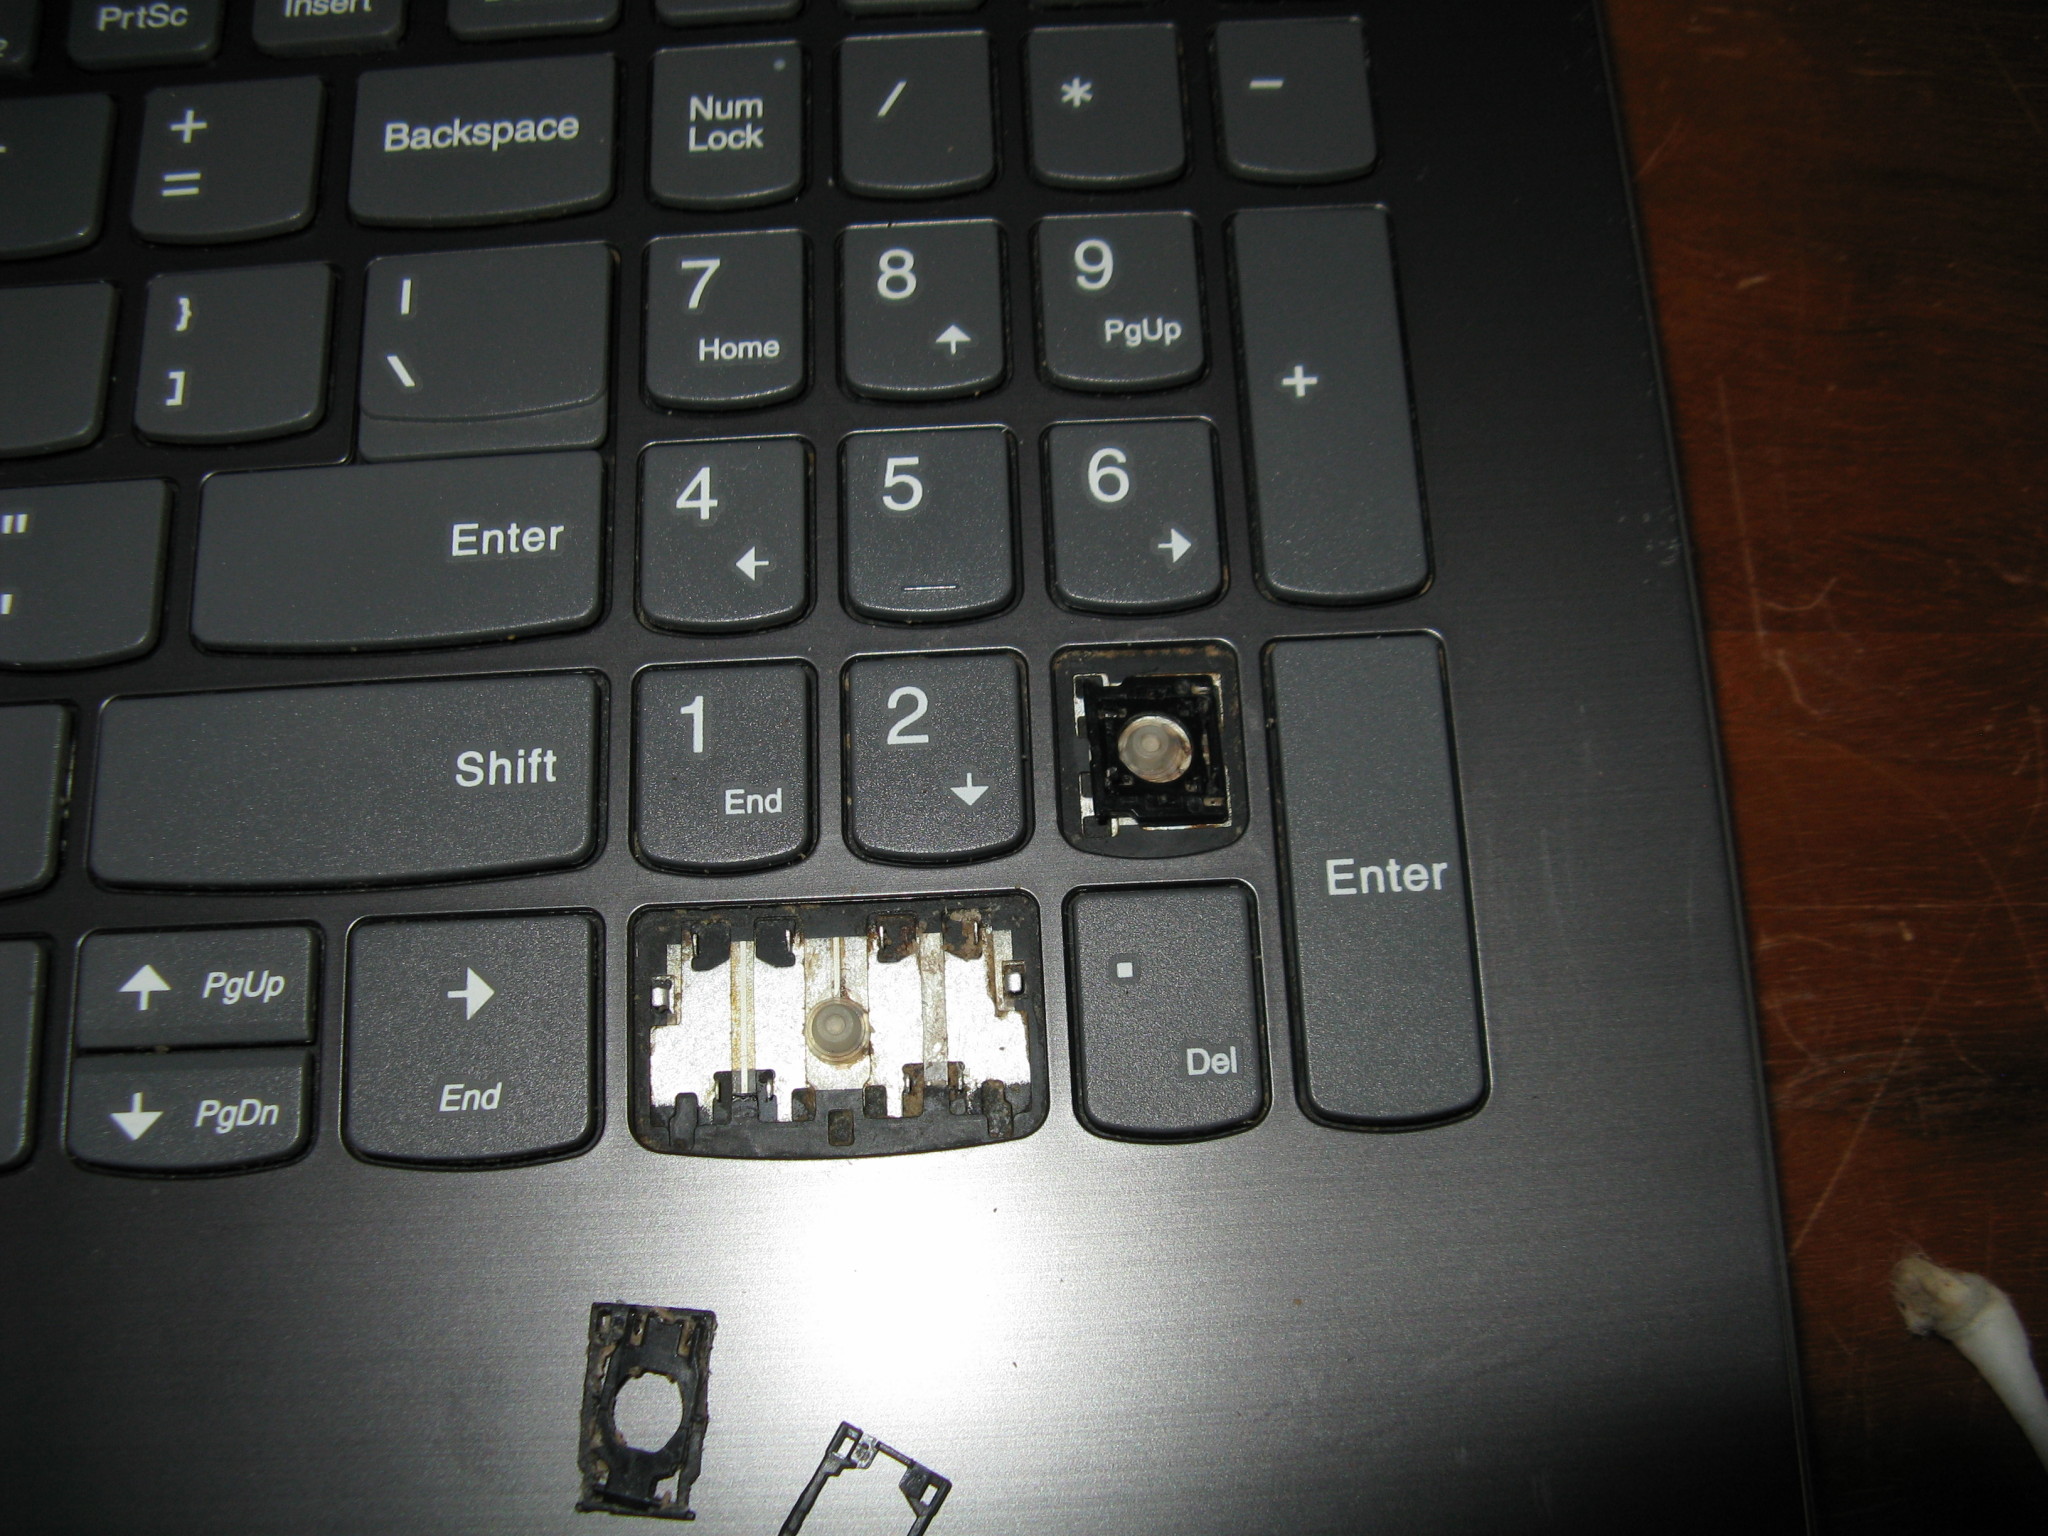
Keyboard test. Keys that don’t work removed from keyboard to see if further cleaning them would help, but it didn’t.

The ‘V’ key sometimes / often acts like it is pressed, even when it is not.

A memory test passes
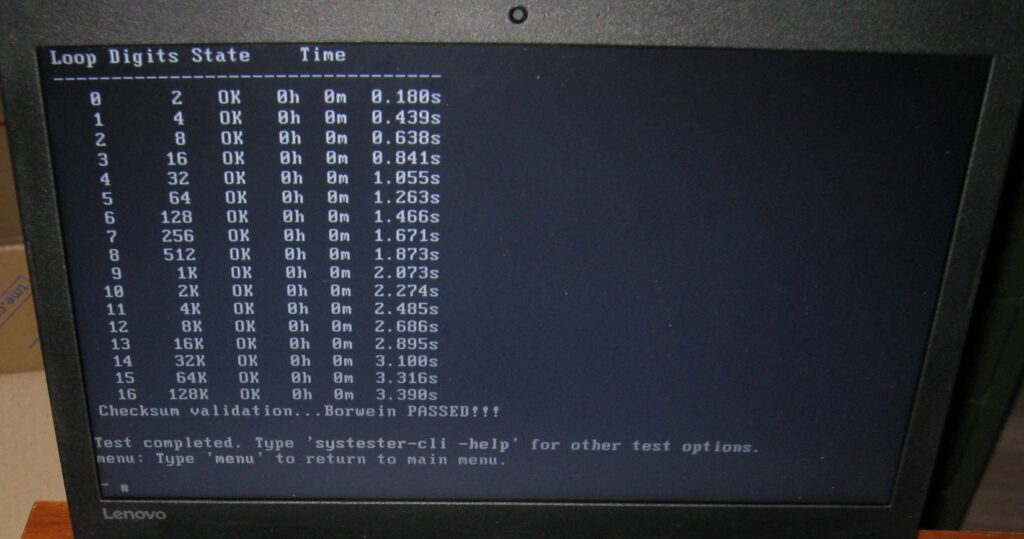
A stability test passes
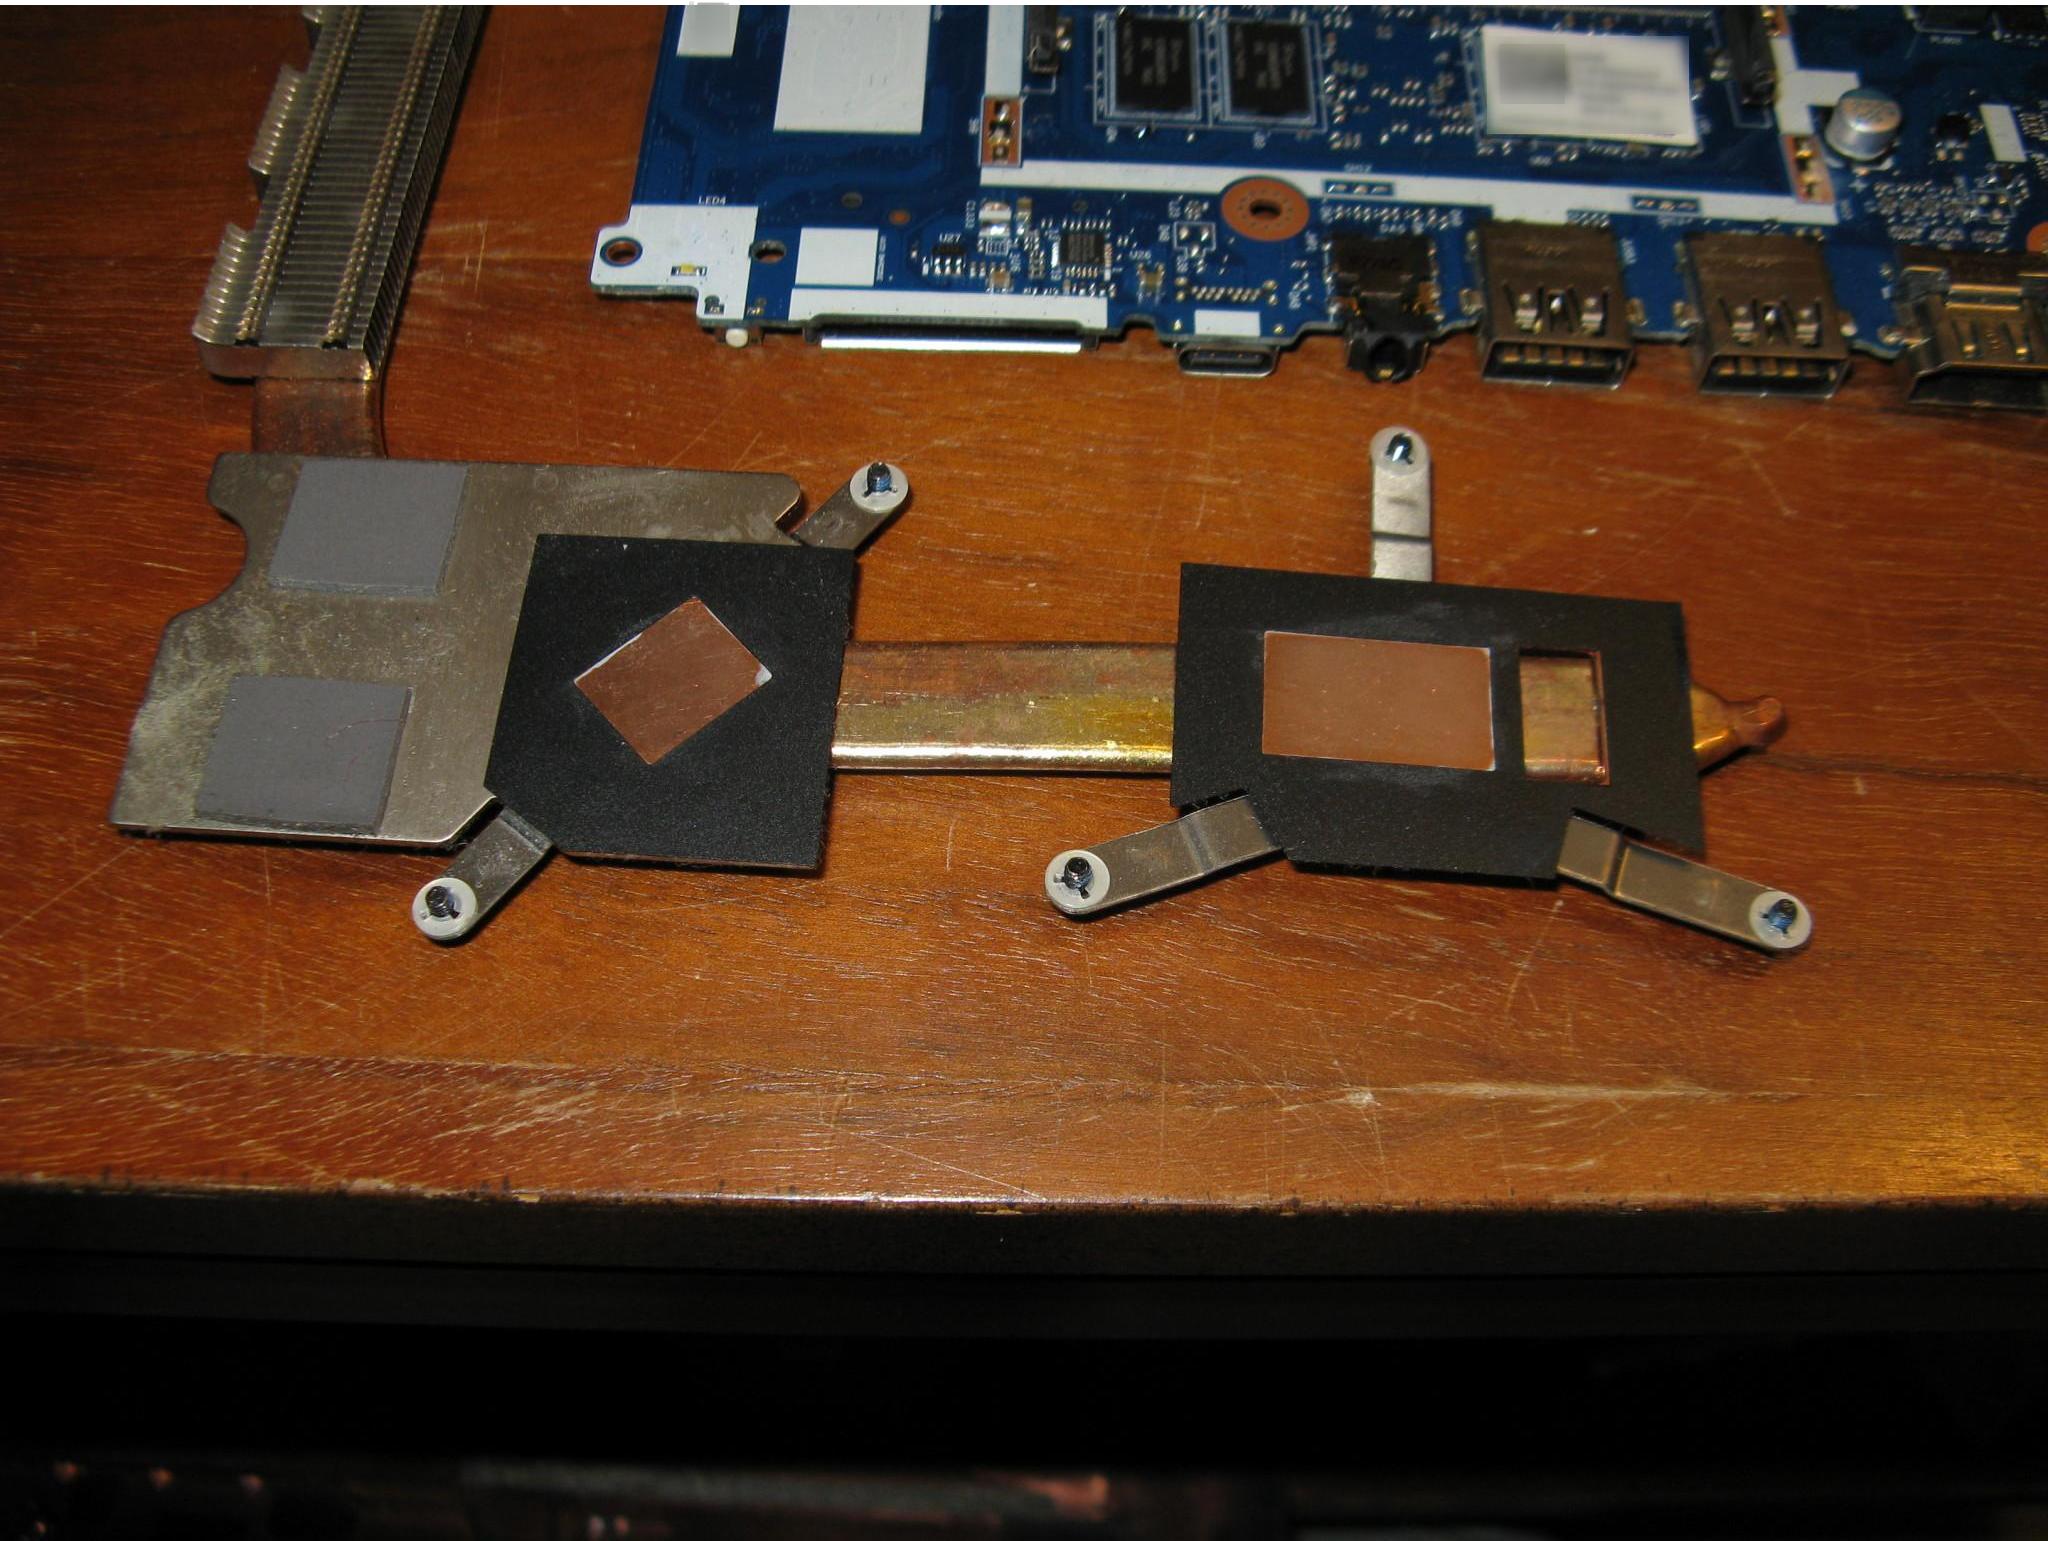
Because I had removed the heat sink to look for coffee / damage under it, I replaced the thermal compound (the original thermal compound had hardened and would not have filled the gaps after putting the heat sink back)
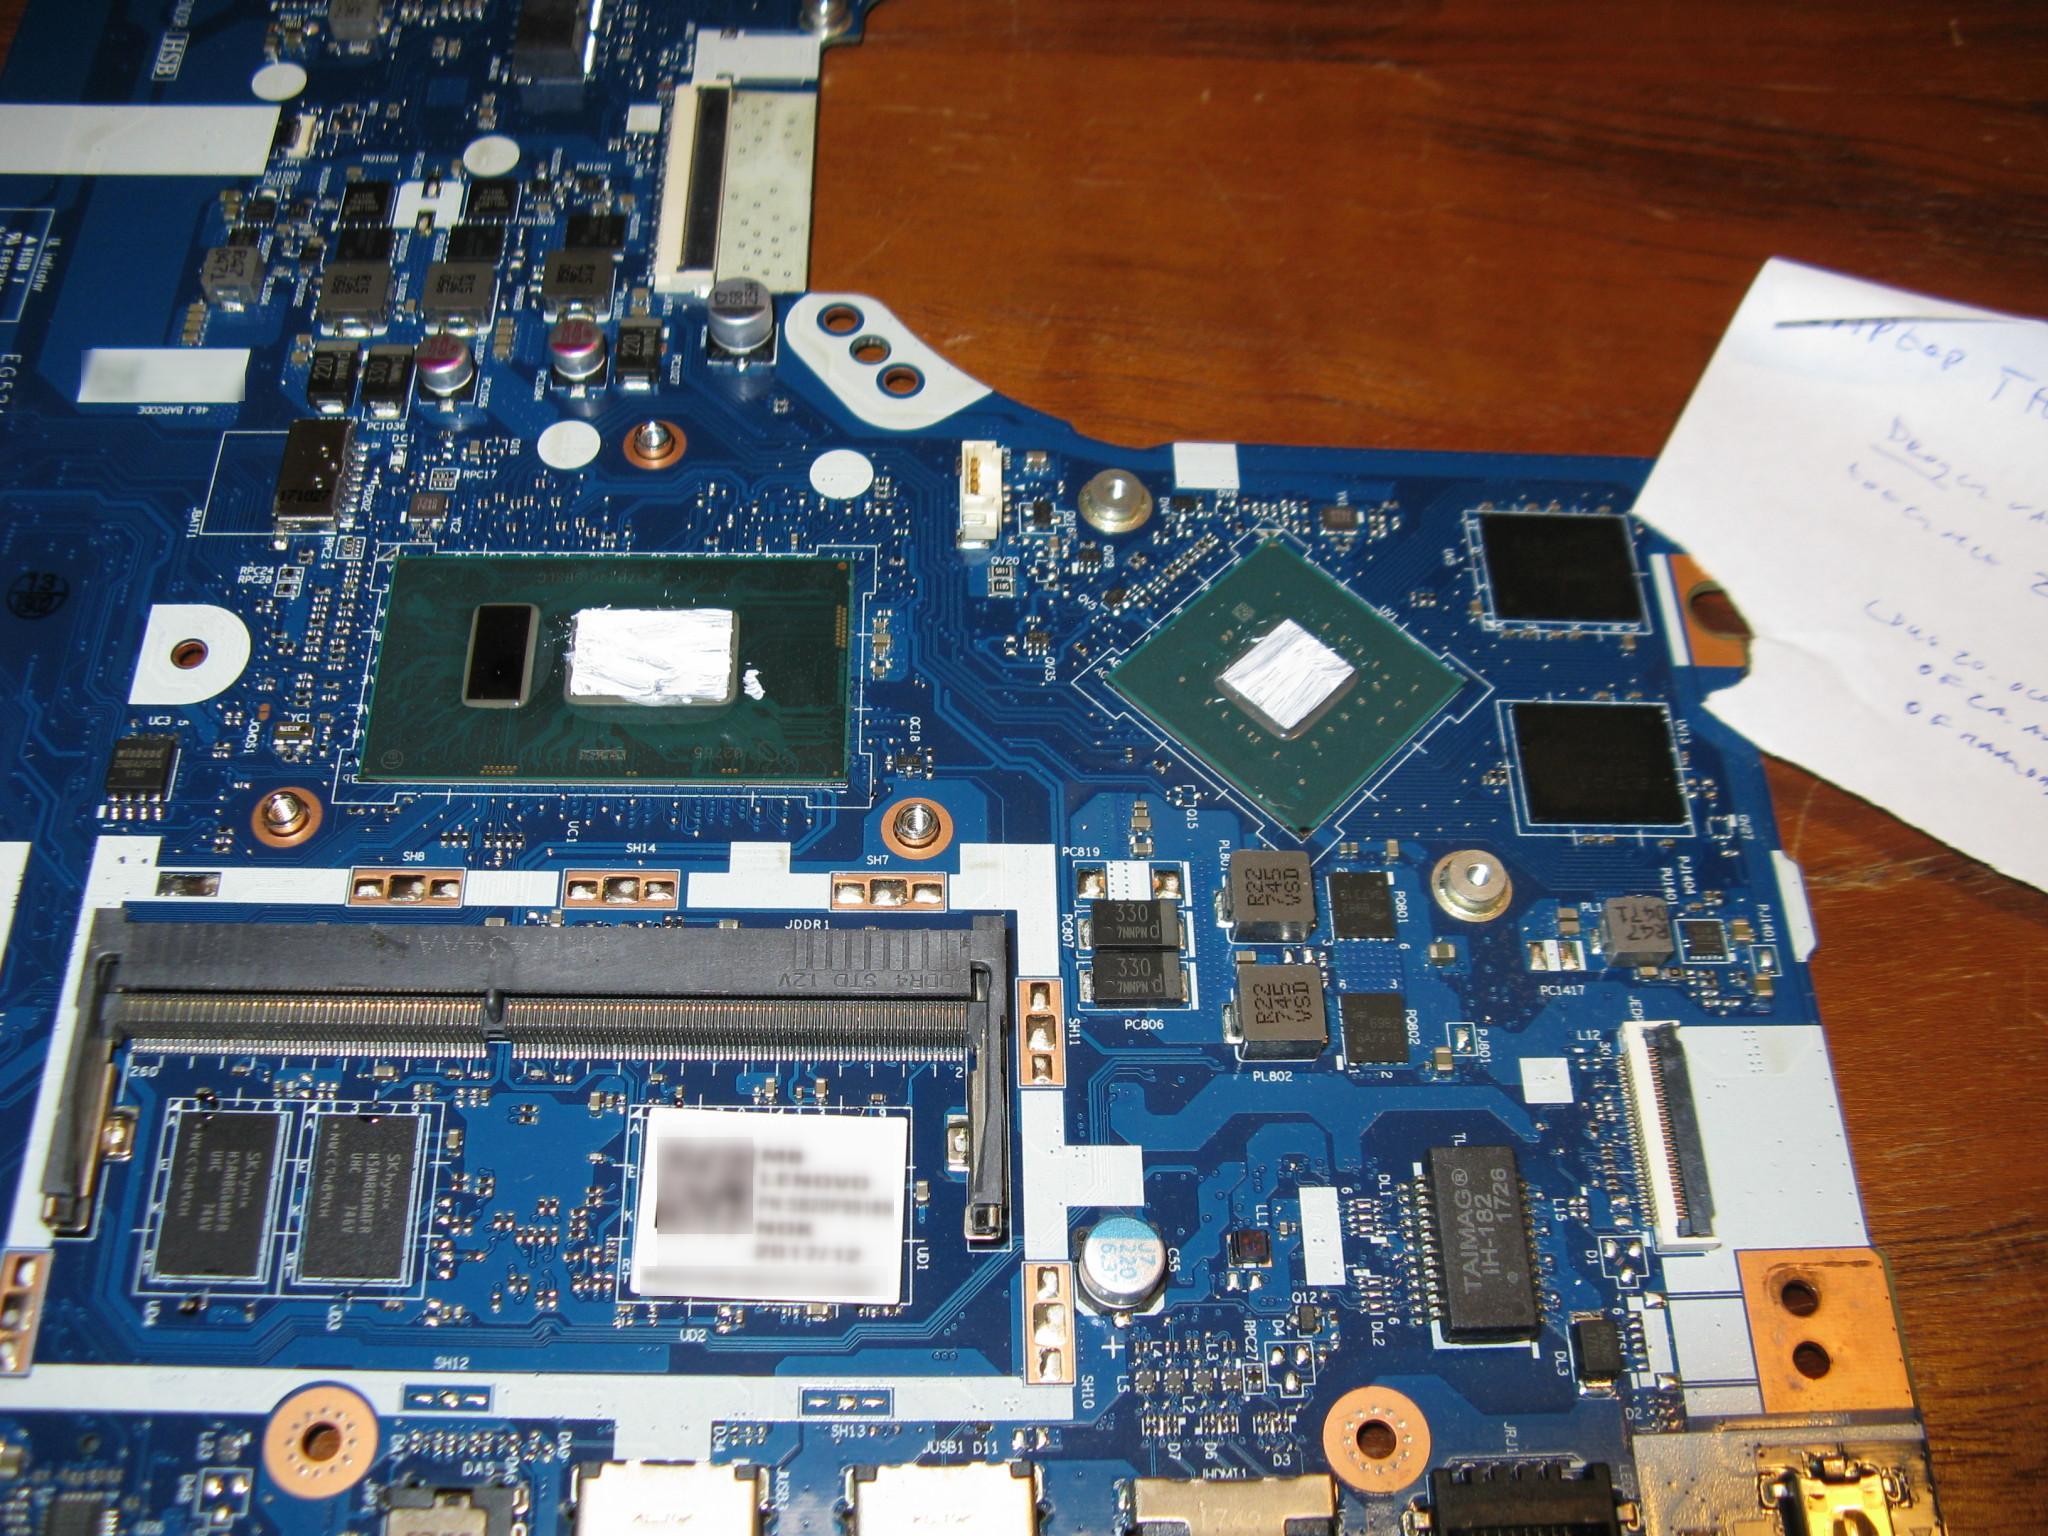
So I also looked at CPU/GPU temperatures, right after the memory test. Both where around 40 ℃.
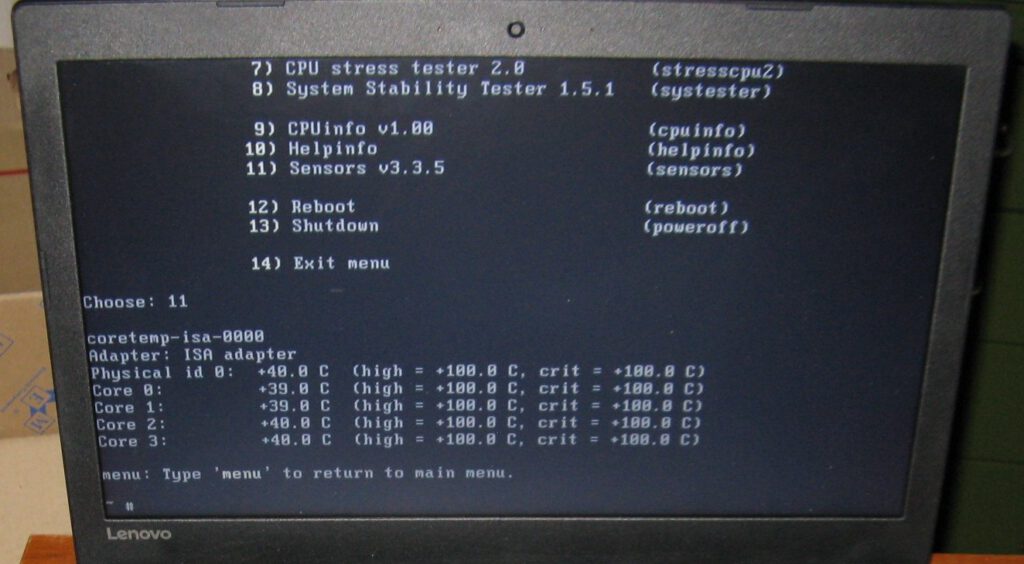
Temperatures are good
Because of the self-typing V key I disabled the internal keyboard. The power-ON key is part of the keyboard, but is on separate pins, helpfully the last 2 pins of the row. So the other pins can be insulated with a bit of thin polyamide tape6. The power-on key still works, and the computer can be used with an external keyboard connected over usb.
Tape applied to disable internal keyboard.
The friend might and may buy a new laptop, refuses to switch to beverages not containing any conductive liquids (for texture/taste and health reasons), and will remain a friend anyway 😉
Footnotes:
- So sending keypresses even when the key is not actually pressed. ↩︎
- A white label glass cleaner with the following ingredients: aqua, propylene glycol butyl ether, alcohol, sodium laureth sulfate, ammonium hydroxide, citric acid, parfum, isopropyl alcohol, colorant. So not suitable for circuit boards, but fine for enclosures and mechanical parts. ↩︎
- I simply used tap water. Demineralized water won’t stay demineralized as soon as it dissolves any bit of that coffee anyway. ↩︎
- Had the whole board been covered in coffee, I would have rinsed it under the tap in the sink, but considering the coffee was localized to a few relatively small areas I opted for local spot cleaning as not to get water and coffee under parts (BGA’s, IC’s, in connectors, etc) that as of yet had no coffee under them ↩︎
- The “9”, “O”, “L”, and “>.” keys don’t respond at all. Possibly all are on one row or column in the keyboard matrix. F6,F7,F8 probably don’t respond most of the time. On the numpad 0 and 3 don’t respond. The V key spontaneously acts like it is kept pressed, most of the time, but is otherwise responsive. ↩︎
- This trick was shown in a short video on YouTube (mentioning first 2 pins and using sellotape), but a look at the schematic confirmed the keyboard connector pin-out with the power button between pins 31 and 32, with 32 gnd. Alternatively the internal keyboard could be ‘disabled’ in Windows with a configuration option. ↩︎
Leave a Reply